DIY: Lace Bralette
Bralettes aren't as intimidating as bras to make, and so much more comfortable to wear. I'll take the fact that I never forget to remove my bra before sleeping as a key example, in contrast to how I'm no longer sure how long I've been wearing my bralette. Since I last showered I guess? Since you're the only person wearing it, you don't have to fuss over strap adjusters and clasps, which help a wider range of ladies fit into store-bought bras and bralettes. Take those out of the picture, and this becomes a much easier DIY! You can still keep them in if you want though, I've got that covered too.
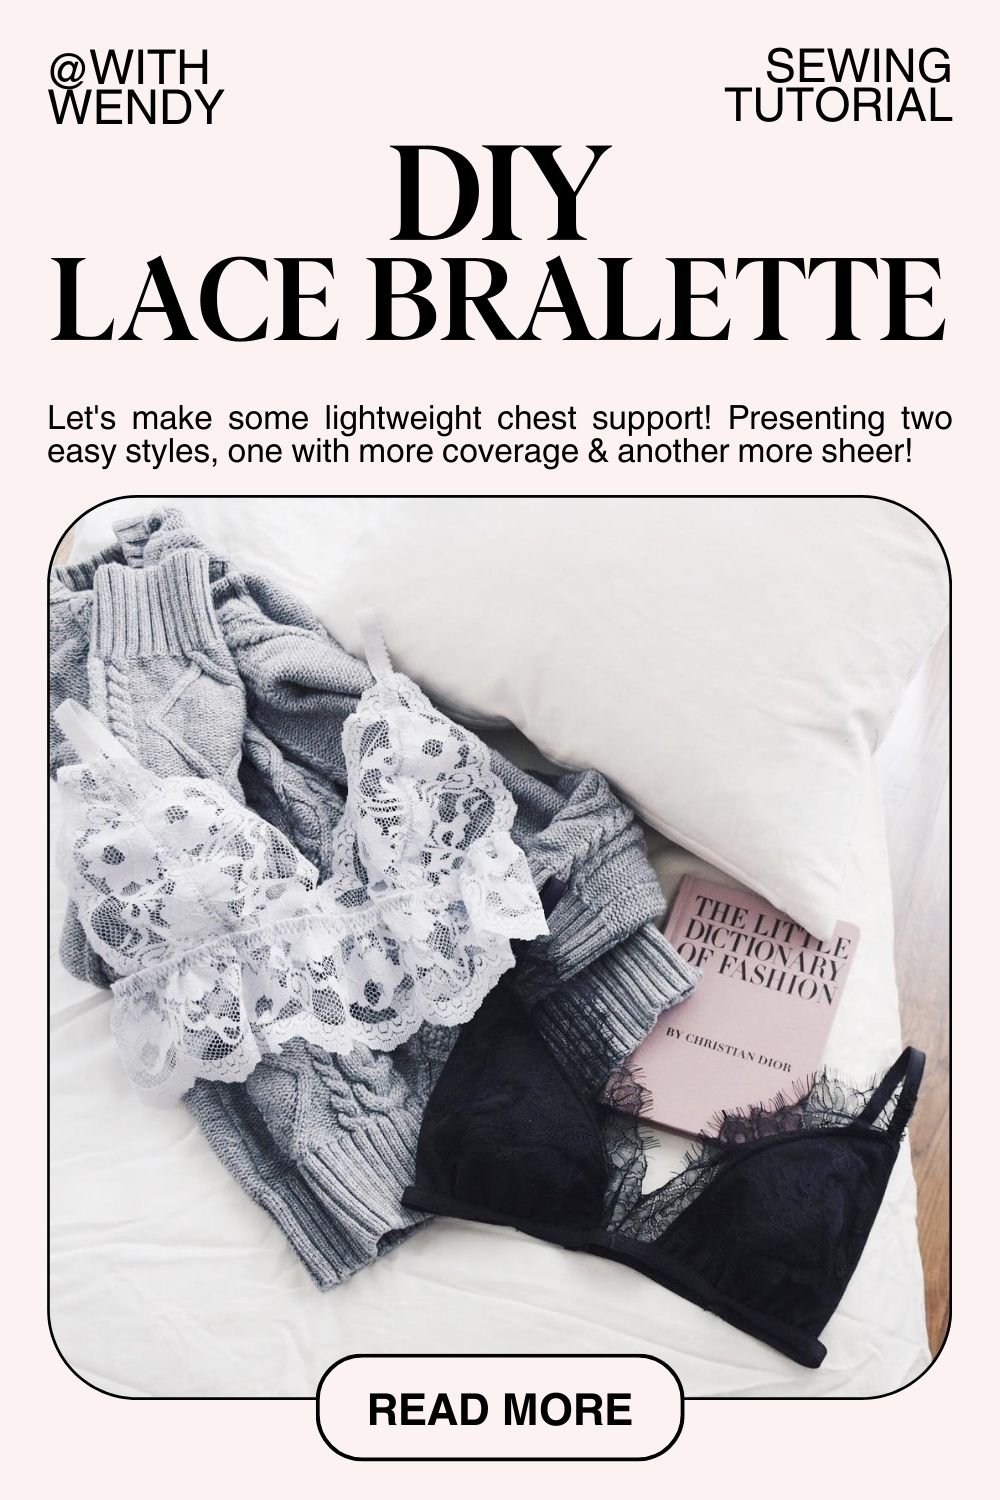
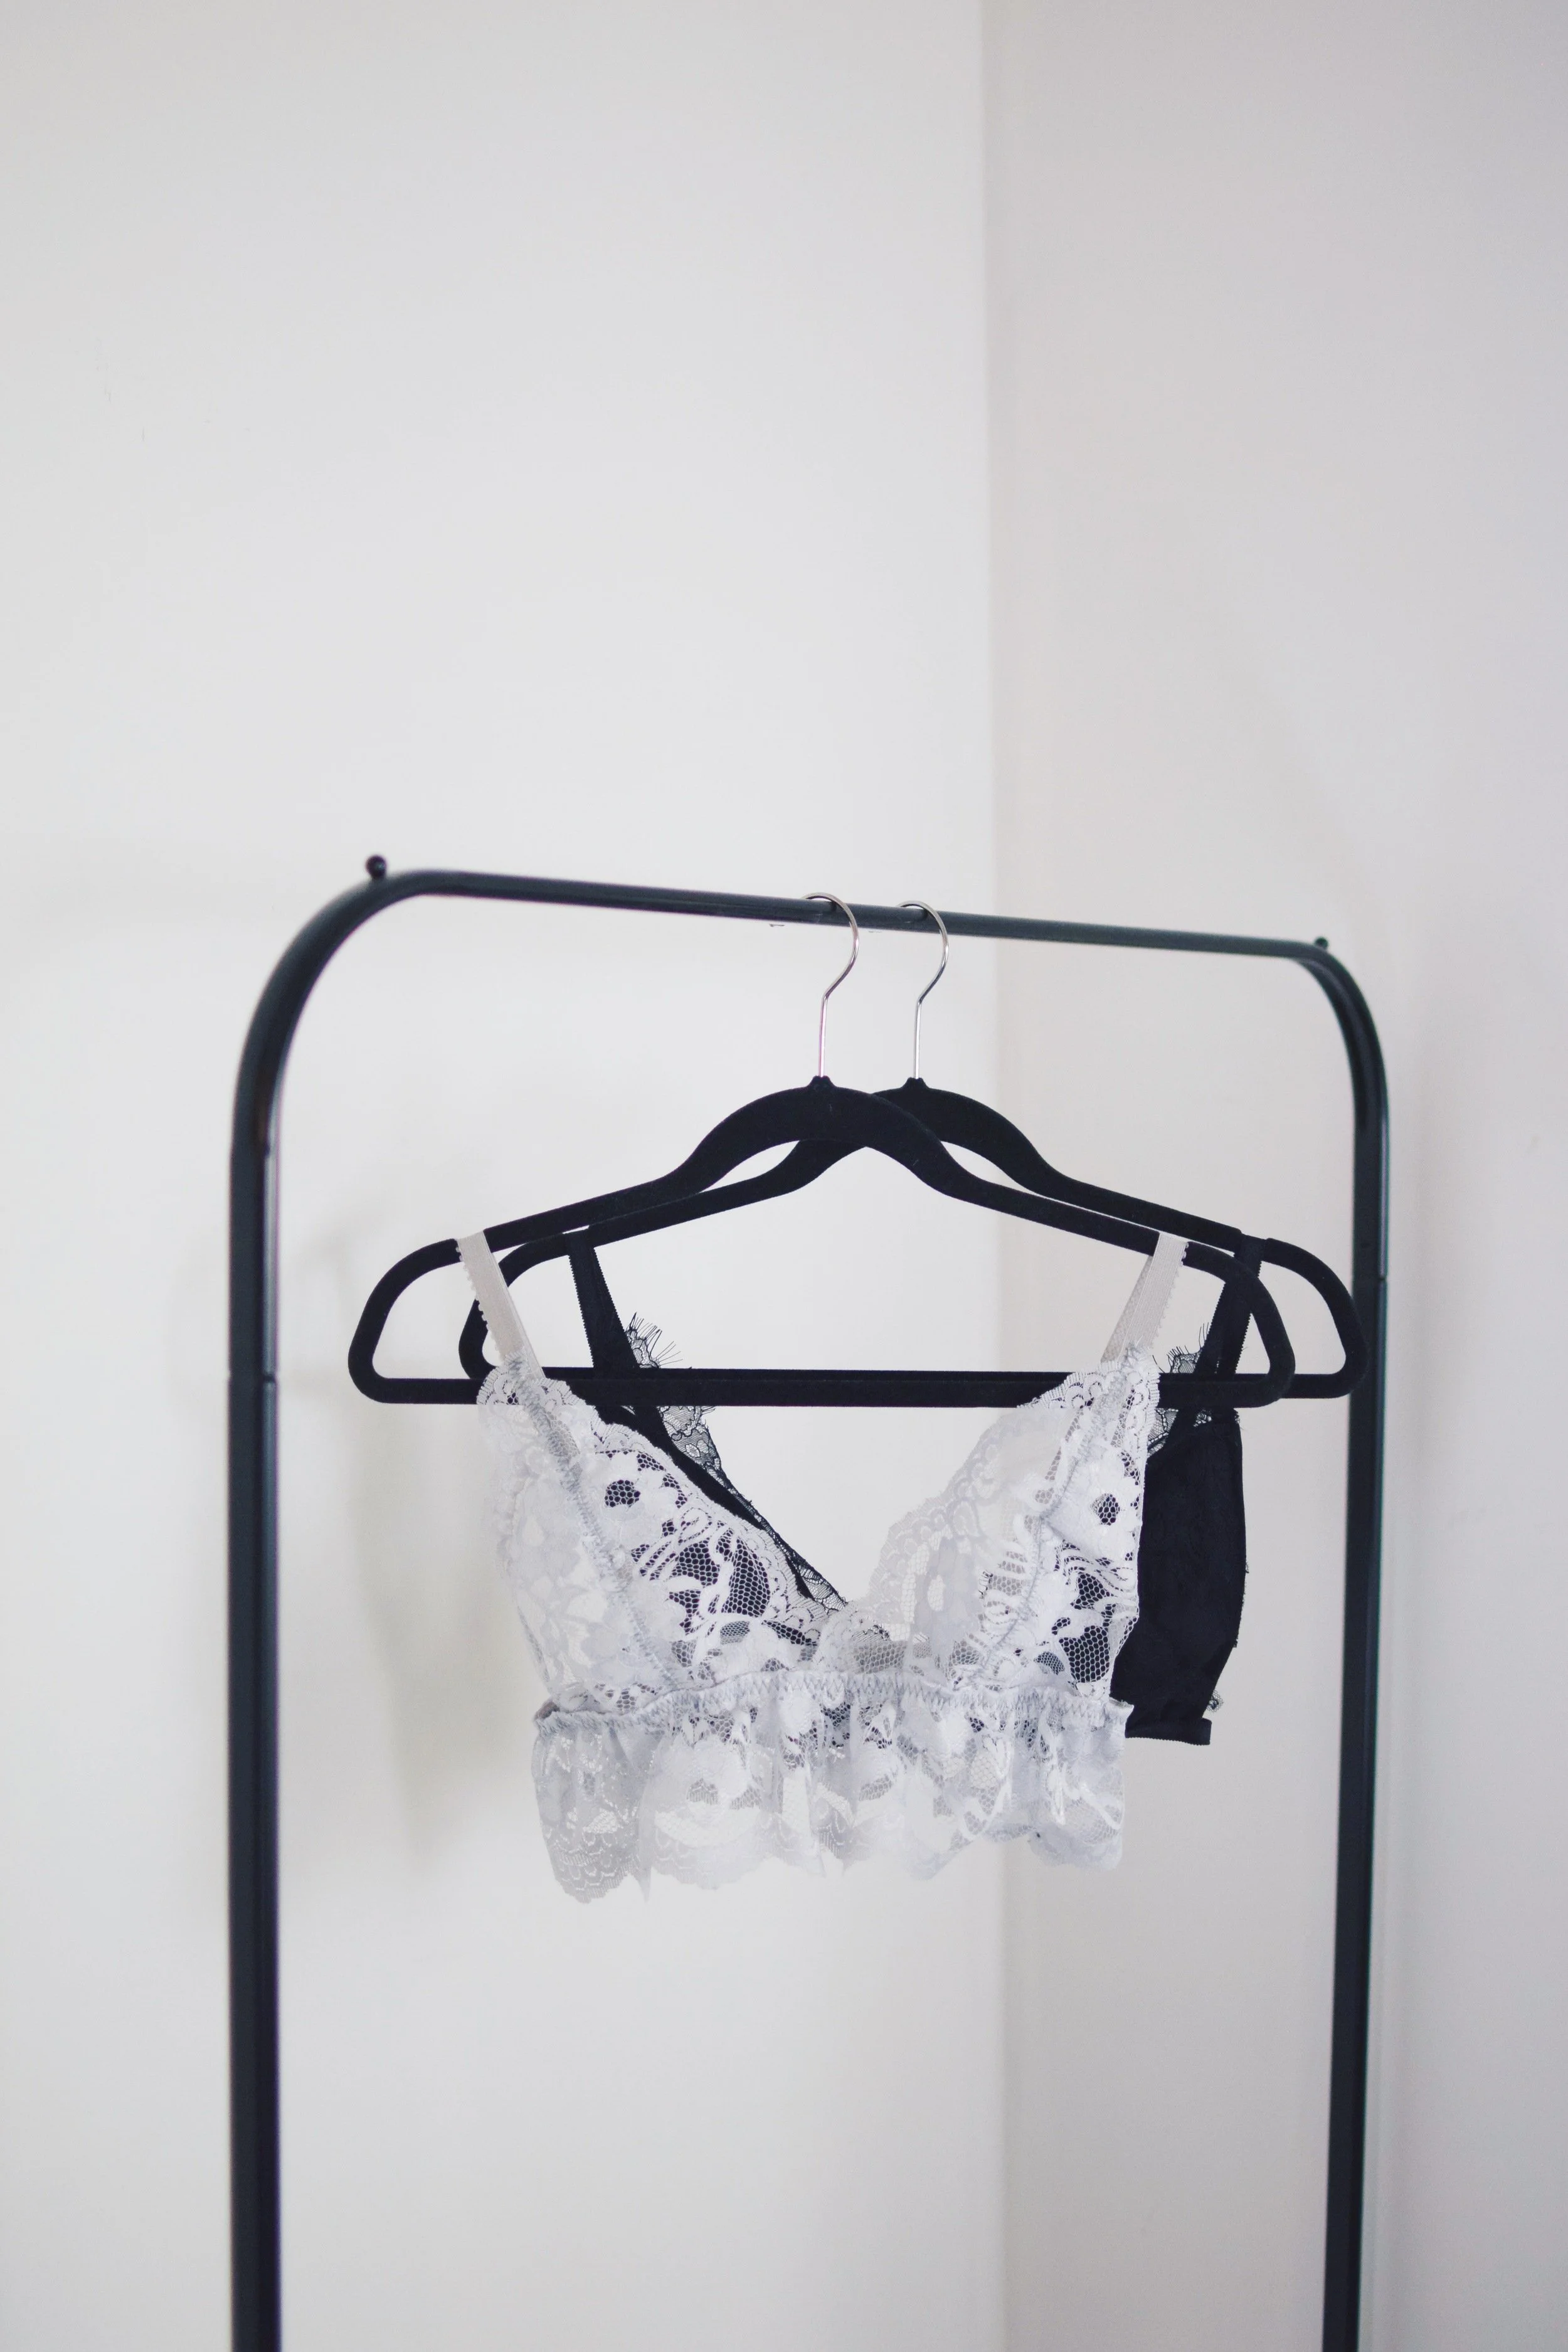
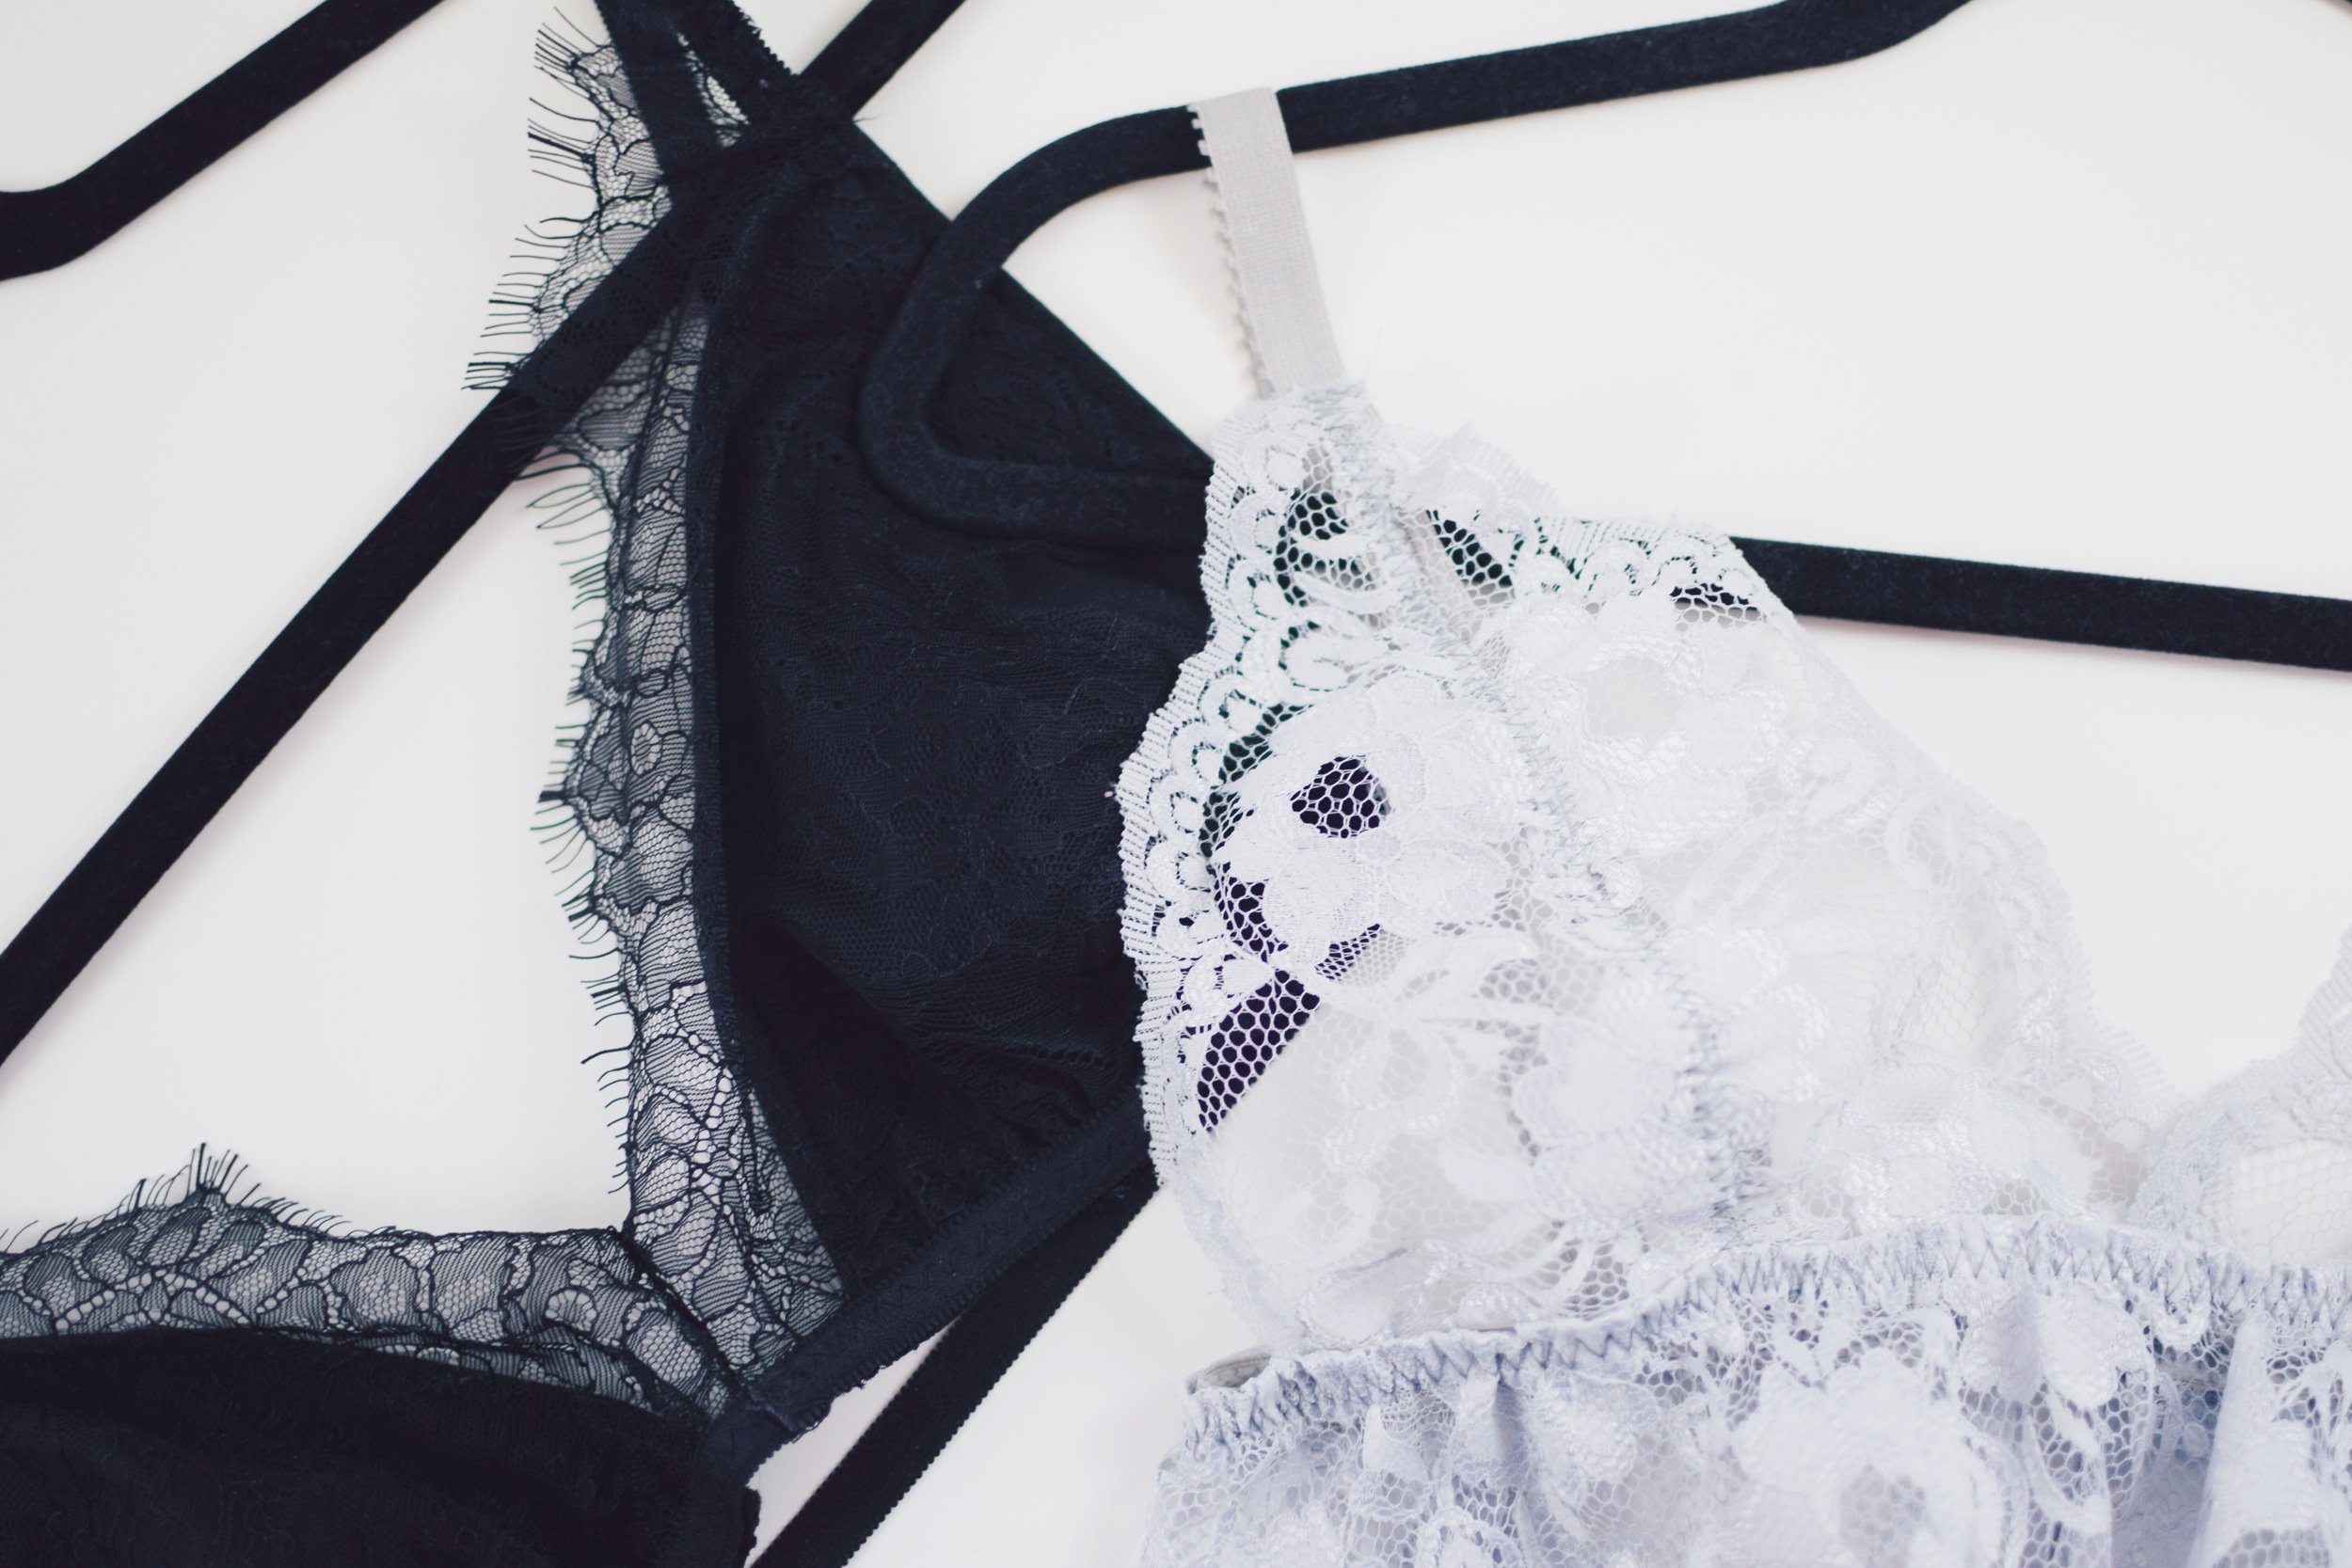
Let's make some lightweight chest support! Presenting two easy styles below. The black one has full coverage (no nipples in sight), some stunning scalloped eyelash lace, and adjusters on the straps. The grey one has... less coverage (free the nipple?), scalloped lace all around, and a scalloped skirt! I skipped the adjusters on the grey.
Materials for either bralette:
1 yd lace fabric or wide lace trim
2 yd lingerie elastic (here's a link)
.25 yd knit fabric (for black bralette)
2 sliders and rings (for adjustable straps, here's a link)
1 printed cup pattern (I added 0.5" all the way around for more coverage)

First, the black bralette:
Cut out the left and right cup by cutting through two layers of fabric with the cup pattern
Repeat step 1 so you have 4 layers in total for each of the two pattern pieces
Pair up the pattern pieces along the curved edge, right sides together, the longer straight edge will be the side of the cup closer to the heart, the shorter straight edge will be the side of the cup closer to the arm
Lay the left and right cup pieces on top of each other, with the wrong side of the fabric on the outside
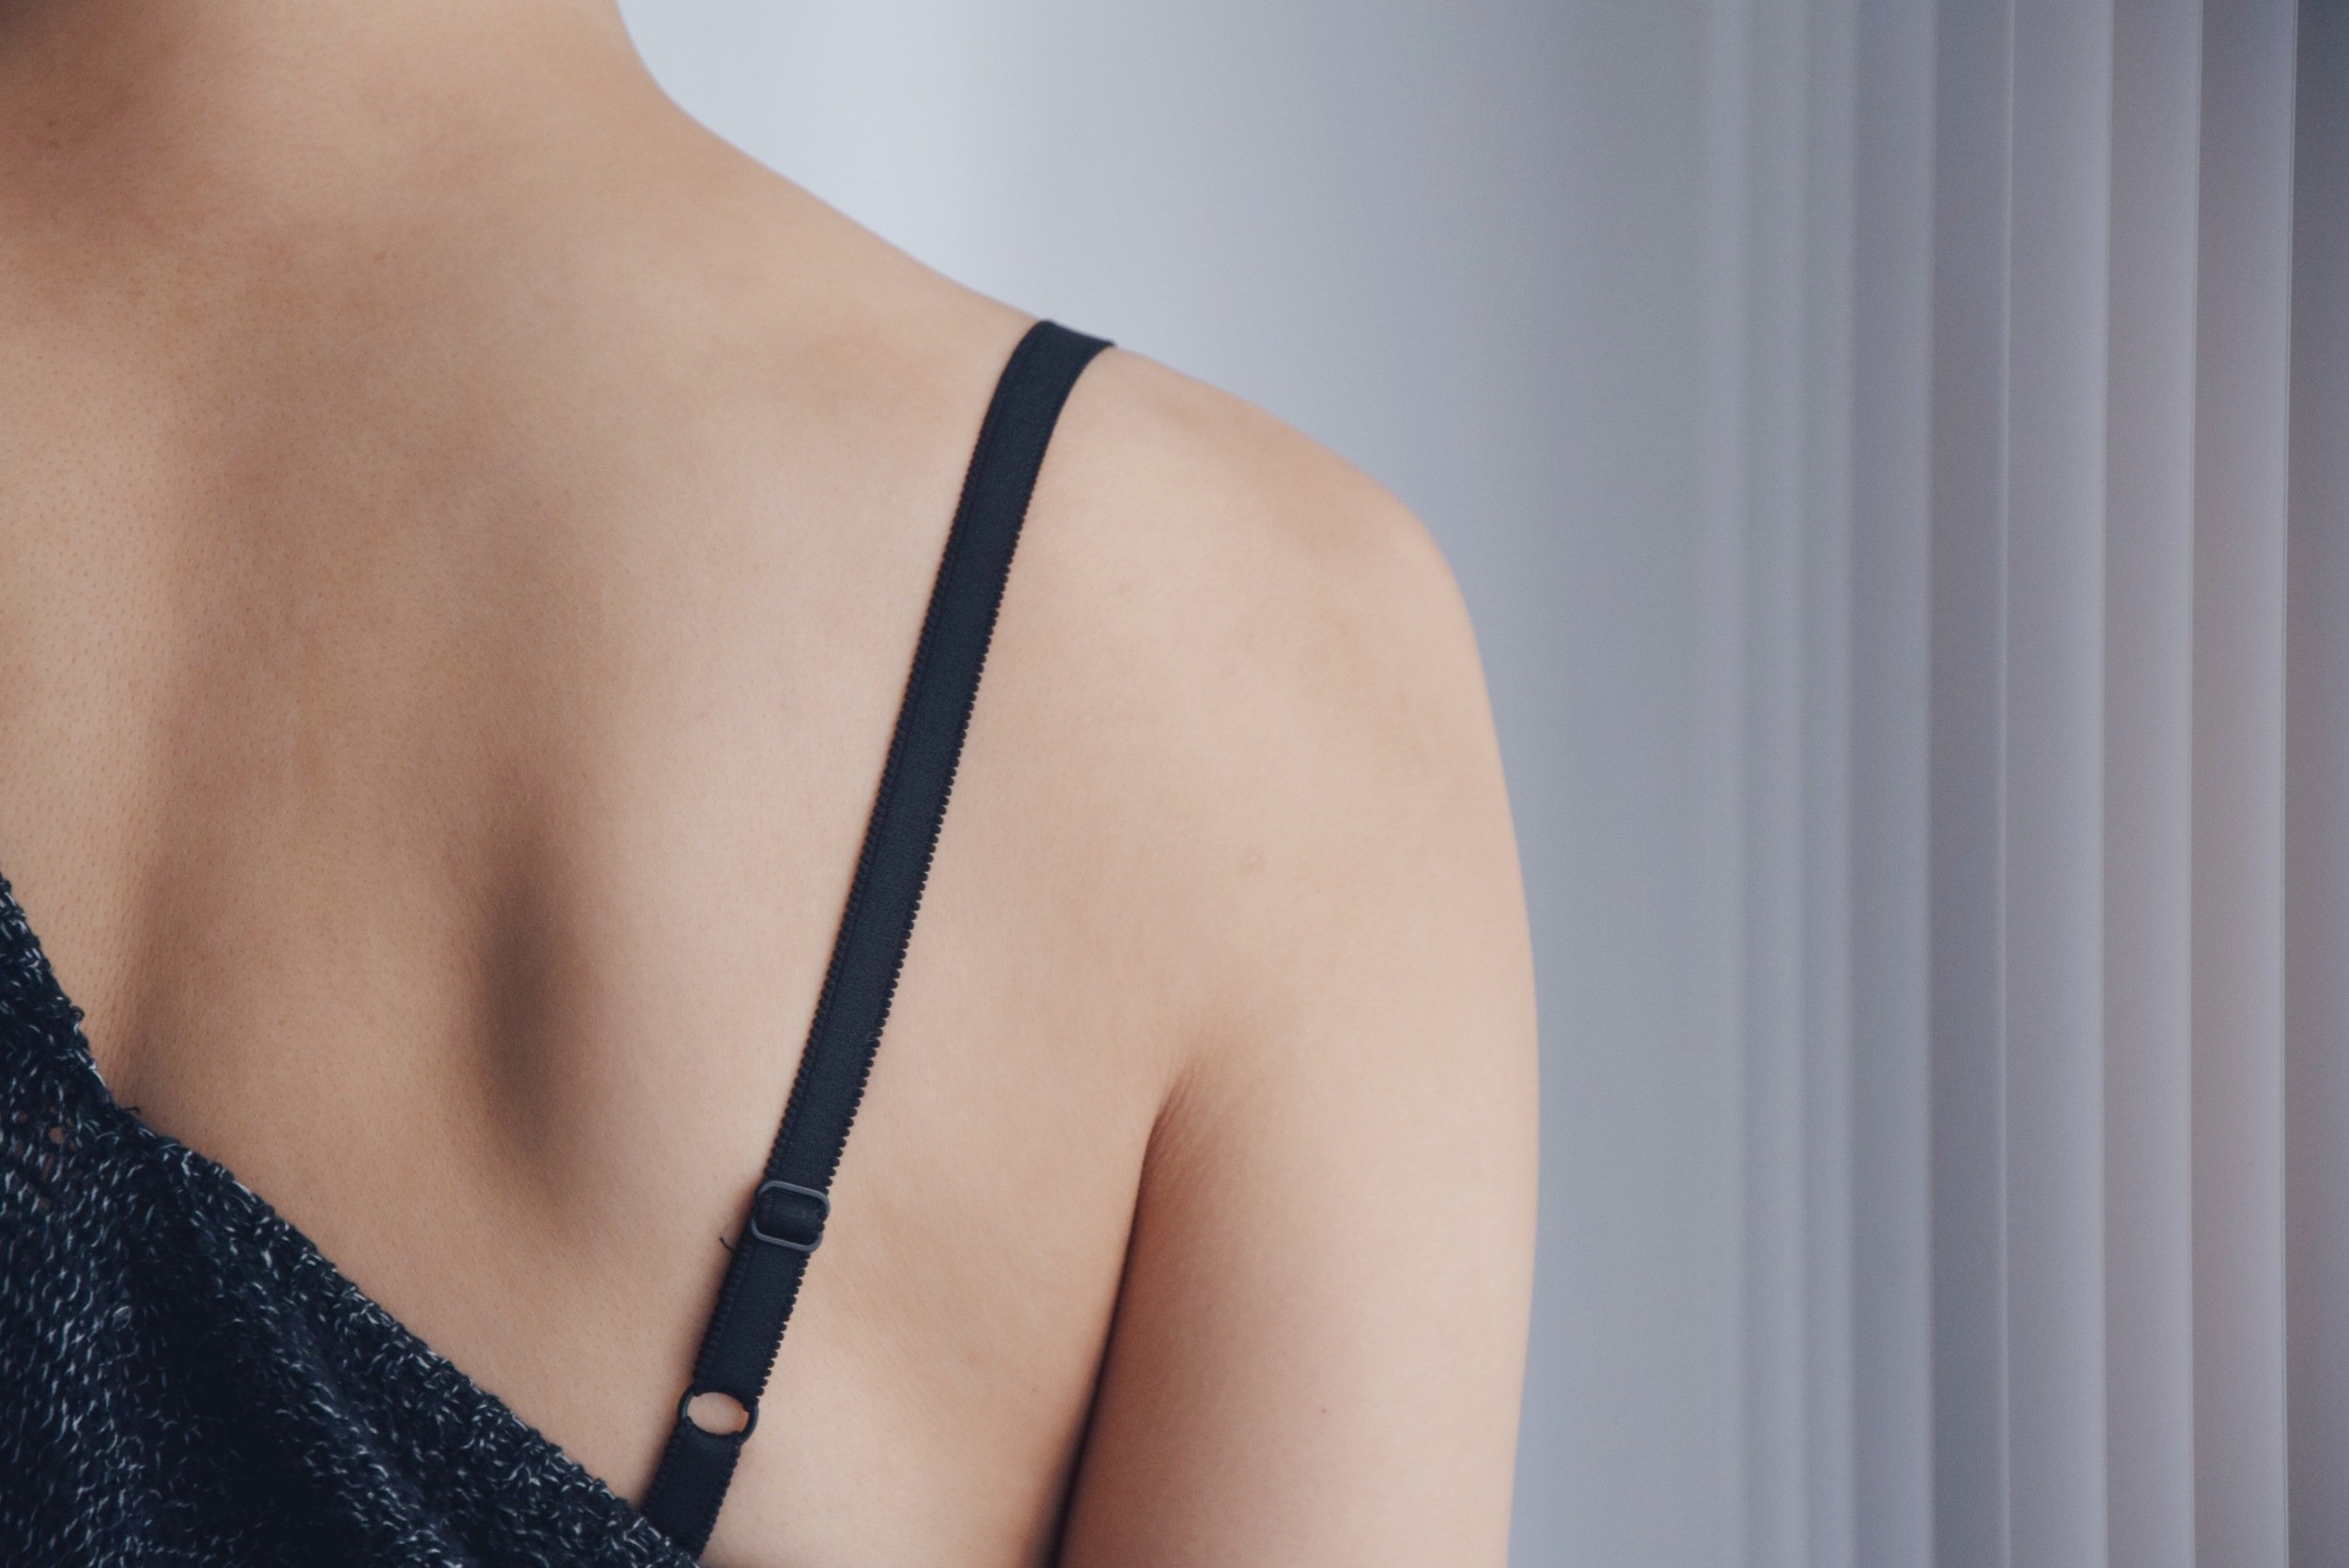
Insert the bra strap between the layers and pin it to the peak of the bra cups (mine was 16" long)
Sew the bra cups along the sloped edges, but leave the bottom open
Cut off excess fabric at the peak and flip the cup to be right side out, the strap should be coming out of the peak
Pin the scalloped lace along the long edge of the cups and sew onto the cup all around
Cut off excess fabric along the sides of the cup and sew the two cups together with a straight stitch along the middle front
Cut a waistband from the lingerie elastic and seal into a loop with a zigzag stitch (mine was 25")
Pin the waistband to the cups, stretching the elastic as you pin so that the cups stay on the front when the waistband is resting
Sew the cups to the waistband using a zigzag stitch, stretching the waistband as you go so it lays flat with the cups
Cut two 2" pieces of the lingerie elastic and slide each halfway through an adjuster ring
Fold these in half (right side on the outside) and sew to the back of the waistband with a zigzag stitch (mine were 6" apart)
Slide the straps through the slider, then through the ring at the back, and then back through the slider (the video shows this much more clearly)
Use a zigzag stitch to seal the end of the strap to the slider
Clean up any excess lace that is out of place, I use a zigzag stitch to attach the top end of the lace to the straps.
Second, the grey bralette:
Cut out the left and right cups by cutting through two layers of fabric with the cup pattern
Pair up the pattern pieces along the curved edge, right sides together, the longer straight edge will be the side of the cup closer to the heart, the shorter straight edge will be the side of the cup closer to the arm
Sew the left and right cups together along the middle, overlapping 1.5" total
Cut a waistband from the lingerie elastic and seal it into a loop with a zigzag stitch (mine was 25")
Pin the waistband to the cups, stretching the elastic as you pin so that the cups stay on the front when the waistband is resting
Sew the cups to the waistband using a zigzag stitch, stretching the waistband as you go so it lays flat with the cups
Cut two straps out of the lingerie elastic, it should be long enough to stretch snugly from below your boob to the same height on your back (mine were 18")
Pin these two straps to the bottom middle of each cup and stretch as you pin up to the peak of the cup
Sew the cups to the straps using a zigzag stitch, stretching the straps as you go so it lays flat with the cups
Double-check the strap length by trying the bralette on, then use a zigzag stitch to sew the straps to the back of the bralette (mine were 6" apart)
Cut enough scalloped lace to wrap around your bust (mine was 39")
Lay the two ends of the skirt's right sides together and use a straight stitch to turn it into a loop
Cut off the excess fabric and pin this loop to the waistband evenly all the way around, tucking in the raw edge as you pin
Use a zigzag stitch all the way around the waistband to attach the skirt