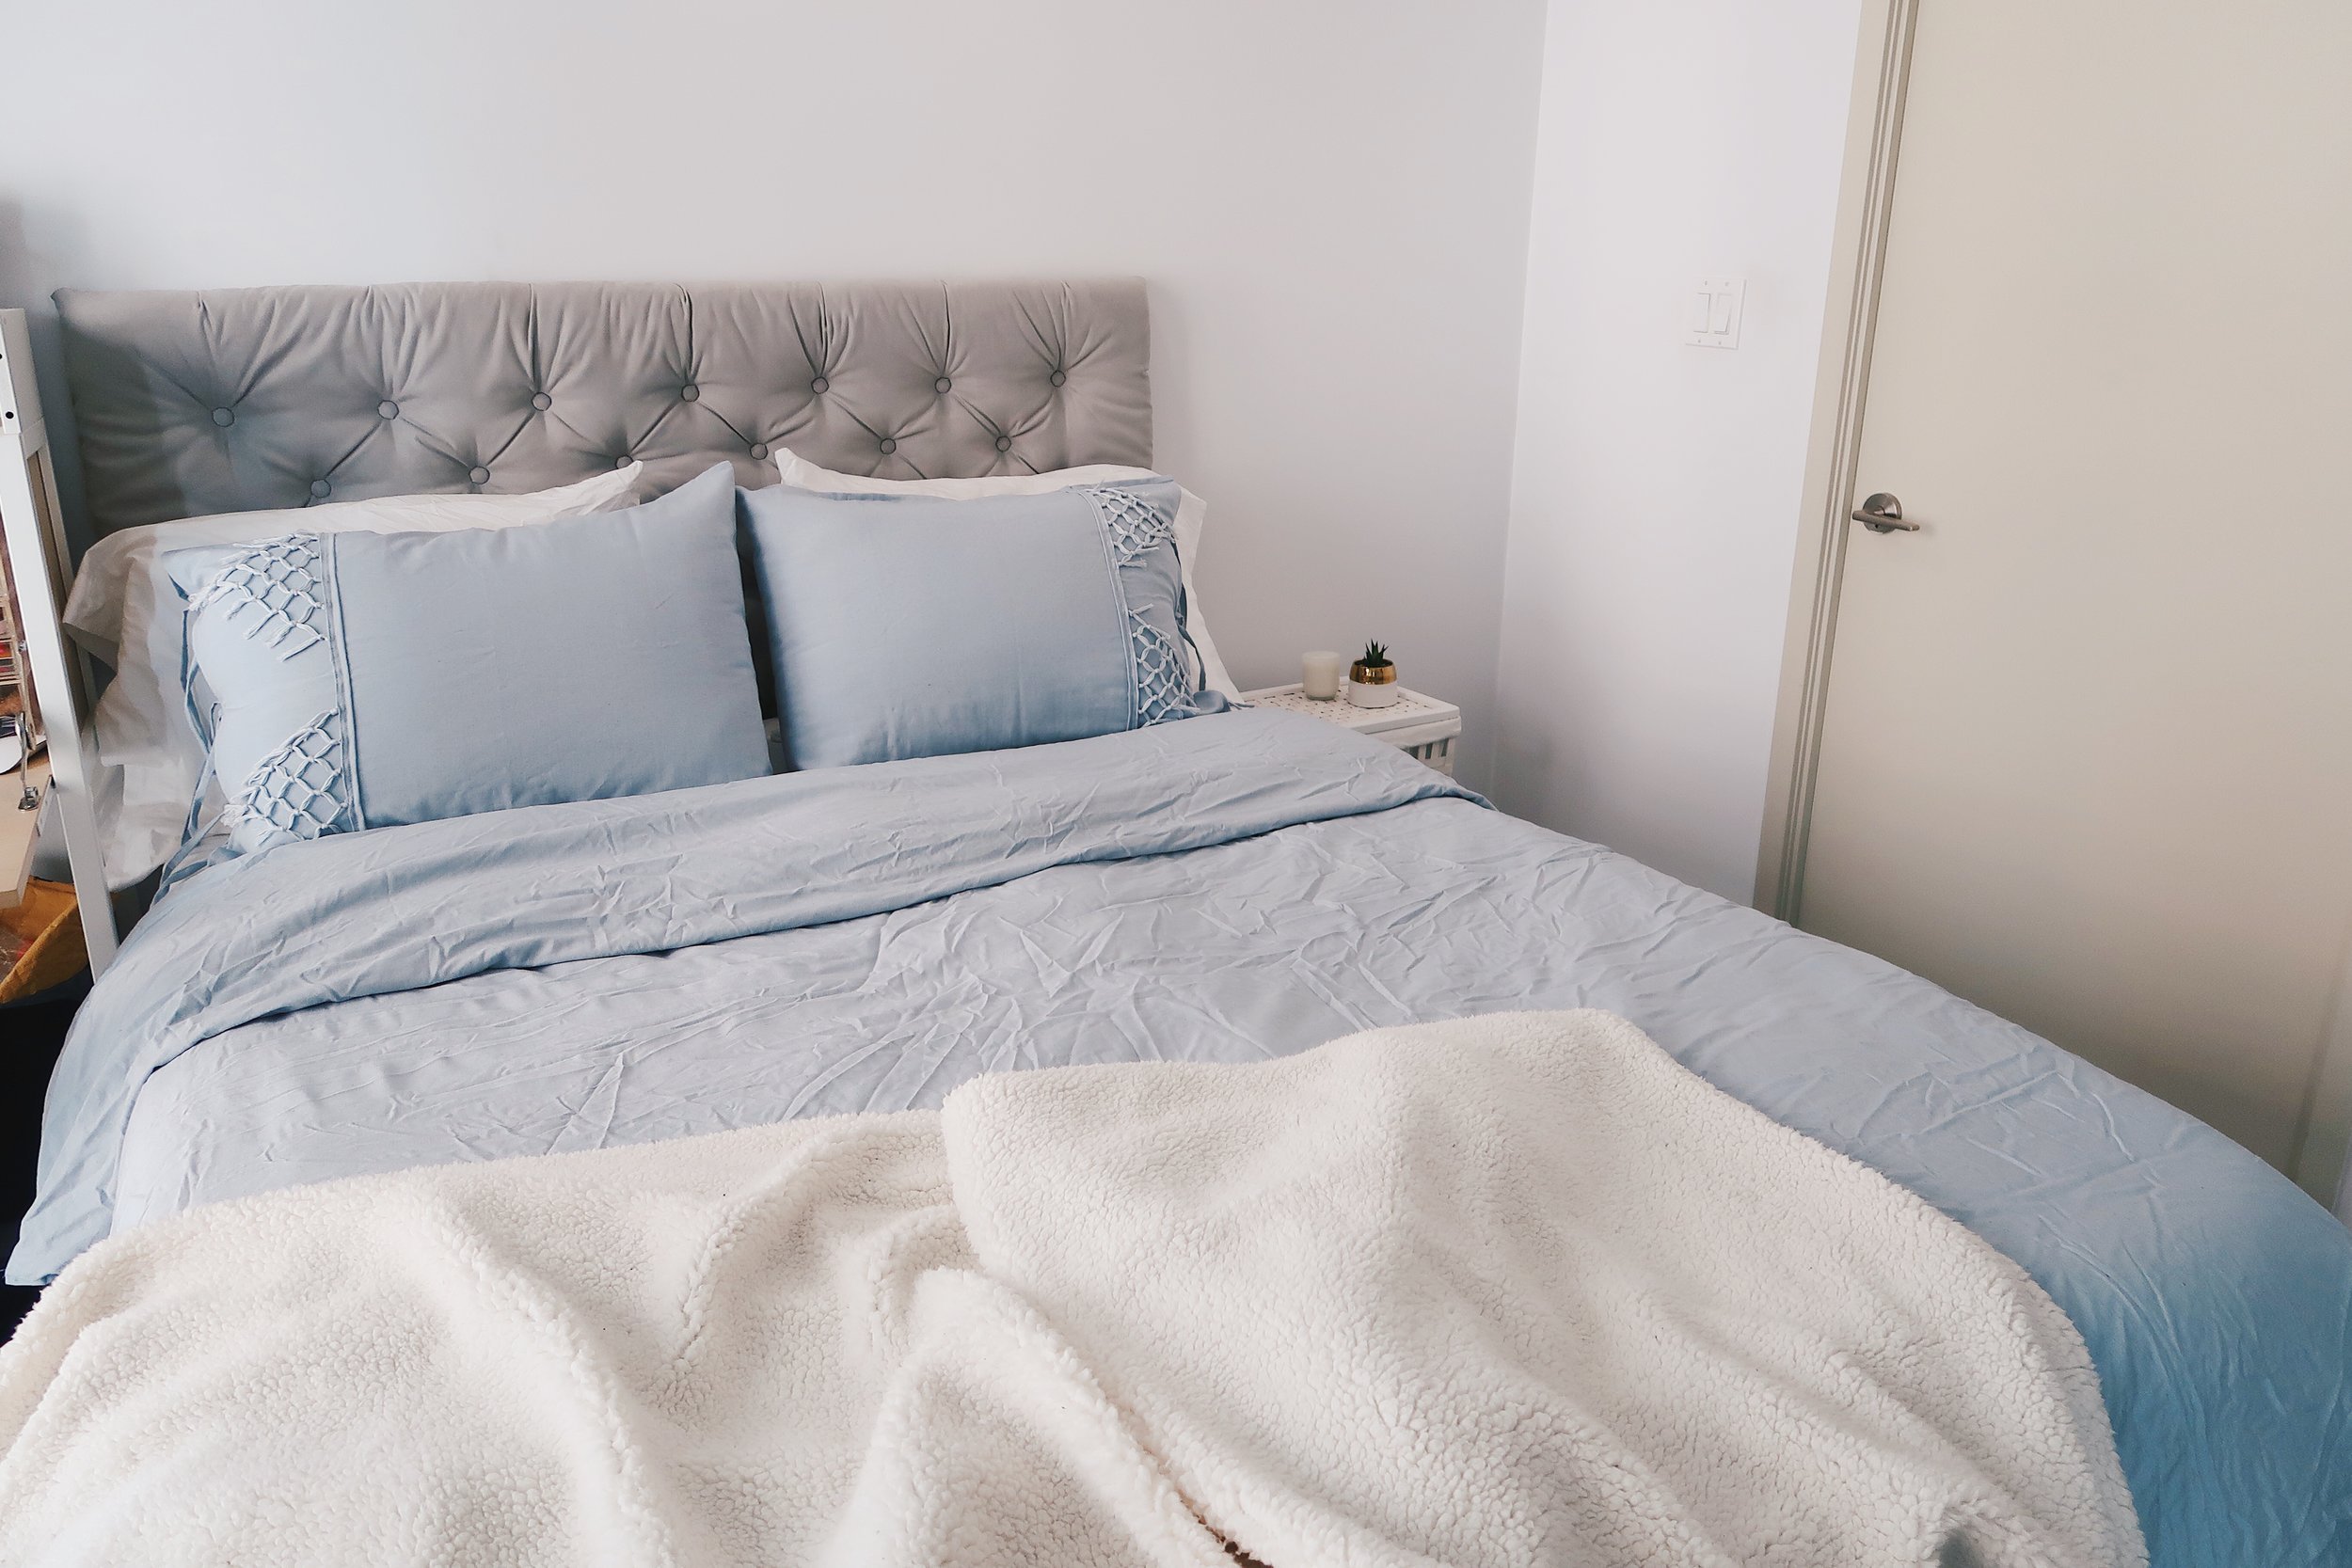
DIY: Tufted Headboard
Dan and I made our own tufted headboard! It's been such a rich addition to our bedroom and provides a visual anchor for the bed. Aside from all the times we stalled when we bought the wrong materials, this was actually more like a big-day project. Not too long! Below I'll list our supplies, steps, and the video tutorial to see it happen.
MATERIALS
Wooden pegboard - should be 2-3 inches wider than mattress, must be an ODD number of holes horizontally, height is completely flexible (ours was 61 x 36 inches)
Fabric - enough to exceed all sides by 10 cm (I bought 2.5 yards of a 60-inch tall suede-like material)
Foam - enough to cover the pegboard, can use upholstery foam or save money and use a mattress topper, minimum 2-inch thickness recommended
Quilt batting - enough to exceed all sides by 10 cm
Button cover kit - we used 50 buttons for our headboard
Waxed upholstery thread - a bit like thick dental floss
Headboard hanger - ours was in a kit to hang mirrors, frames, etc.
TOOLS
Staple gun and 1/4" staples - needs to be strong enough to pierce pegboard
Upholstery needle - needs to be longer than foam thickness
Cement spray - ensure your space is well-ventilated
Electric drill - for mounting the headboard hanger
Glue gun - if needed for the button covers
STEPS
Mark the back of the pegboard to determine the tufting spots, ours was 8x8 hole diamonds
Use the pegboard to measure and cut out the foam needed
Cement glue the foam to the unmarked side of the pegboard
Cut the quilt batting to cover the foam with 10 cm to spare on all sides, and cement glue to the foam
Staple the quilt batting to the pegboard on the back
Cut a strip of fabric to use for covering the buttons, following the button covering kit instructions
Drape the fabric over the pegboard and clip it in place along the top
Thread the upholstery needle with the waxed thread and pierce through the marked holes from the back, starting from the middle
Slide on the button from the front, then pierce the needle back through to a neighboring hole
Push hard on the button while a helper ties the threads in the back to secure them as tightly as possible
Continue with each button, moving outwards from the center column by column
12. Tuck and wrap the fabric around to the back and staple to the pegboard
13. Staple the four corners last to ensure the folds are flat and form a good corner
14. Cut off the excess fabric and batting, with option to tuck away the raw edges and staple in place
15. Measure and attach the hanger to the back of the headboard and the wall
16. Slide the mattress against the wall to finish!
OUR MATTRESS
We got a complete mattress set from Casper, which included a frame, box, mattress, topper, two pillows, and all sheets/pillowcases. The delivery and setup were very straightforward and we've loved it since.
MODIFICATIONS
Thicker tufts: layer additional foam to achieve at least 3 inches of depth
Experiment with colour: if we did it again, we would have done a darker grey to have a bit more presence
Smaller buttons: smaller button covers may have added a more fine-tuned touch
Height adjustment: the more regal you'd like this to look, the taller the headboard!
Nail trim: a popular option is to add nail trim along the edges, or wood trim to match the wall
Tuft distance: we wouldn't recommend going any smaller than 8x8 inch diamonds, but the number you pick should be even so your diamonds are symmetrical
Shaped pegboard: cut the pegboard to a different shape, like a seashell!
Scalloped edges: pull as hard as possible when stapling the fabric to the back to achieve a more scalloped appearance. In our photos, you can see how one side we made more scalloped than the other so we could decide which one we preferred


