
Barbie look
As many of you know, I began my sewing journey by learning how to sew outfits for my dolls. With the upcoming release of the Barbie movie, it only seemed fitting that I made one of her iconic outfits as seen in the released trailer, and have it ready just in time for opening night!


Using the first Barbie ever made, and this iconic look in the Barbie movie, I wanted to pull in a bit of historical significance and modern inspirations in this look.
We will need…
4 yards of cotton gingham
4 yards of cotton lining
Two 16” invisible zippers
Hook & eyelet closure
Shop the Fashionary sketch tools: (use WENDY_10 for 10% off)
Shop Lutterloh kits: (use Wendy10 for 10% off)


Dress
Using my Lutterloh pattern, I drafted out a pattern with a similar length and shape as what I was looking for. I then re-drew the neckline, freehanding a lower cut, rounded neckline.
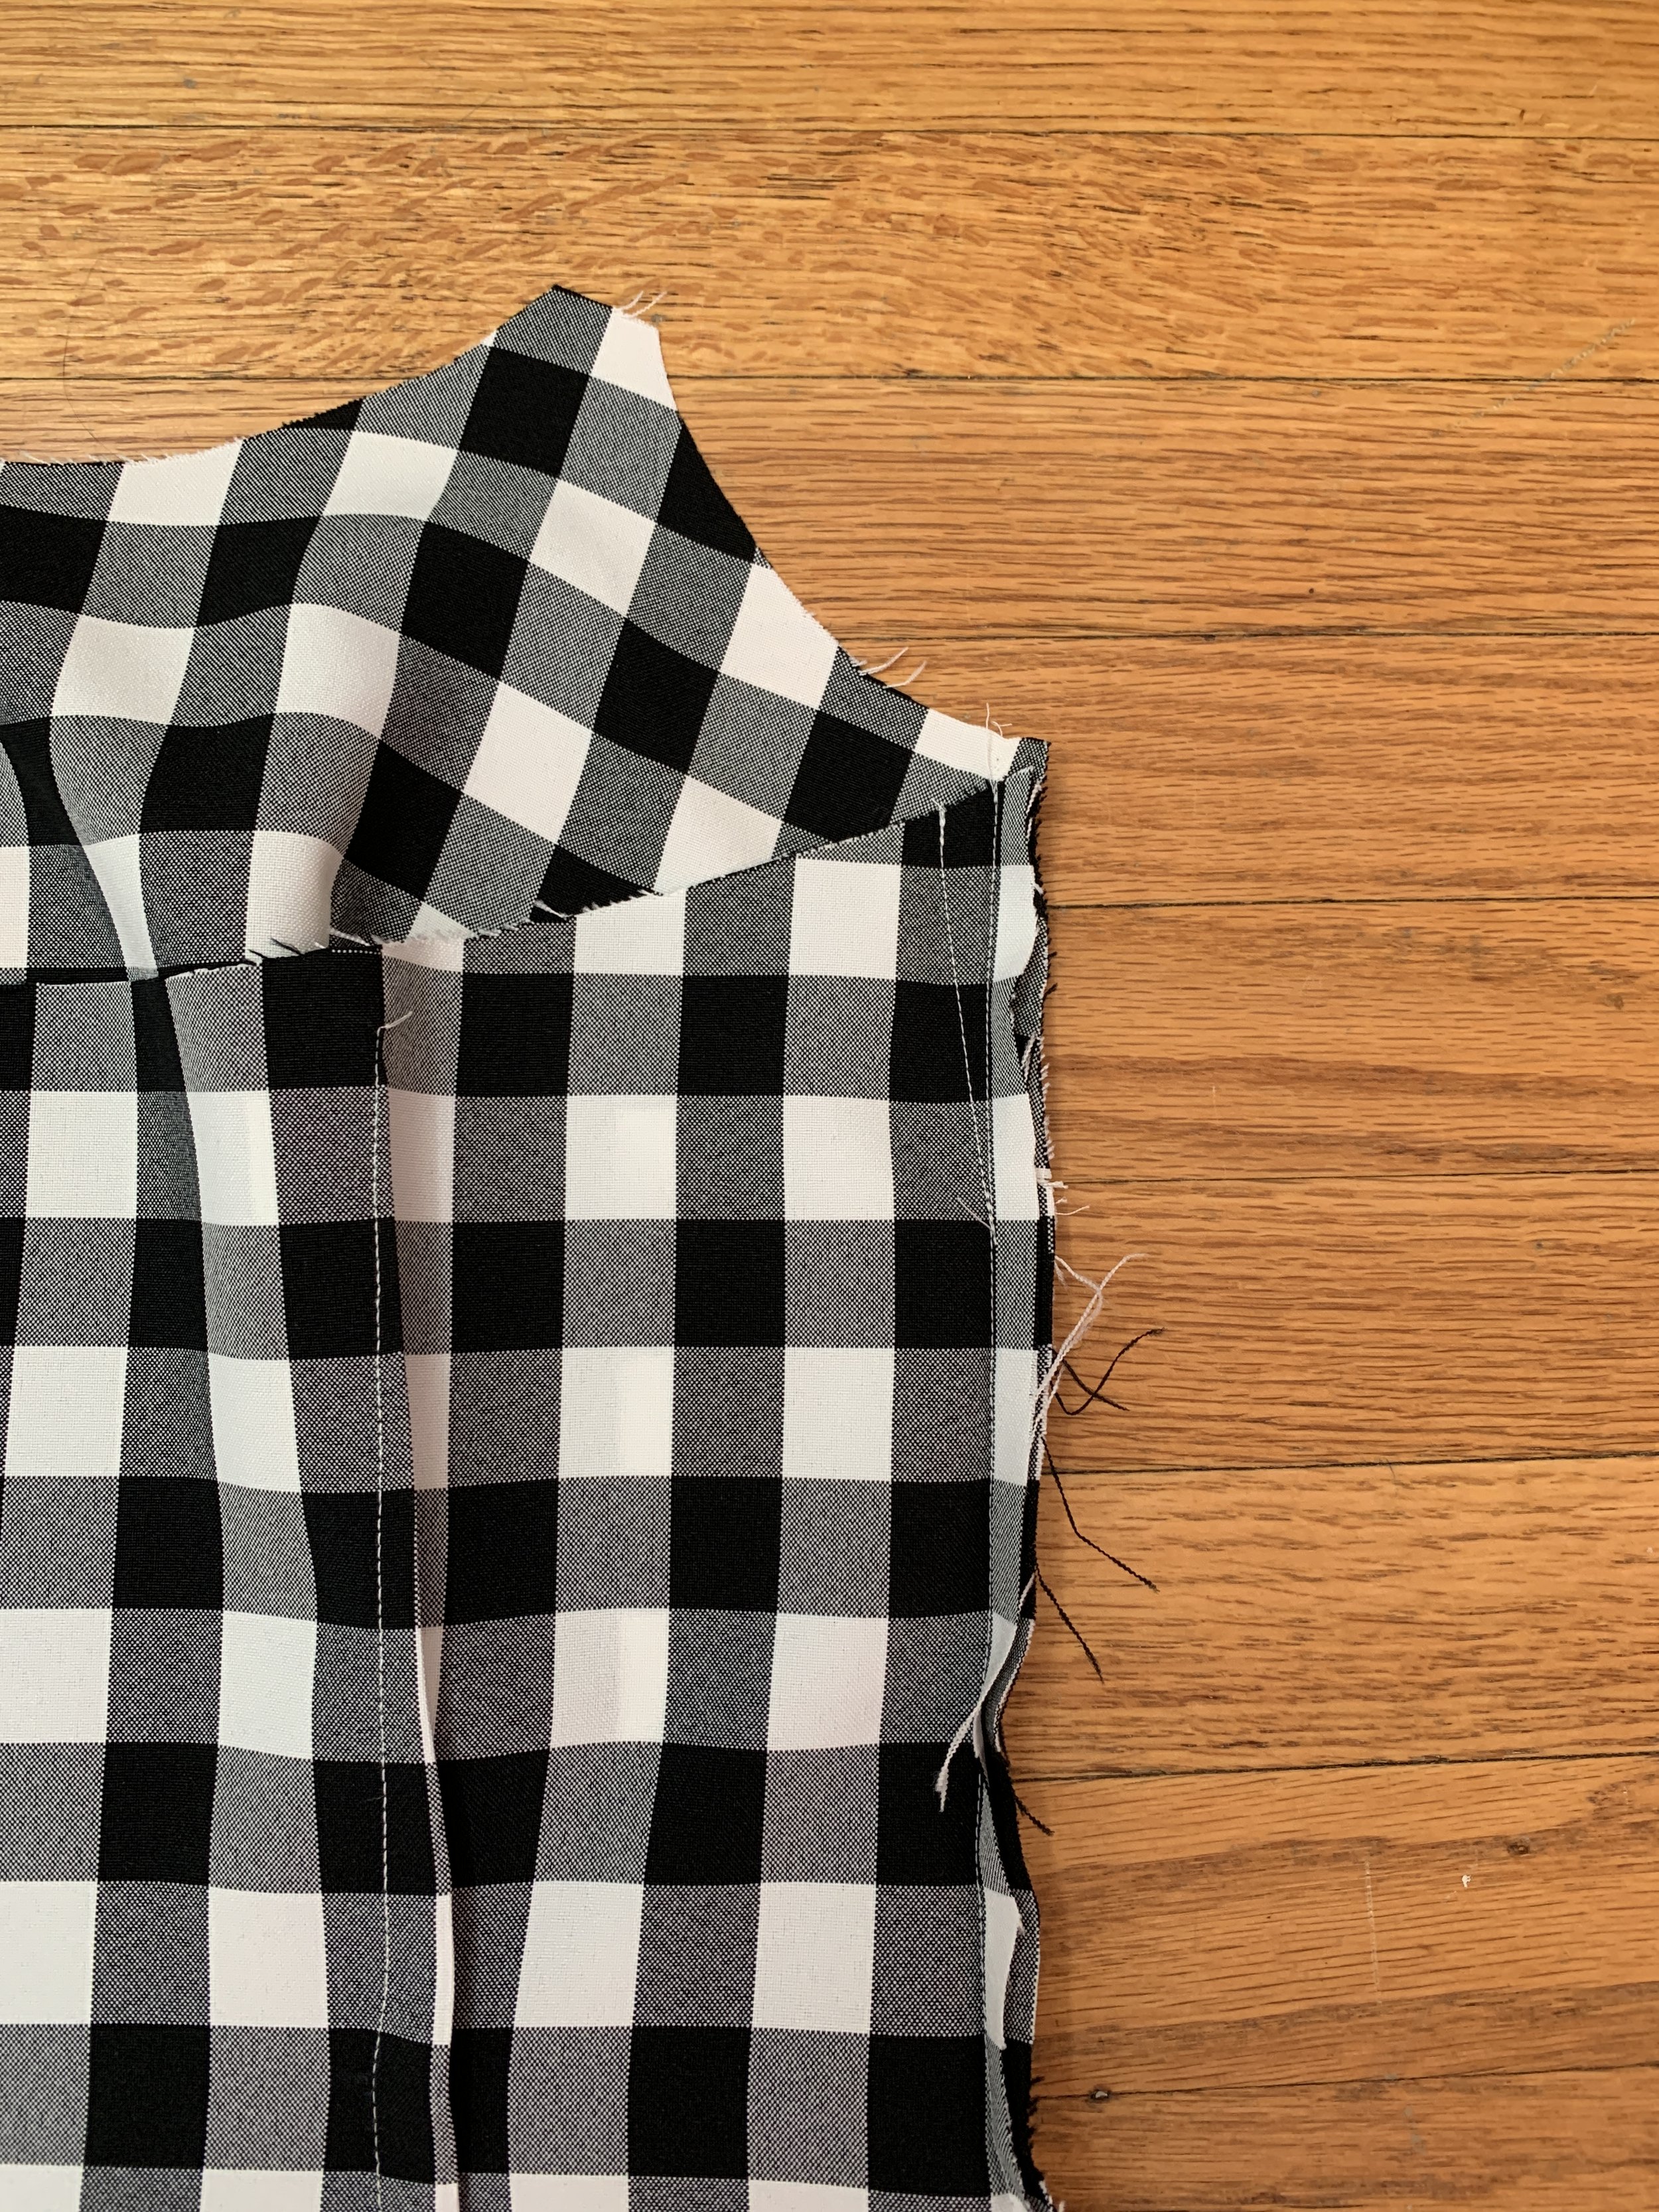
When I cut my pattern on the gingham material, I made sure to think about the way the pattern would manipulate with each section. For a more clean finish, mark out how the pieces will connect and line up the gingham to create a seamless connection.I then repeated these steps for the cotton lining.
Cut the pattern out in the gingham and cotton lining.


4. Sew the darts in the chest and the back. Repeat on the cotton lining.
5. Sew the 2 back panels to the front, leaving the back open for the zipper. Repeat for the lining.

6. Insert the invisible zipper to close the dress. (here is a link for sewing invisible zippers with a lining)
7. Try it on and make adjustments as needed. I ended up tightening the chest darts, extending it closer to my armpit. I repeated this on the lining by measuring what I changed on the outer layer.


Straps
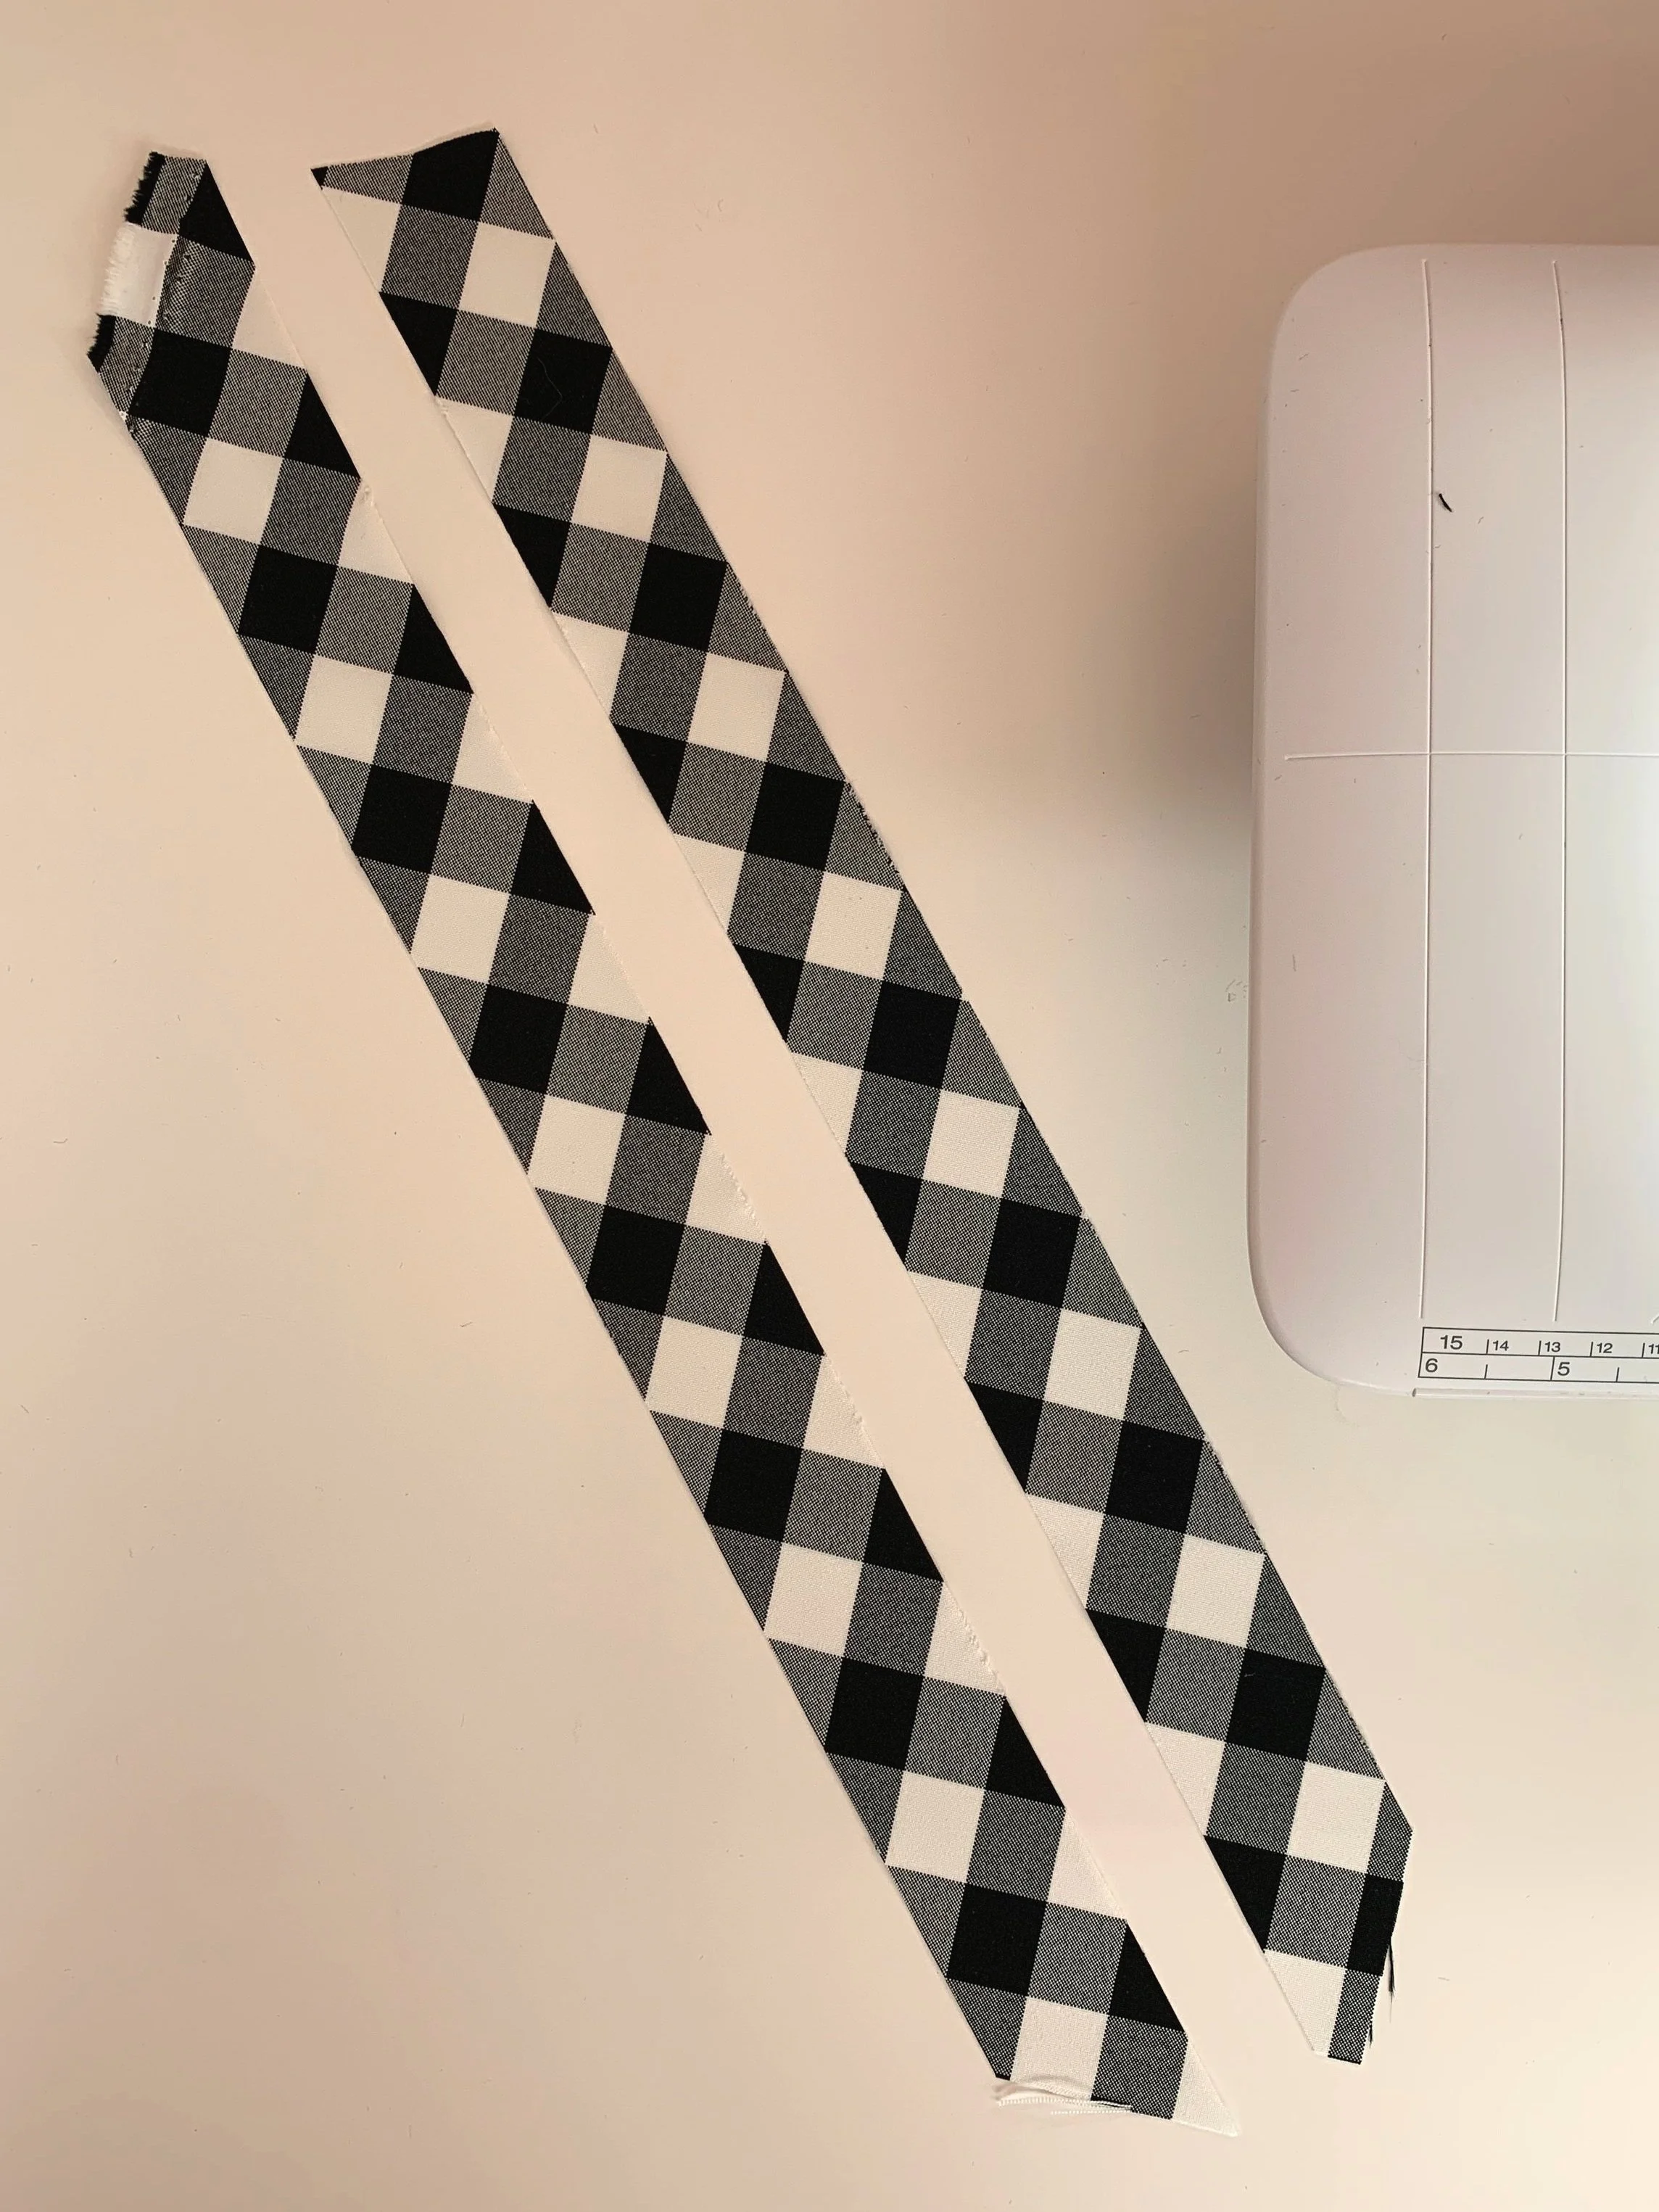
Cut 2 straps at 4cm x 50cm
Fold the strap in half, sew shut, and trim any excess material.
Using a loop turner, turn the strap right side out.
Click here for a detailed video on how to use a loop-turner…Mark out where you would like the straps to sit on the front of the dress.


Put it all together…
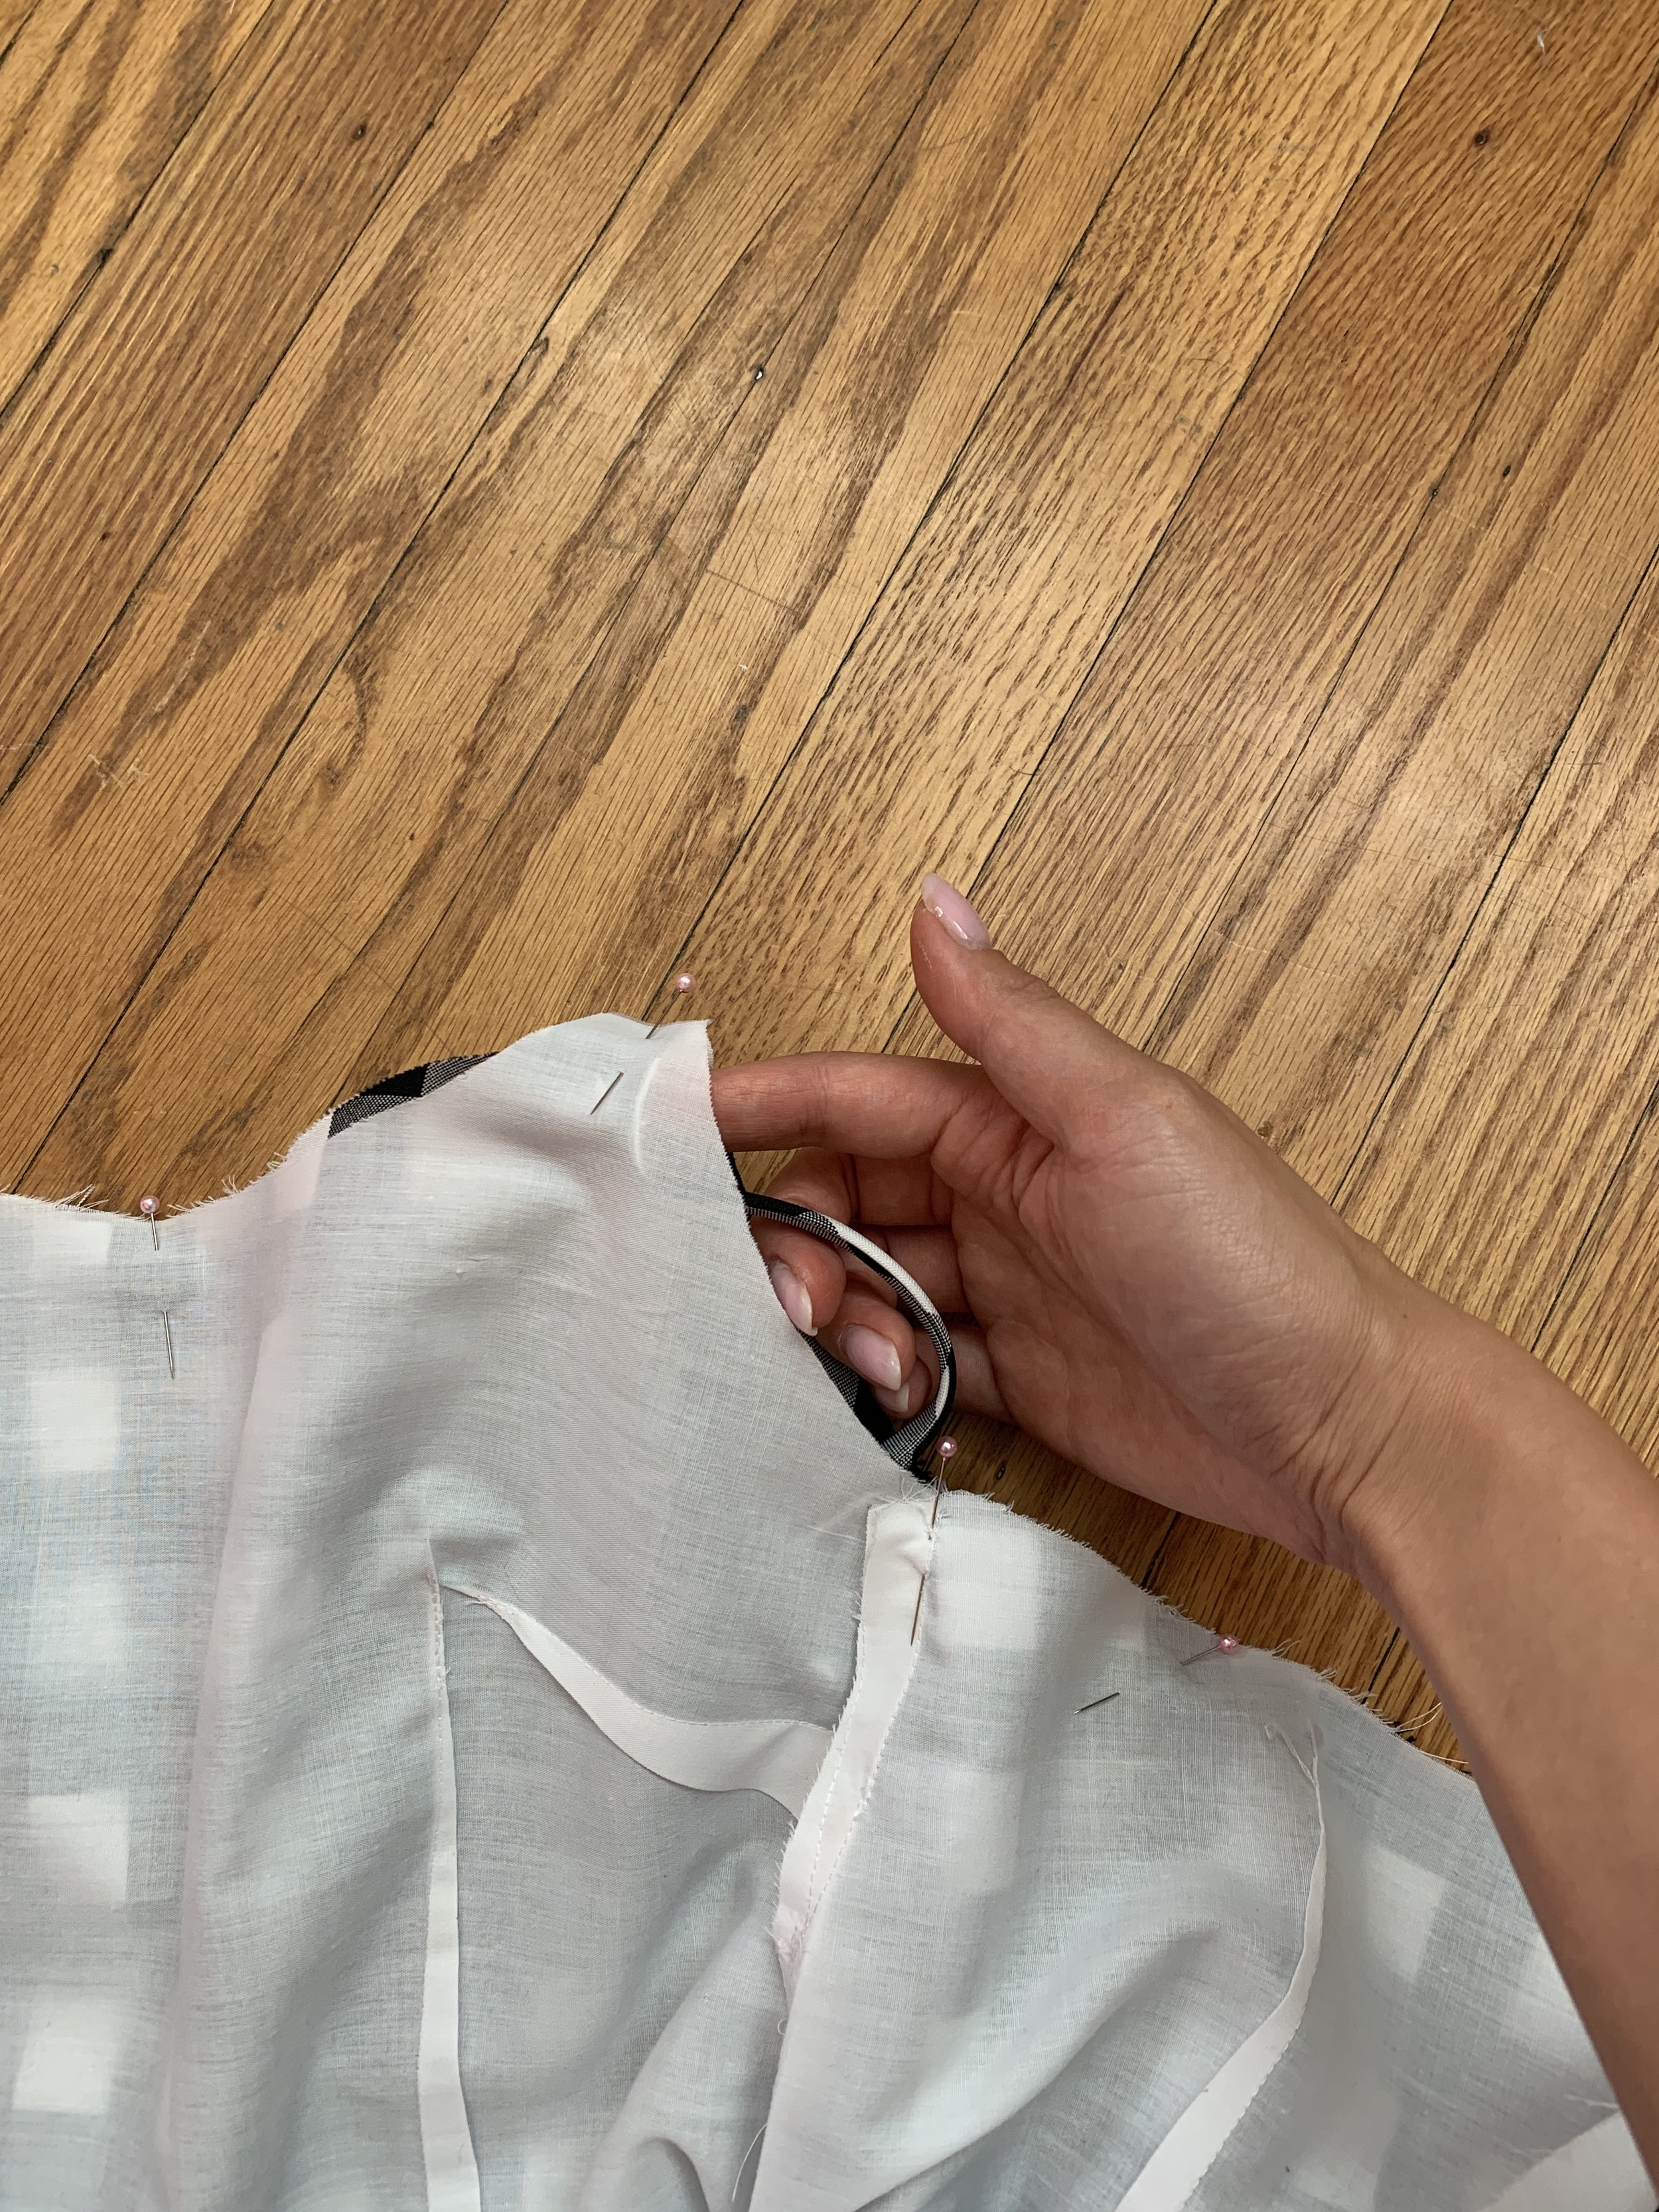
With your straps pinned in place, pin the lining right sides together with the straps hidden inside.
Sew with a 1cm seam allowance, making sure to catch the straps during the process.
Flip the dress's right sides out.
Try on the dress and mark out where you would like the straps to land on the back.
(This helps me make sure they’re sewn in right where I want them to be and are comfortable to wear. The placement of skinny spaghetti straps is so important as they could alter the wearability of an item and could easily fall off of your shoulder!)
Seam rip the area the back of the straps will be inserted in, insert the straps, flip the material so the right sides are touching again, and sew in place!
Try it on again and make adjustments as needed.
Hand stitch a hook and eyelet closure at the top of the invisible zipper for a more clean finish.
Bagged Hem
For a bagged hem, seam rip an opening in the side seam.
Opening the dress up, hem the bottom of the dress by sewing through that opening in the side seam, and work your way around the entire circumference of the bottom.
Understitch the bottom of the dress through that same opening and work your way around in small sections.
Close the side seam using a blind stitch by hand.
(here is a link for bagging the lining)
Final look of the dress
Pleated skirt


The Box Pleated skirt
To give this a fuller look, I wanted to create a removable skirt that you could wear over top of the dress or as a piece on its own, making this a versatile and functional addition.


Using a pleating calculator, plug in your measurements to figure out the amount of material needed.
Using the measurements from the calculator, I cut two pieces out of the gingham for the front and the back, 226cm x 57cm divided into 2 ( if your fabric is long enough, feel free to only cut one full panel). This gave me 8 pleats measured at 28cm per pleat. The front, flat pleat measures 10cm for each pleat, giving me a waist of 75 cm.
Hem the sides and bottom of the skirt using a blanket stitch on your sewing machine.
Sew the two panels together, creating a large circle.
Press open the seams.
Using a blind stitch and blindstitch foot, sew the bottom of the dress, trying to only catch a small amount in the front for a seamless look.
Press the bottom hem.
With your calculations from the pleating calculator, begin forming your pleats.
I formed my pleats by starting at the side seam, marking out along the waistband 4 evenly spaced sections on the front and back. I then divided the 4 sections in half using different colored pins, showing me where I need to fold my pleats. The 4 pins that I initially marked out, now show the center point of my pleats in the front, whereas the other 4 pins indicate where I need to fold.
It took us a couple of tries, but this tutorial was helpful in showing a good visual on how to properly fold each section.
Remember to keep in mind how the lines/grid will align, for a more seamless look.Once the pleats are pinned in place, sew a basting stitch.
Check that the pleats are in the correct position and fit around your waist.


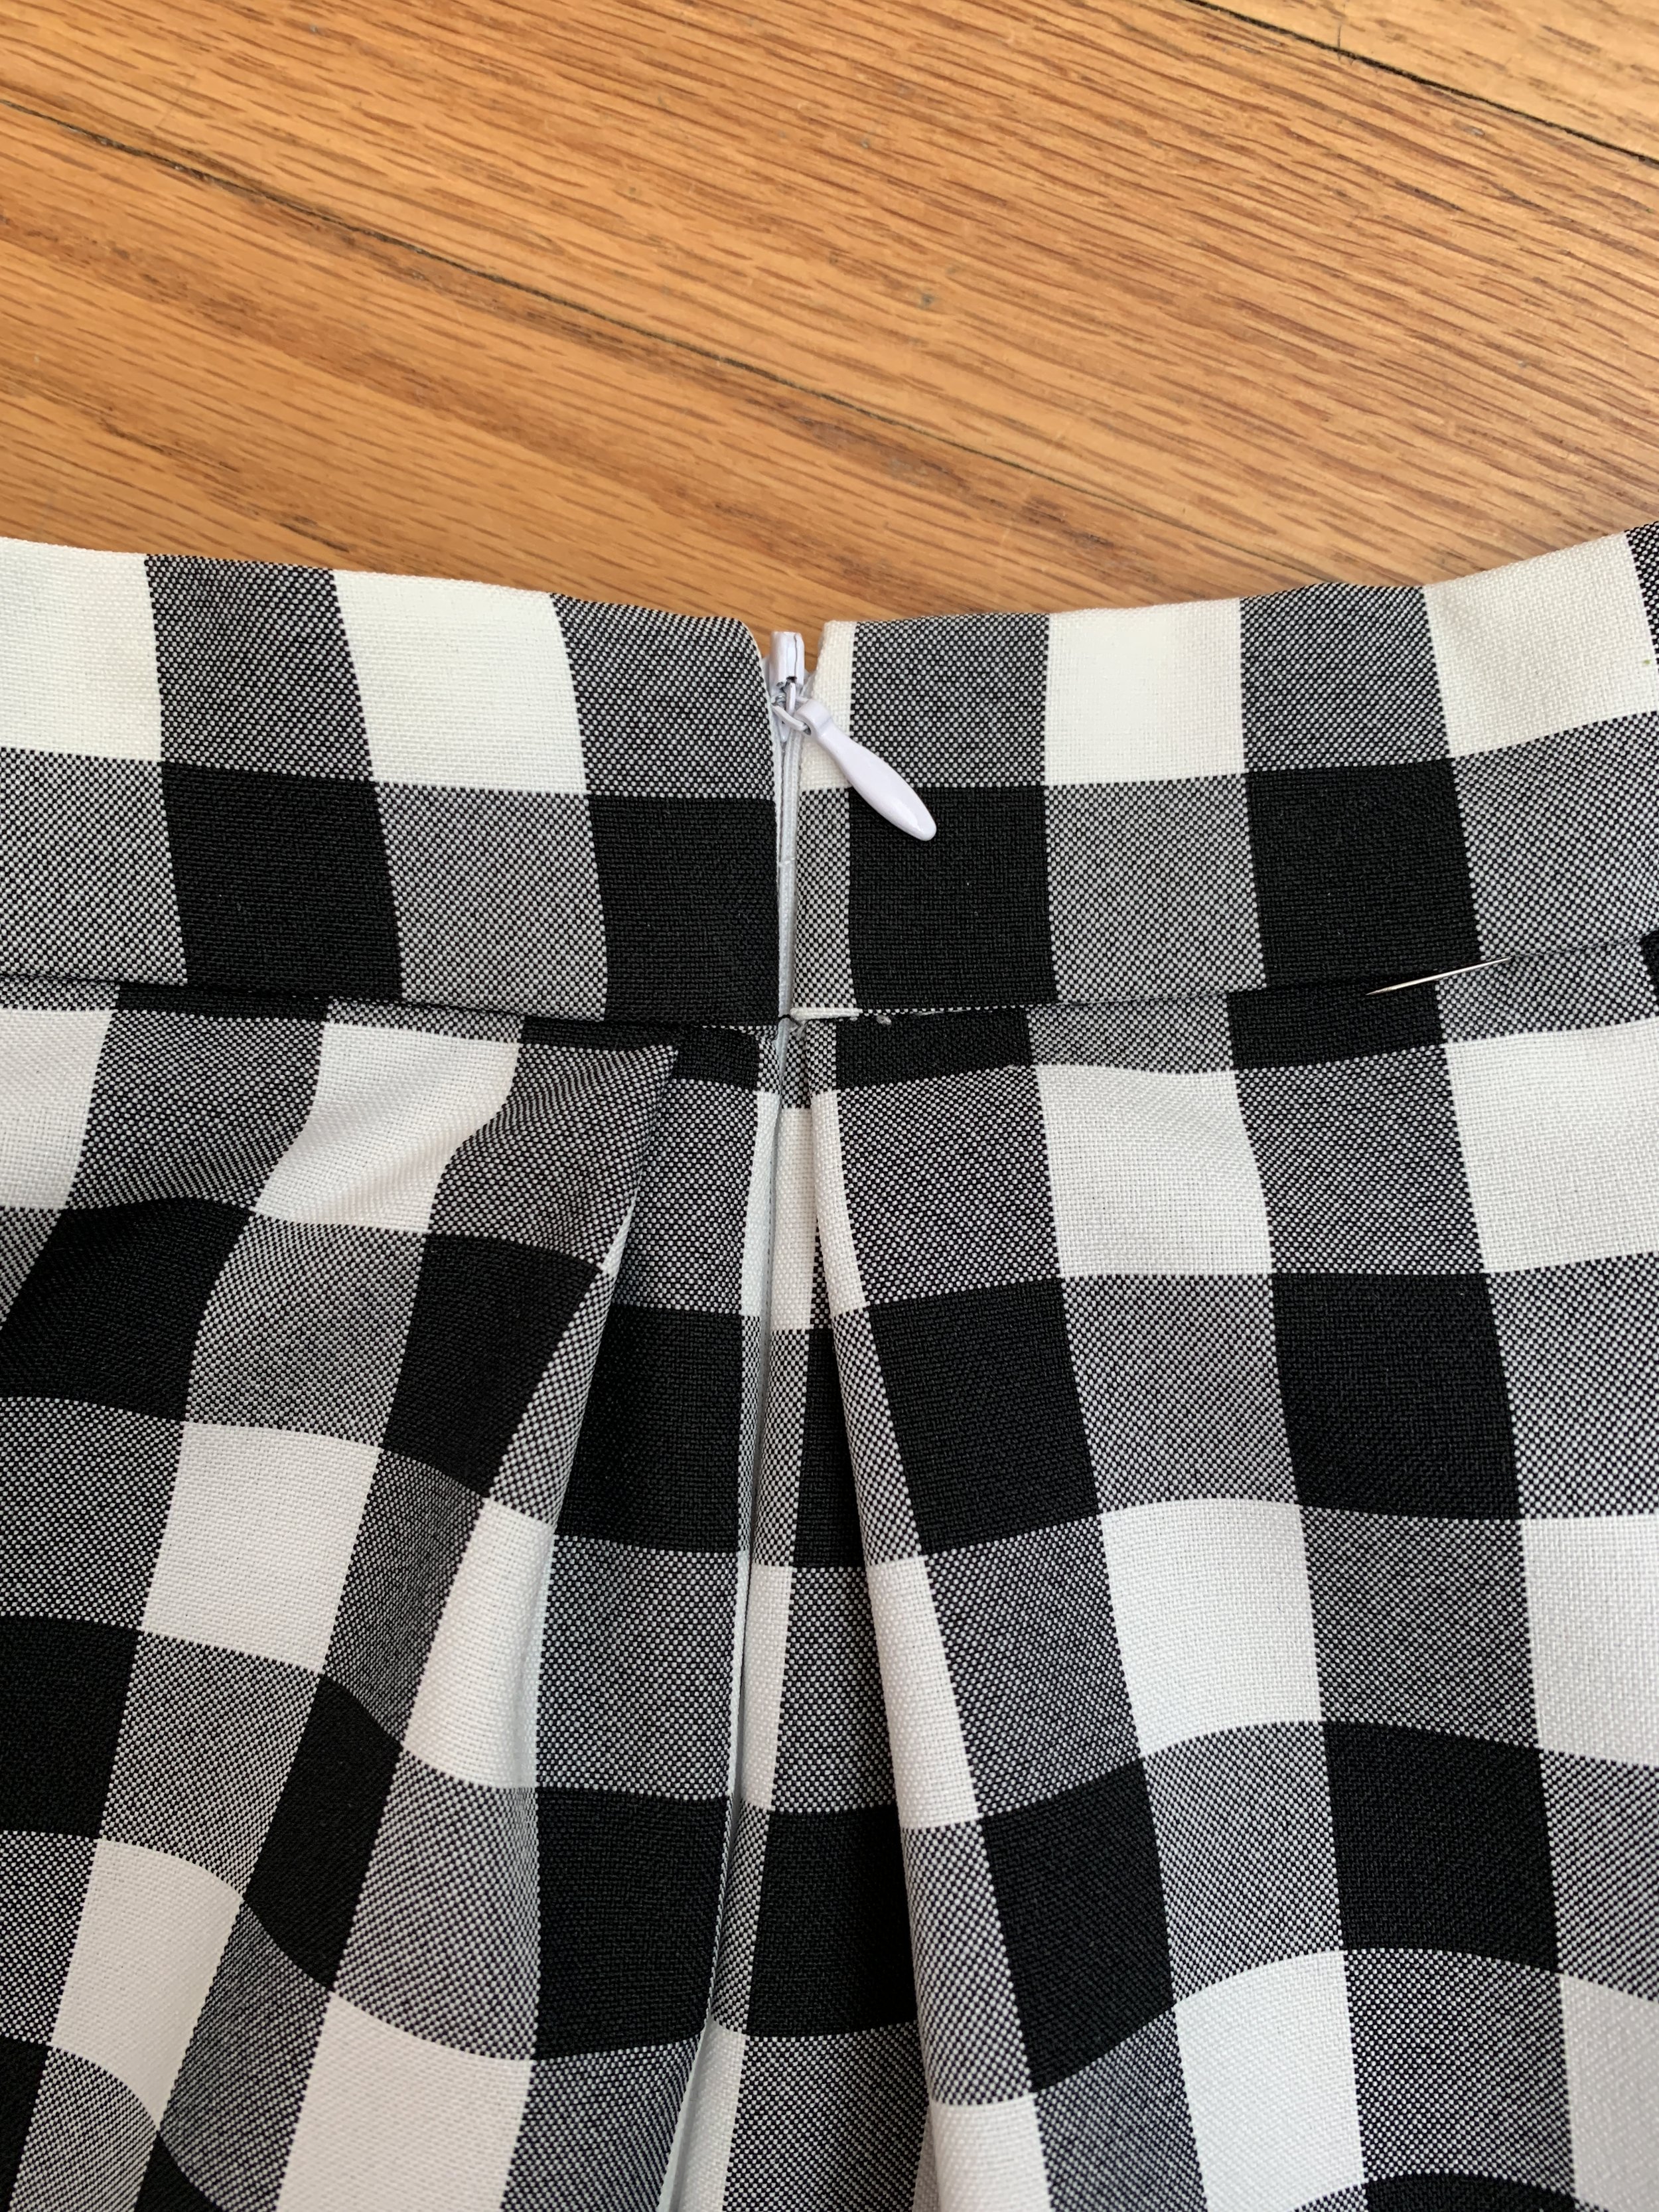

Seam rip the side seam.
Sew in the invisible zipper.
Cut out a waistband in the gingham and fusing, mine was 5cm x 78cm. Iron the fusing to one side.
Line up the waistband to the pleated skirt and pin it in place, right sides together.
Sew the front of the waistband to the front of the dress.
Fold the waistband and tuck the seam allowance inside, hiding it within the waistband.
Stitch in the ditch!
I used an edgestitch foot and pinned exactly where I wanted to sew in order to ensure I was catching the waistband on the inside, but still stitching in the ditch.Seam rip the basting stitch.
Press.
To put the look together, I wore a petticoat underneath the skirt to give it more volume.
Putting it all together…
Hi Barbie!


Bye Barbie!
Thanks for following along with us!
If you’d like to see more photos of this set in action, check out WithWendy on Instagram and tag us with #madewithwendy if you end up creating a set for yourself! (hopefully, you’ll have better luck finding pink gingham than I did!)
