DIY: Off-Shoulder/Cold Shoulder Dress
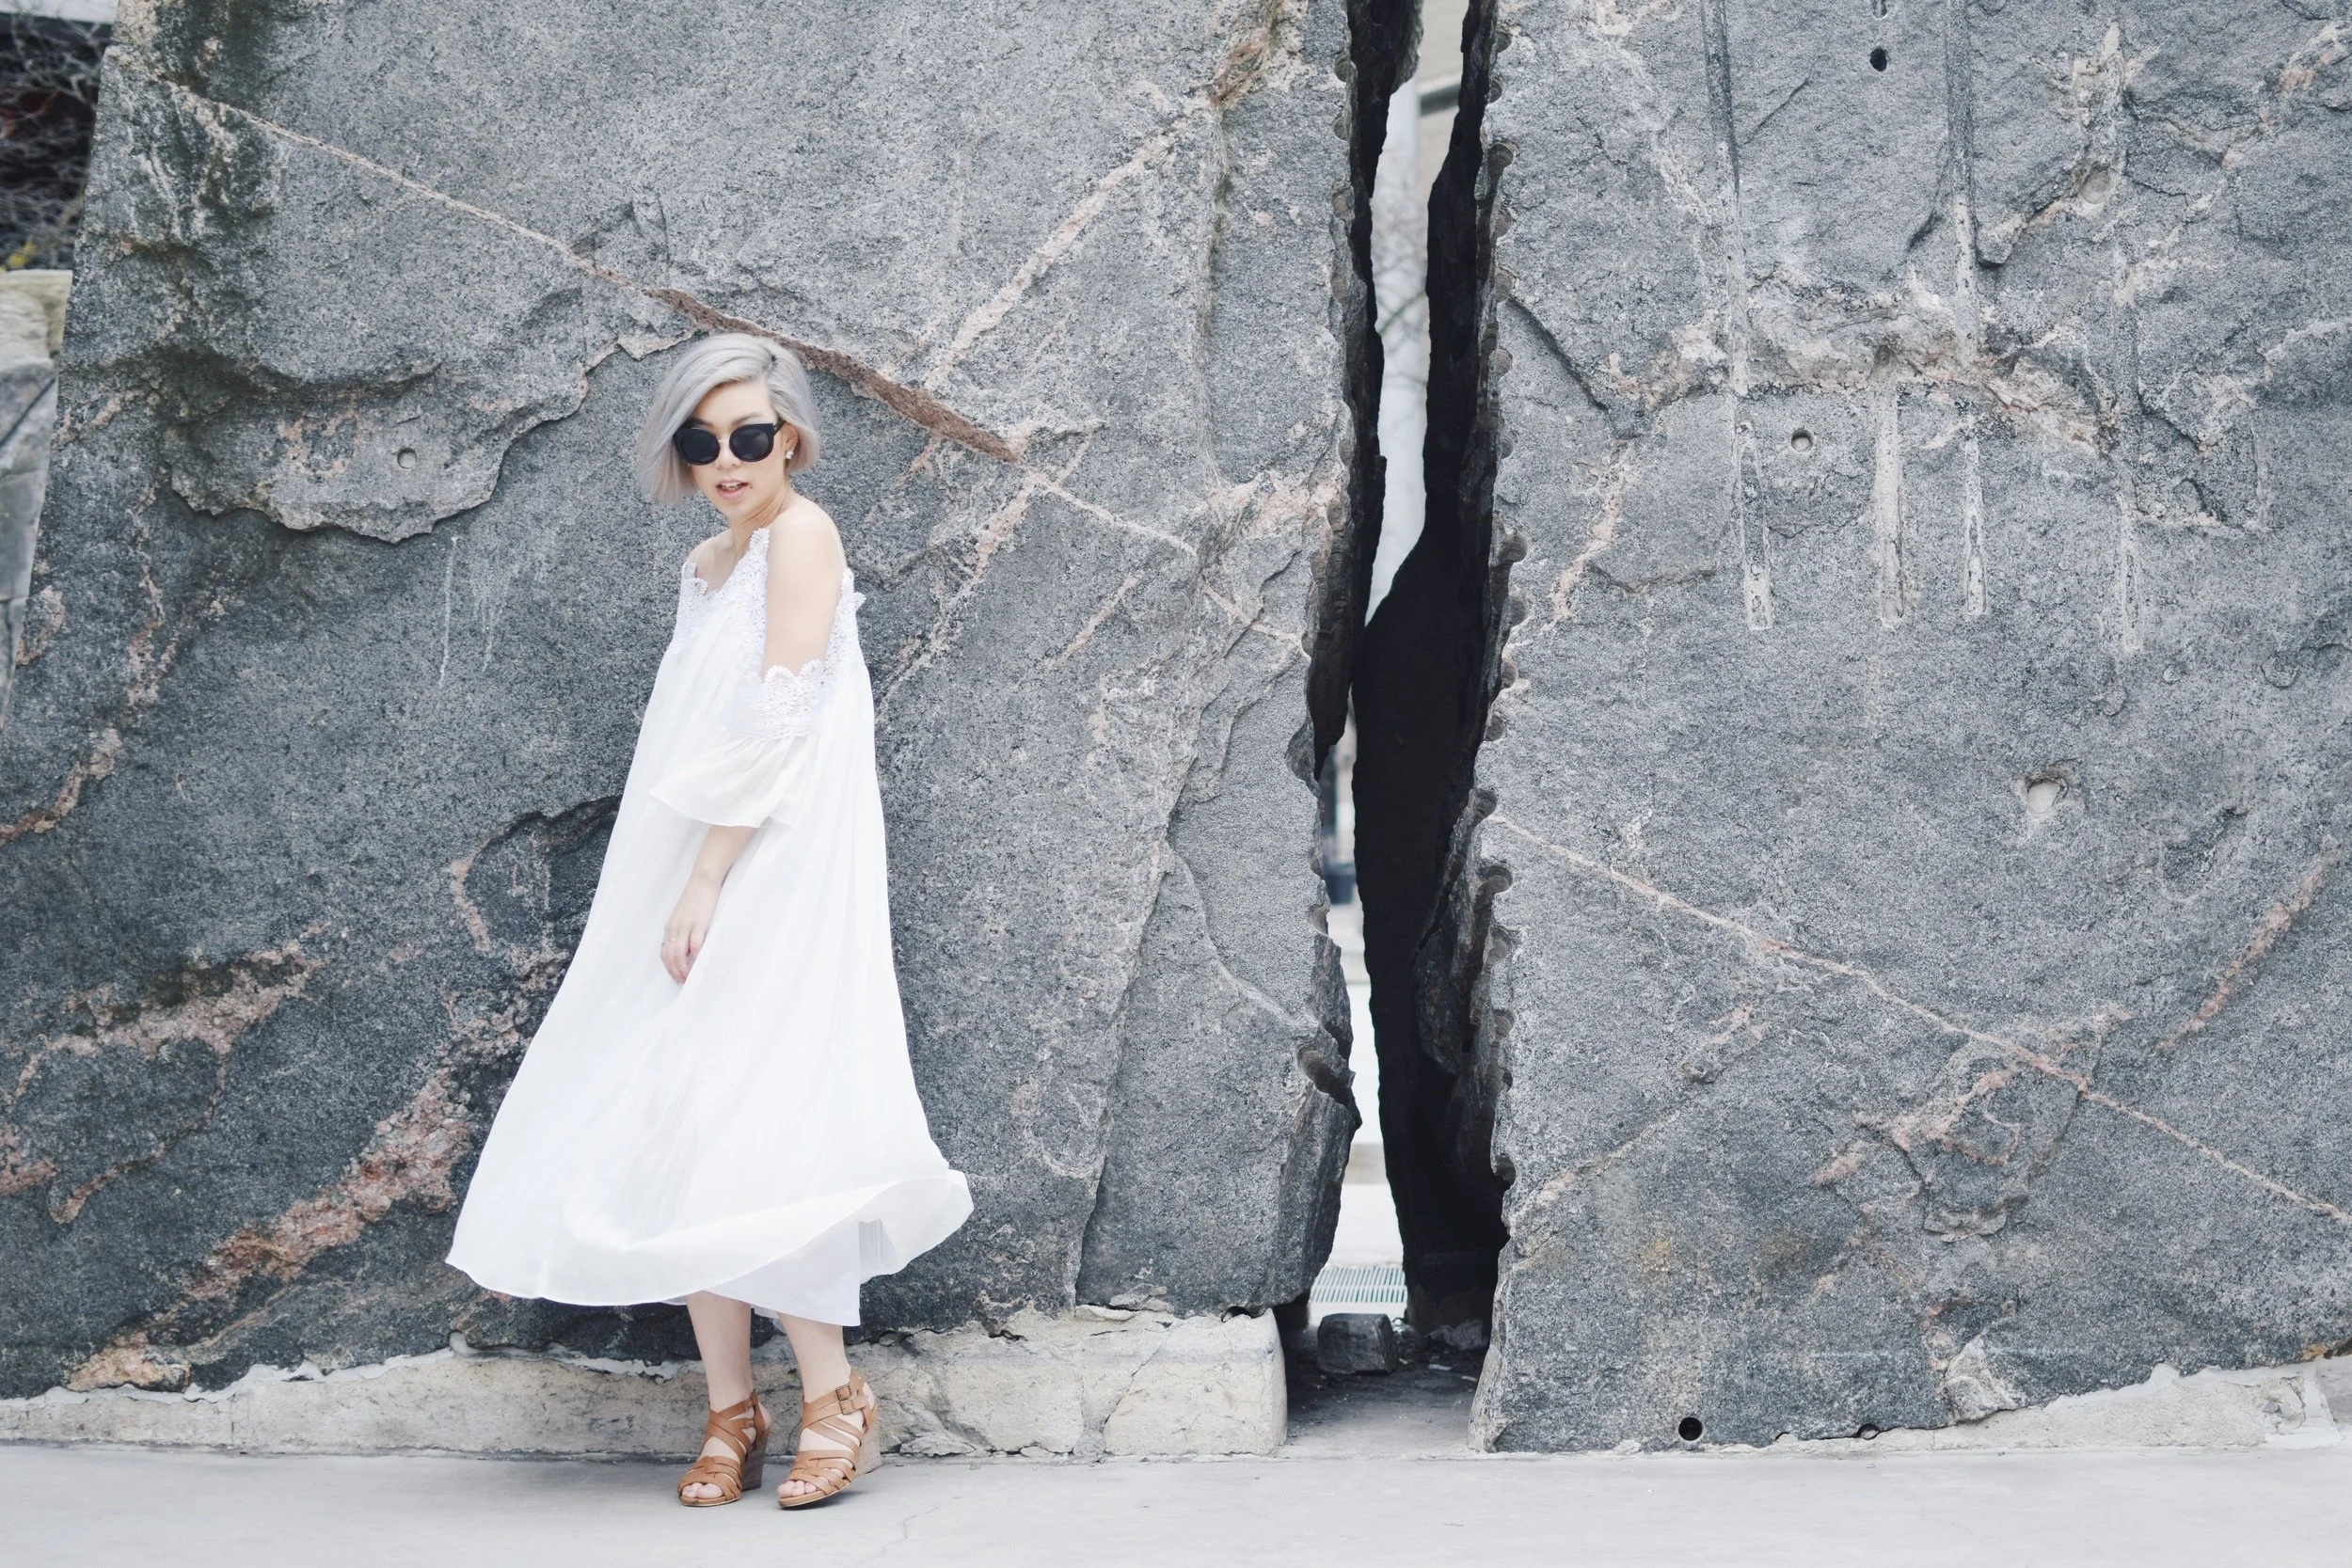
I made this summer dress with some cold shoulder details, based on a Self Portrait dress I saw earlier this year.
Click here if you want to see a link, the one I found was £320 (so obviously, we'll try to make it for a fraction of that cost).
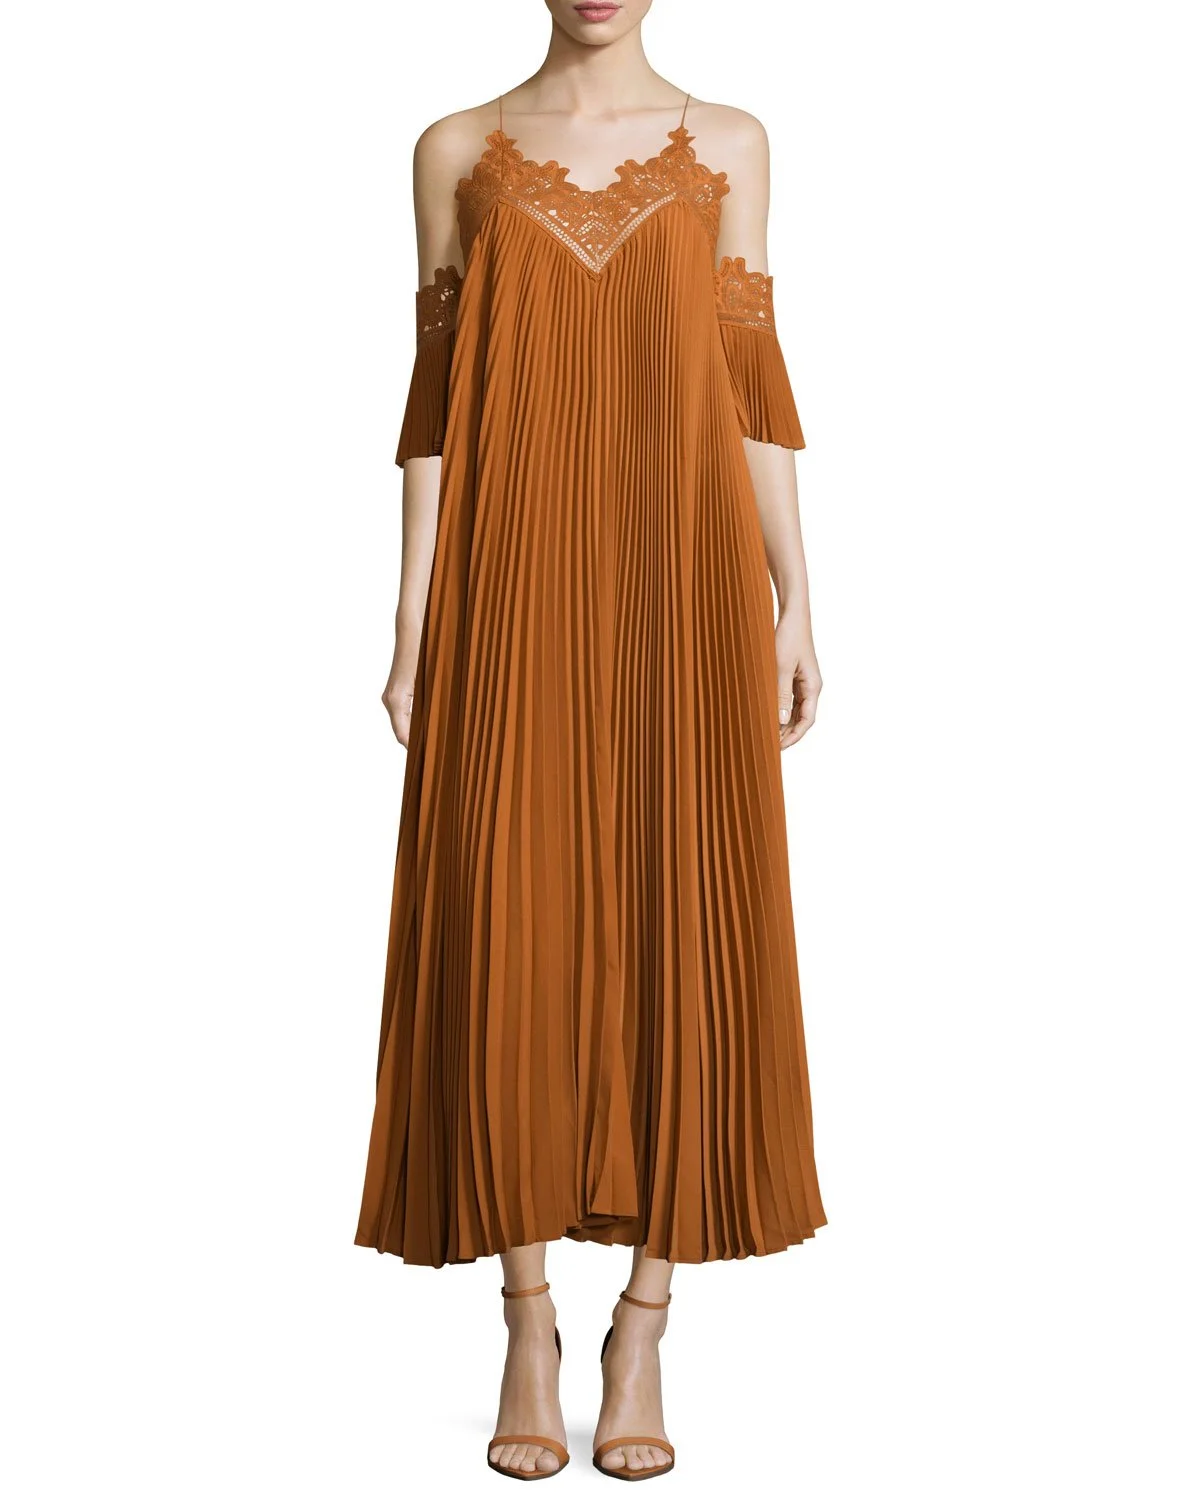

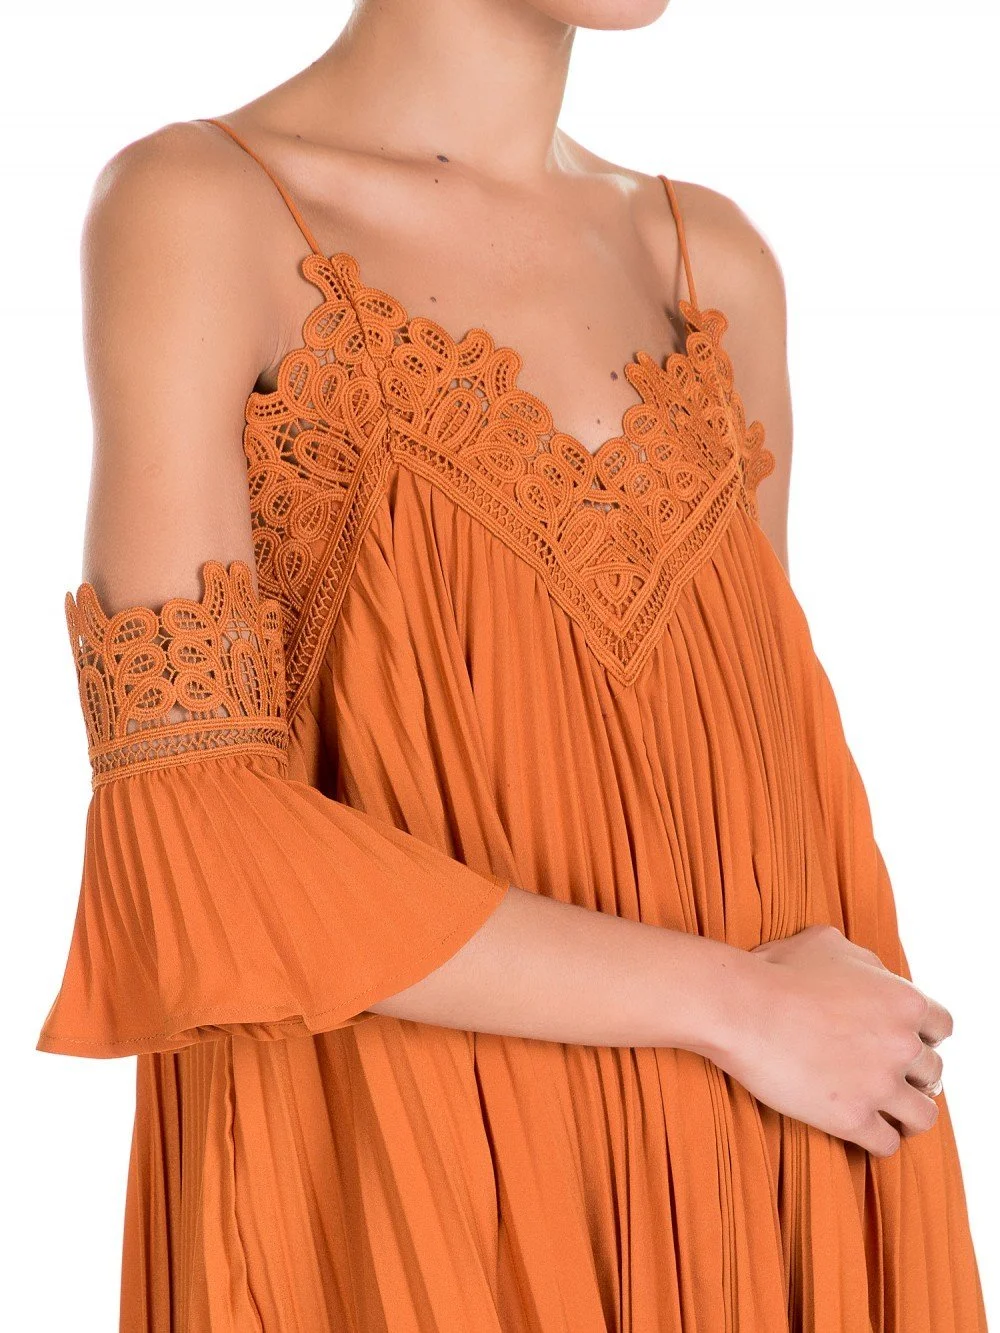
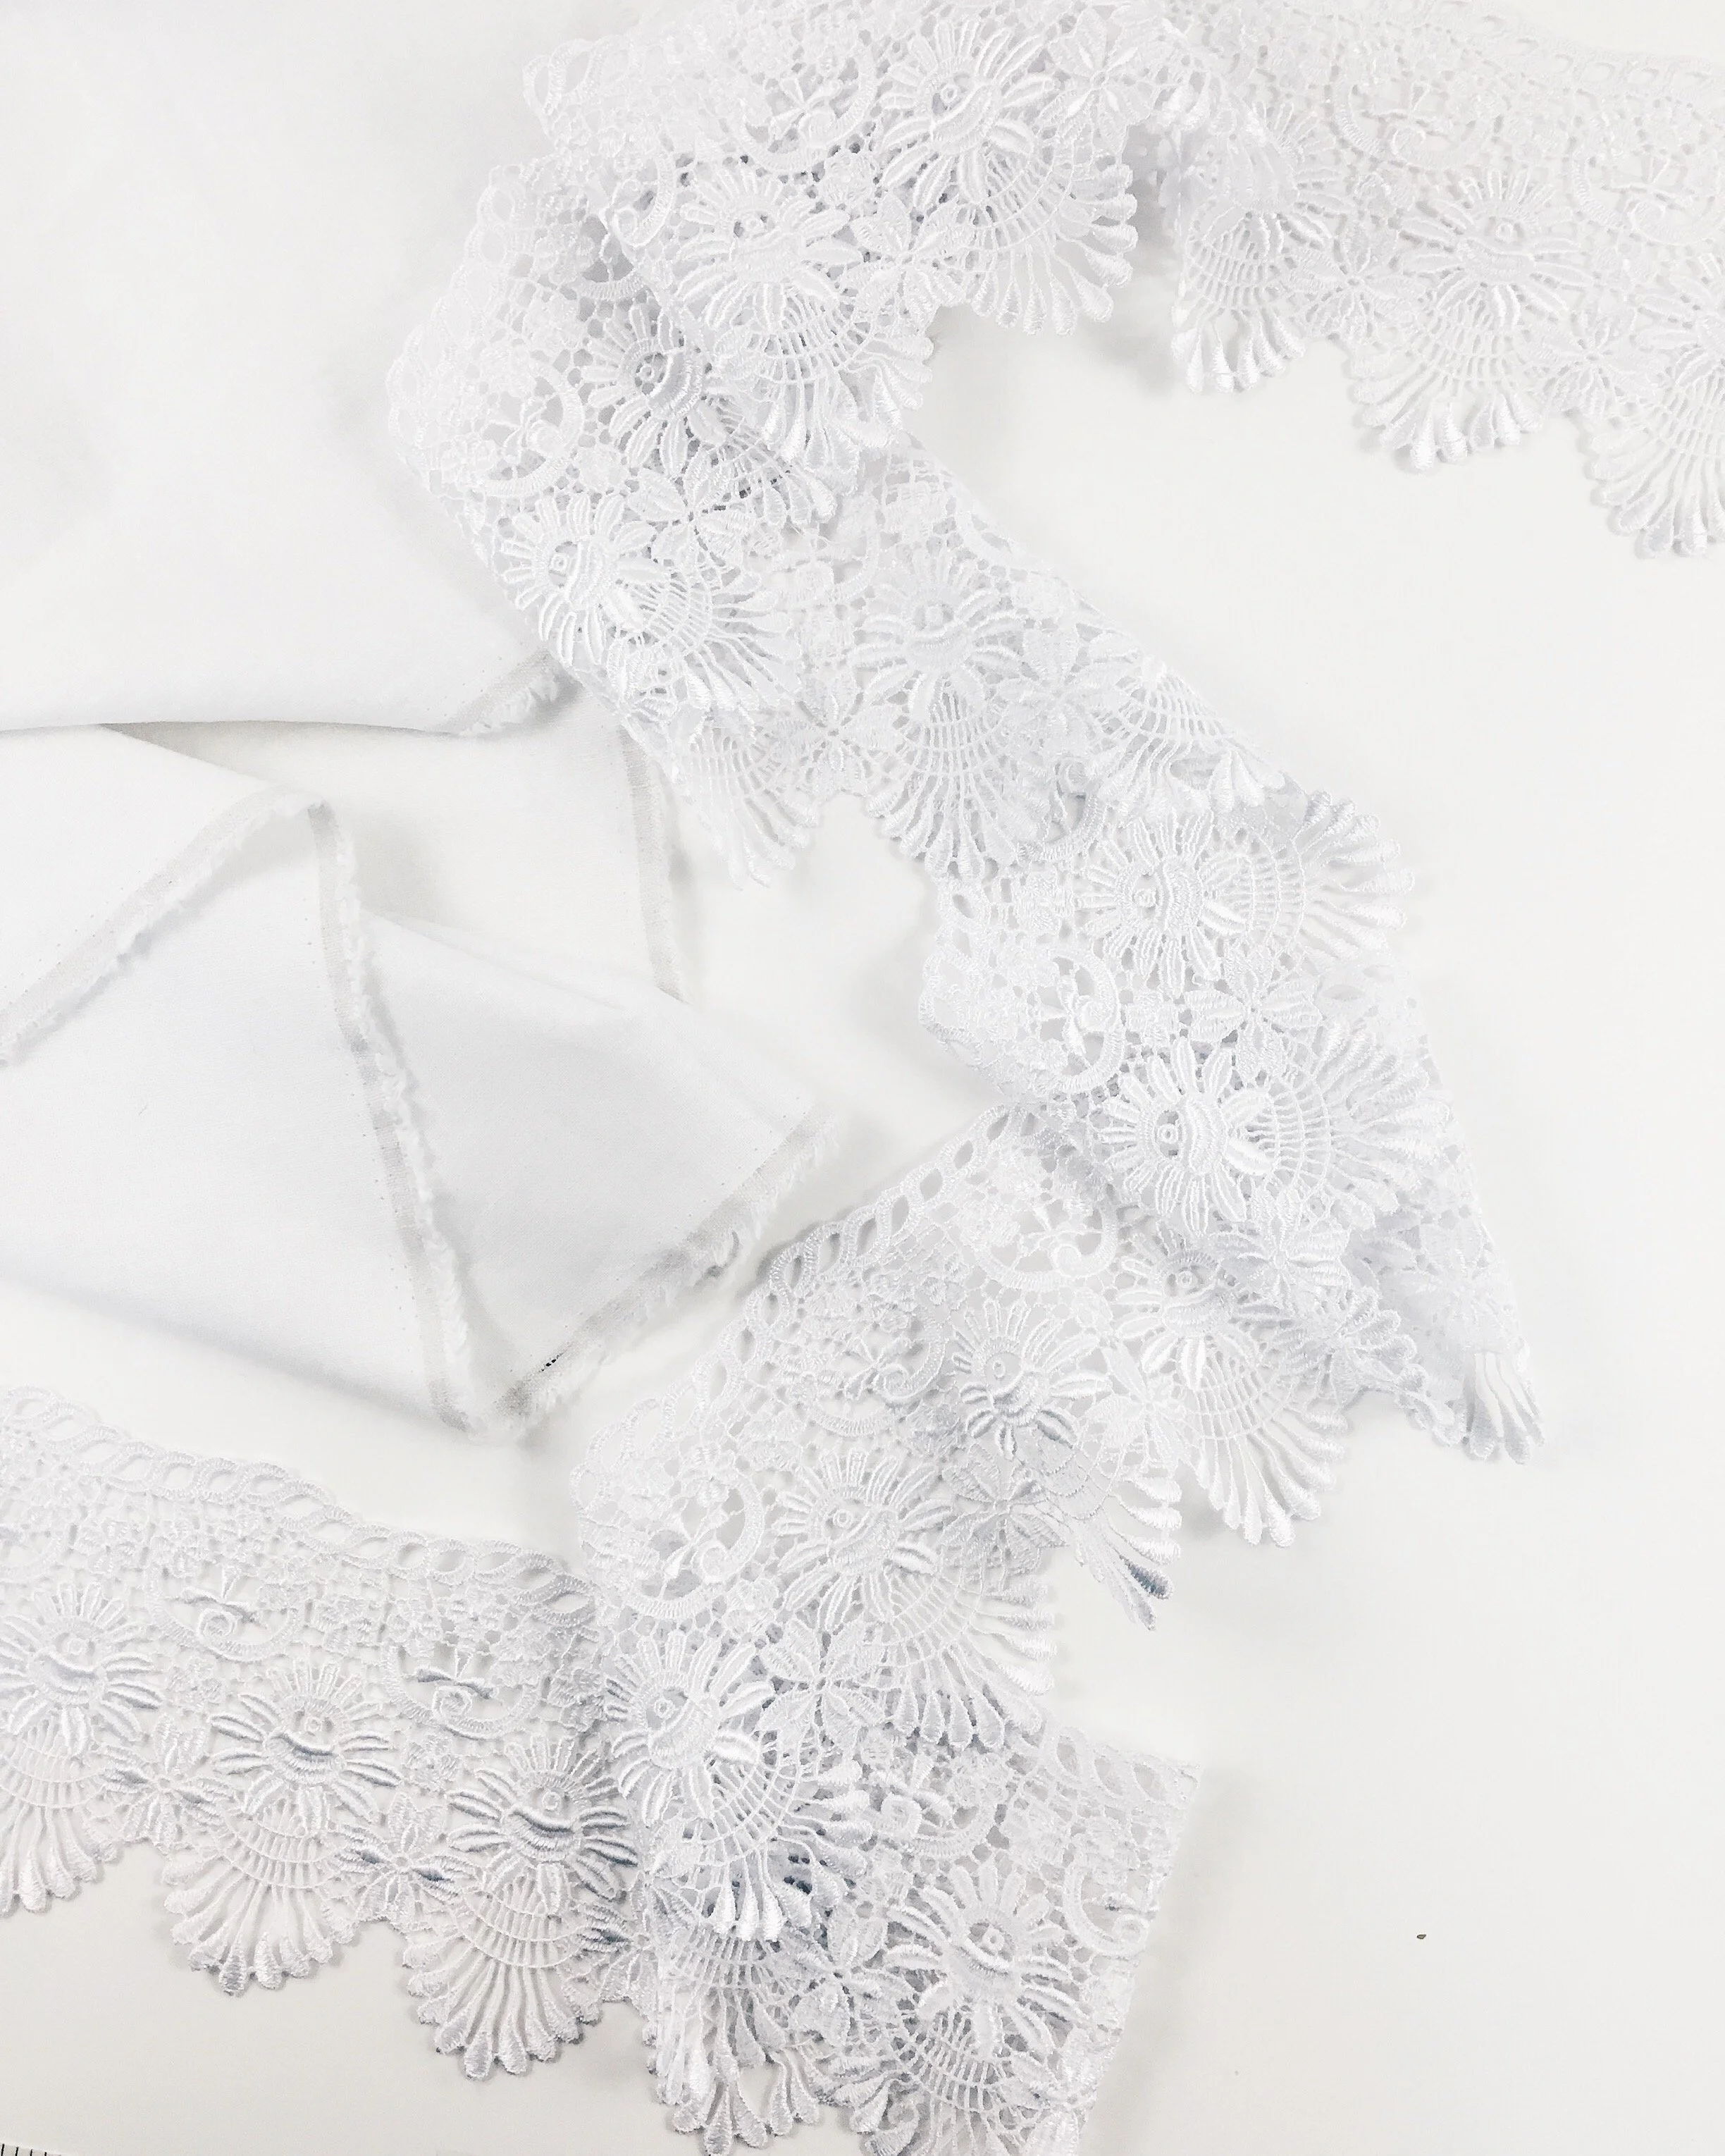
I have to say, the orange lace and pleats are a big part of what makes this dress stunning. I did my best with the white lace I could find!
You will need:
2 yards of slip (I used linen, but cotton, silk, and satin, would all work!)
2 yards of pleated chiffon (or any other lightweight fabric with vertical folded details)
3 yards of guipure lace
1 yard of thin strap

Fold the slip fabric in half lengthwise twice, and lay down a loose tank top with a line of symmetry along the fold
Follow the shape of the tank top 0.5" away and cut out the chest, continuing straight down to the bottom of the dress (make sure it's wide enough to fit over your bust and hips!)
Unfold the slip fabric, you should have two symmetrical pieces (one front, one back)
Optional: add two small darts to the front piece's chest (see video for details)
Sew the slip’s front and back together down the two sides, right sides touching, with a straight stitch (stop 1.5' from the bottom edge for leg slits)
Hem the chest's top edge of the slip, we'll hem the bottom layer
Pin the lace along the top edge of the slip, cutting it to leave 0.5" extra beyond the peaks and valleys, and make sure they meet at symmetrical points along the peaks and valleys
Sew the lace together along the peaks and valleys, right sides touching with a straight stitch
Unpin the lace from the slip and snip off any excess raw edges
Cut two large rectangles from the pleated chiffon, mine was the width of the fabric and long enough to cover the whole slip from top to bottom (50")
Pin the pleated chiffon to the slip, starting at the center fold, the two sides, and matching up midpoints between pins until your pins are about 1-2" apart
Make sure the top edge of the chiffon stays horizontal, so it should not be bending to follow the curves of the slip
Sew the chiffon to the slip with a zigzag stitch, evening out the fabric between pins as you go
Pin the lace circle from step 9 onto the chiffon and sew all three layers (lace, chiffon, slip) down around the entire top of the dress
Trim off the excess chiffon
Cut the straps to be 1-2" extra from what is needed (mine were 12") and tie a knot on each end
Tuck the straps into the lace's raw fabric at the four peaks, and sew them in with a straight stitch lengthwise, plus a small stitch right across the string for security
Try on the dress and cut off any excess length from the bottom
Hem the slip layer by tucking the fabric in once or twice and using a straight stitch
Hem the chiffon layer by tucking the fabric in once, sewing a straight stitch, and then tucking it again with a straight stitch (see video for details)
Cut two pieces of lace that are wide enough to encircle your arms, mine were 15"
Cut two pieces of chiffon that are roughly 8" x 1.5”
Pin the chiffon to the lace at the two sides, then work your way through the midpoints between pins to pin it evenly
Sew the chiffon to the lace, similar to how the chiffon was sewn to the slip
Fold the lace and chiffon in half, right sides together, and sew along the short edge to seal it into a sleeve shape
Hem the bottom edge of the sleeves
Sew the seam of the sleeve to the upper armpit of the dress to finish!
Thanks for following along!