
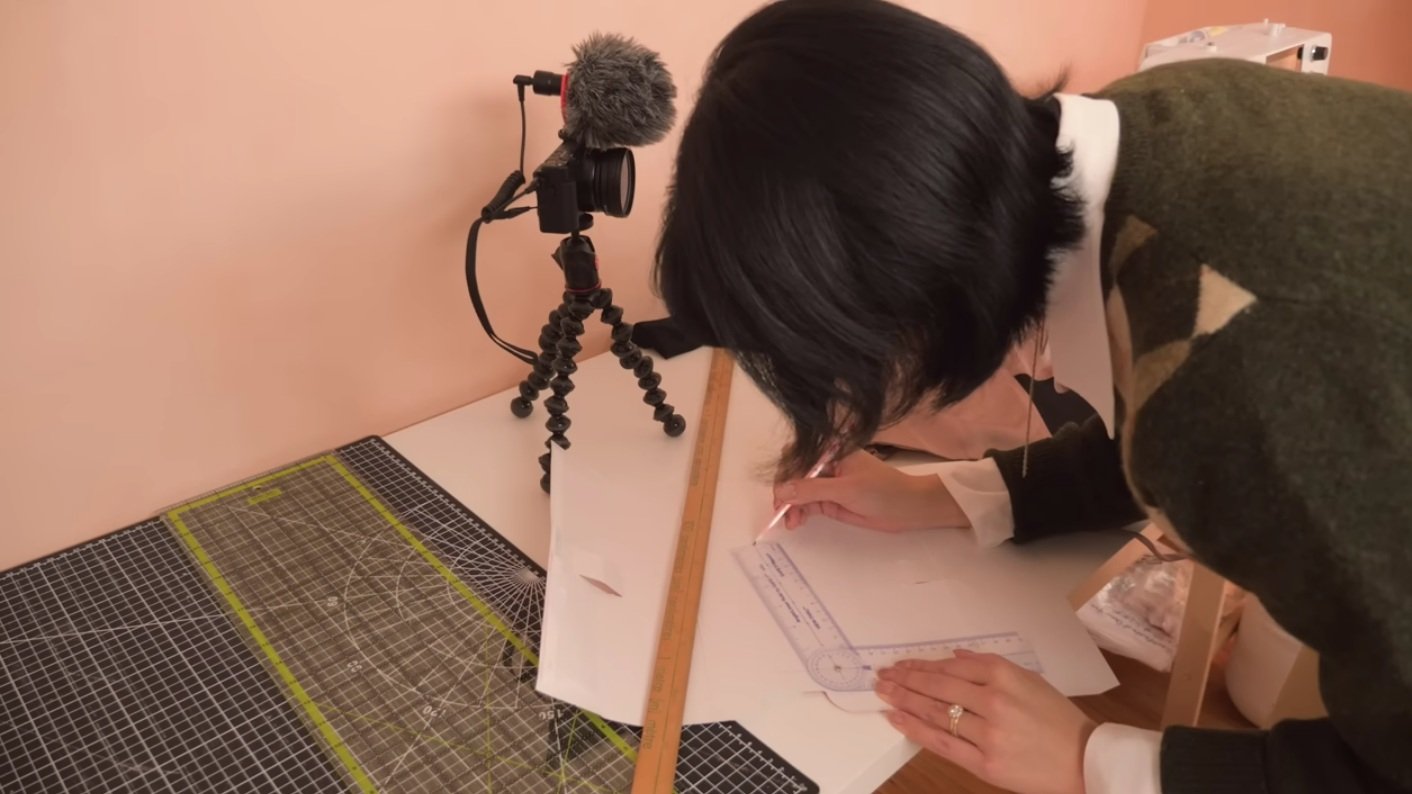
How to alter your clothes
Creating adjustments to clothing that you already own creates a whole new possibility of wearing to your clothing, giving you the freedom to grow and change with your wardrobe!
I’ll be showing you 3 different problem areas in my wardrobe and how to fix them.
Here’s what you’ll need…
- Thrifted or already owned clothing
- Measuring tape
- Seam ripper
- Extra material
- Elastic band
- Pins
Let’s Begin…
Project 1: Lounge set
Fixing a loose waistband and shortening the length of a sweater.
Starting with the top, I want to create a more flattering length on my body that cuts off near my waistline.
TOP
1. Cut the amount of material off of the bottom of the top to the desired length. Make sure to leave enough fabric to hem!

2. Use overlocking stitch on raw edge.

3. Sew hem, recreating the original hem.

It’s always good to compare your hem to the original hem to ensure it was sewn as close as possible.

How did I do?
BOTTOM
These pants are too loose on my waist due to an excess of material and stretched-out elastic.
Here’s how you can fix it.

1. First you’ll want to seam rip the waistband. I focused on the back centre since that’s where I felt there was the most bulk.

2. Flip pants inside out.
3. Measure the amount of material you'd like to take away.
A good tip would be to try them on inside out and measure using a safety pin where you would like the taper to start and end.
4. Taper down the back centre seam (easiest), side seams if necessary (a bit more work since this has to be done symmetrically).

5. Check if the fit is good by trying them on and moving around in them.
6. If it is too much excess bulk, cut off excess material and overlock the raw edges.

7. Fold over the waistband, tucking in the raw edges.
*If there is too much bulk in the waist, snip the seam at the fold and press the seam allowance in opposite directions.


8. Close off with two top stitches to hold the waistband in place.
Here’s the final look! These pants fit so much nicer on me now and I can confidently use my pockets without fear of my pants slipping down! The top cuts at a length on my body that is flattering and fits more to my cute yet casual style.

So happy I can finally enjoy this comfortable set!
Up next:
Project 2: Silky Lace Dress
Here we are going to be adding width to a tight dress. I bought this beautiful dress online and turns out the sizing runs small! Since I can’t return it, luckily I know just how to fix it! This one is a bit trickier, especially when silk and an invisible zipper is involved.
1. Find where the problem areas are in the fitting of your dress, mine was in the top closure of the dress.

2. Measure how much material is needed to ensure it fits.

3. Cut out 2 triangles for either side seams of the dress with seam allowance, ensuring the top edge of the triangle aligns with the top edge of the dress.
I cut out my shape on paper to ensure it would be the same on both sides.
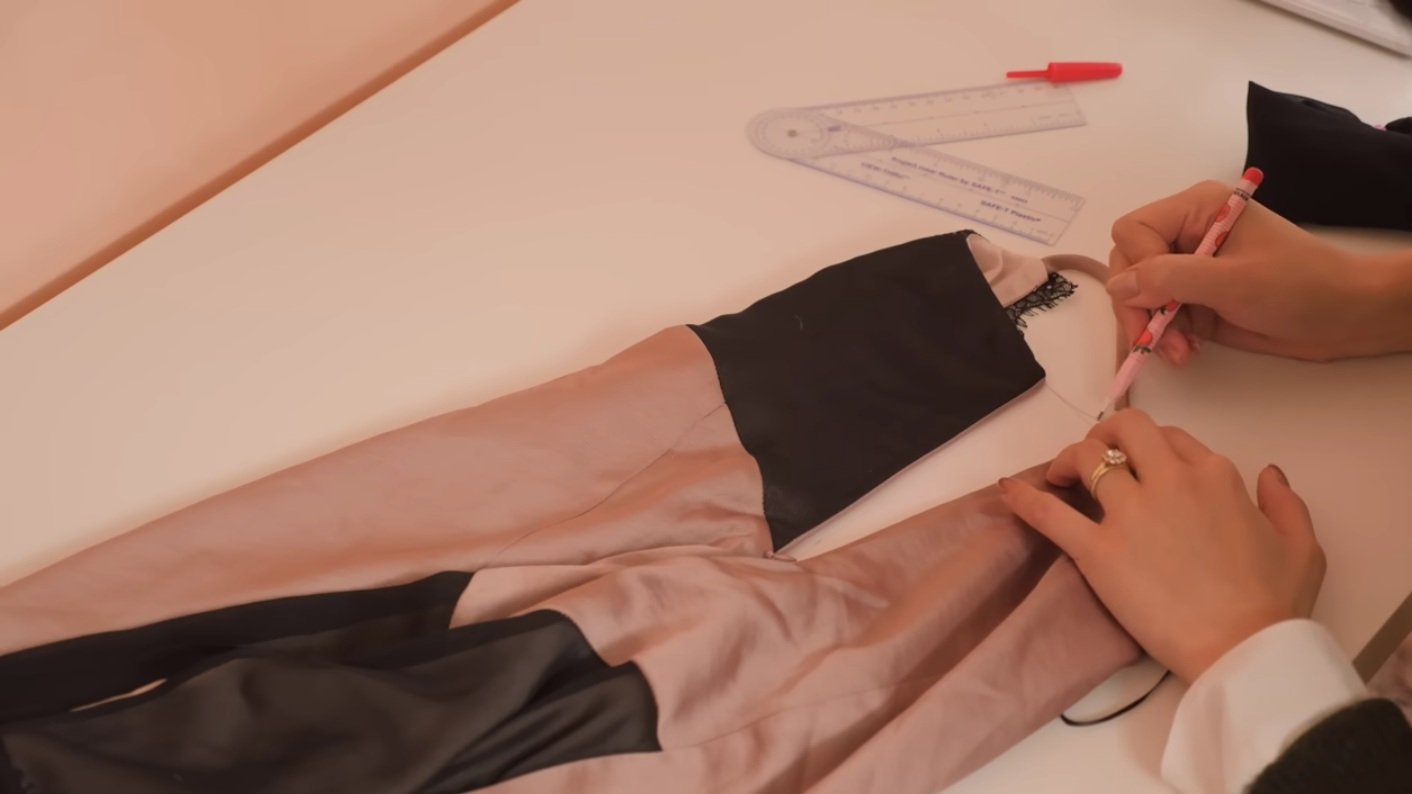
Here I am ensuring the triangle follows the top edge of the dress.

Cut your lining and outer material using your triangle guides.
4. Sew the top edge of the lining and outer material, right sides together.
5. Add an understitch to prevent the lining from flipping out.

6. Seam rip side seams (or where the allowance is intended).

7. Right sides together, sew the insert to the right side of the dress starting at the bottom corner to the middle seam.

8. Align the middle seams and continue to sew back down the inside of the dress, closing that seam.
9. Sew the parallel edge of the dress, closing the side seams on the right side.

9. Press down the seams.

10. Ensure fit is okay.

Here is the right side with the added material, the black triangle I added looks like it’s part of the design!
11. Continue this process on the left side of the dress. If there is a zipper in the side seam continue to step 12.
12. Seam rip one side of the zipper.

13. Sew insert right sides together, starting at the bottom of the opening, up towards the middle seam.

14. Align insert with the middle seam, and continue sewing on the inside of the dress.

15. Using a zipper foot, align the zipper within the gap of the insert so that the zipper is sandwiched between the two materials.
16. Sew the zipper closed.
Test out your zipper!

Phew, wasn’t too hard… right?
17. Ensure fit is good, make any adjustments as needed!

Here is the finished look!
I am so happy with the way this came out. The added black was a subtle way to add material to this dress and seamlessly blends in as if it was always there!
I can finally enjoy this dress and take comfort in knowing I can always alter it if need be!
Project 3: Turtleneck Sweater
Fixing wear and stretched-out knitwear.
My favourite sweater needs some love! After many wears and washes, I find myself avoiding this sweater in my closet as the fit has stretched out. Knitwear can be a daunting alteration but some adjustments can be made as long as you’re patient and mindful of the material.

1. Flip sweater inside out, and adjust the fit with it on. This helps you really see your problem areas and materiality on the body.

2. Mark out where your sweater needs to be adjusted, pinching and pinning problem areas until the desired fit is achieved.

3. Slowly, make stitches in your adjusted areas, trying it on every time you make a change. This will be easier on flat knits, whereas a ribbed/textured knit like this will be more picky on exact stitch placement.

4. When ready, cut away the excess material.

5. Close the seams off using a blanket stitch by hand or machine.

Here’s the finished look!
I love how this sweater feels and fits on my body now, making it feel brand new again! Once again it’s become a staple in my wardrobe and no longer passed over.

Small alterations can do wonders to an outfit and your confidence!
Our bodies are always changing, who says our favourite pieces can’t change with us? With these skills, you’ll be able to alter those forgotten pieces in your closet or even make simple changes to thrifted gems that *almost fit but are too good to pass on!
The world is your closet now!
