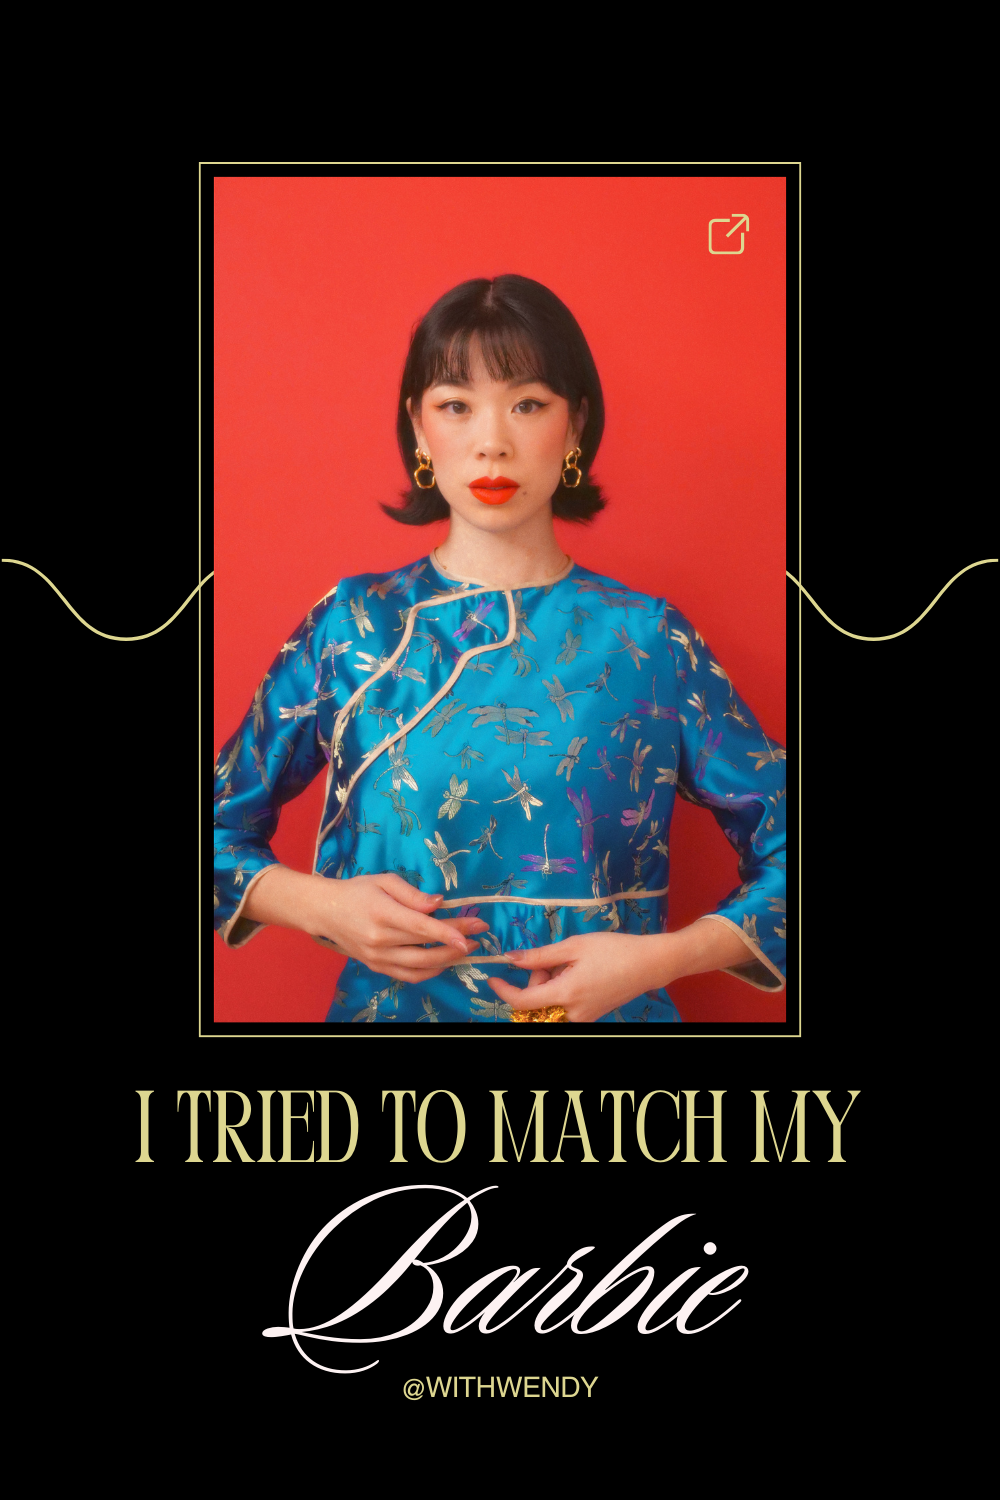
I tried to match my barbie
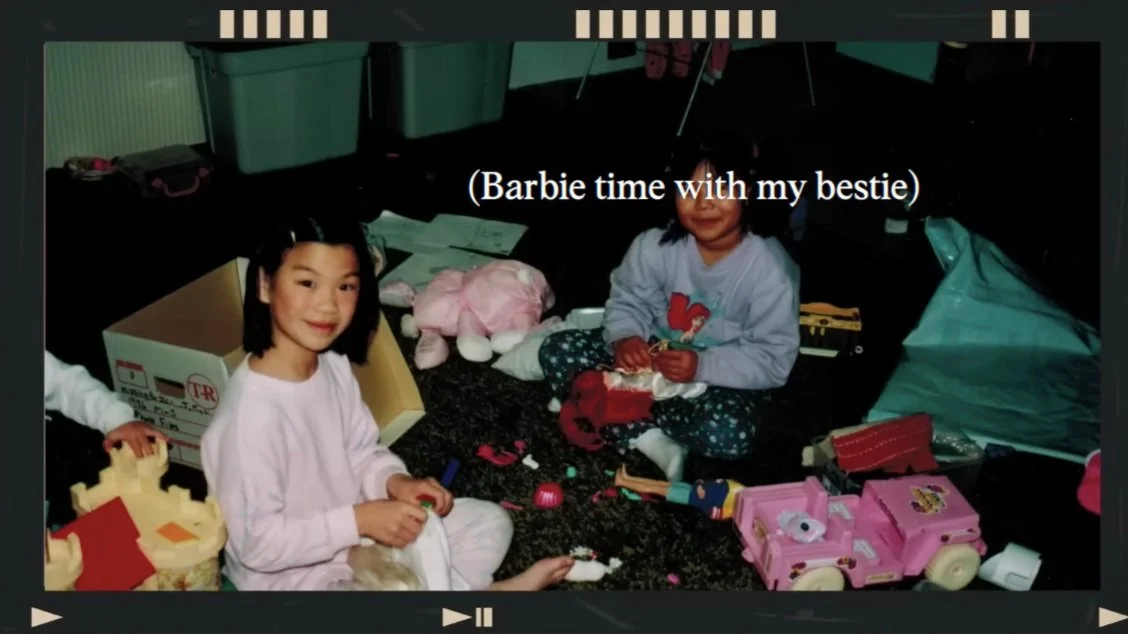
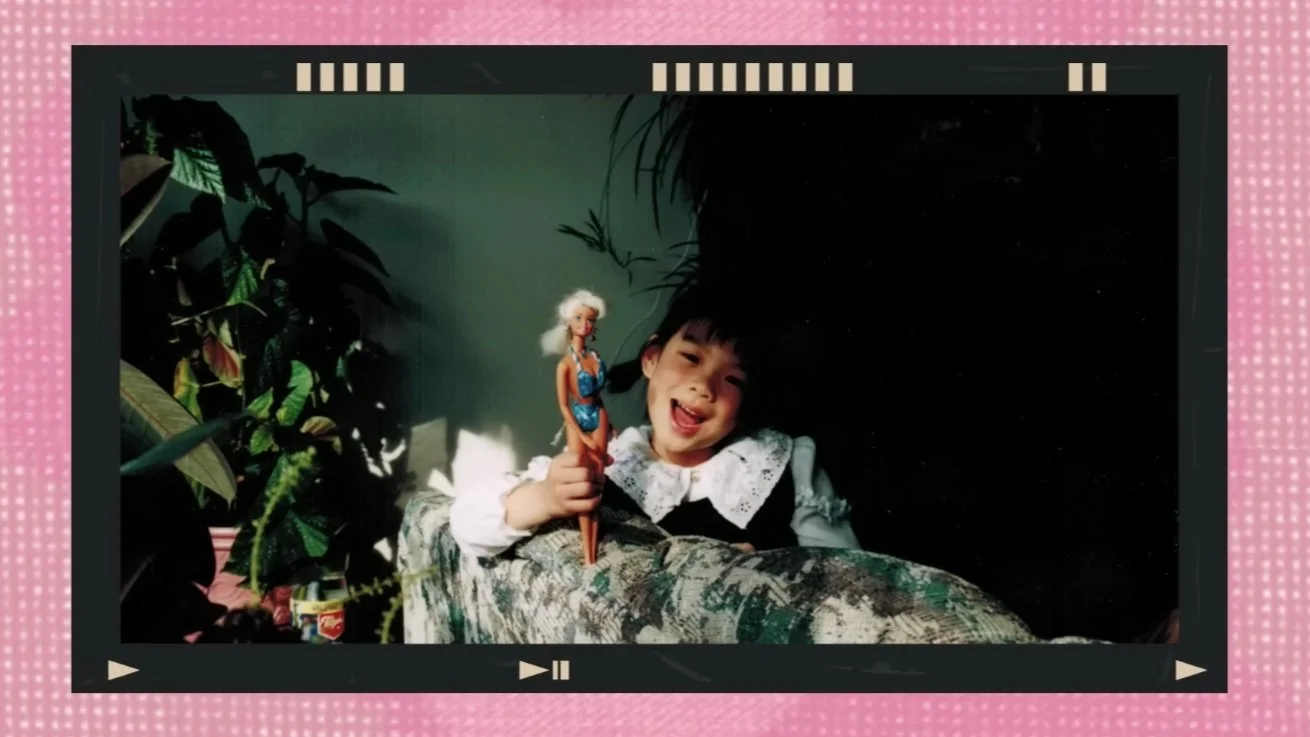
When it comes to me learning to sew, I credit my mom for helping me make little outfits for my dolls. Barbie has always had a special place in my fashion journey.


When Barbie reached out to gift me my very own Lunar New Year Doll, I was so excited!
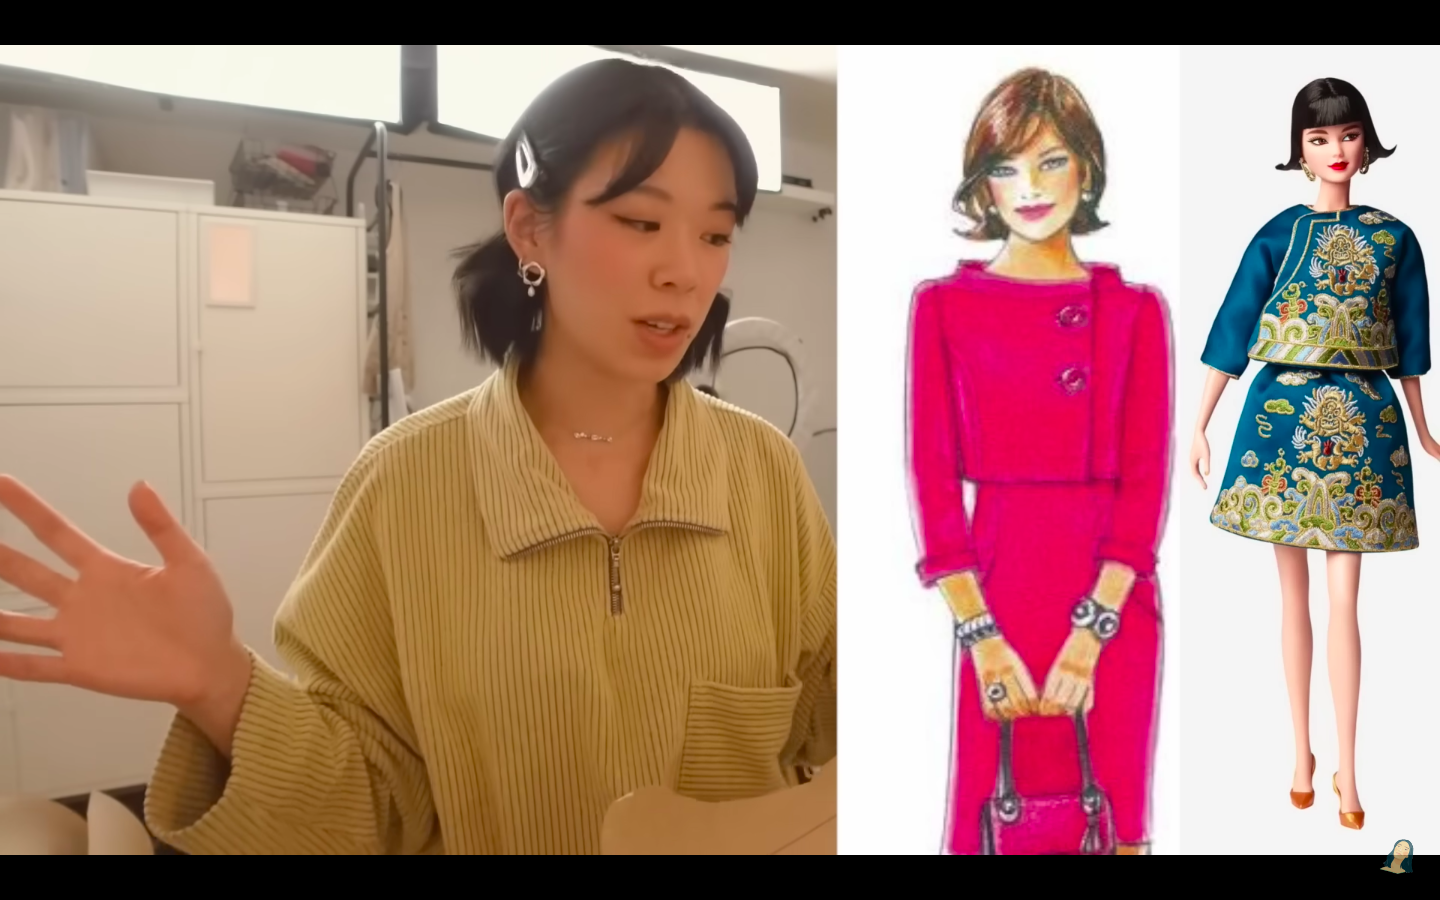
Guo Pei Inspiration:


Inspired by the Barbie Signature, the 2023 Barbie Lunar New Year Doll was designed by Guo Pei. Some of you might know previous work done by Guo Pei and Joyce Chen like this Barbie doll whose outfit appeared lifesized on Rihanna at the 2015 Met Gala.
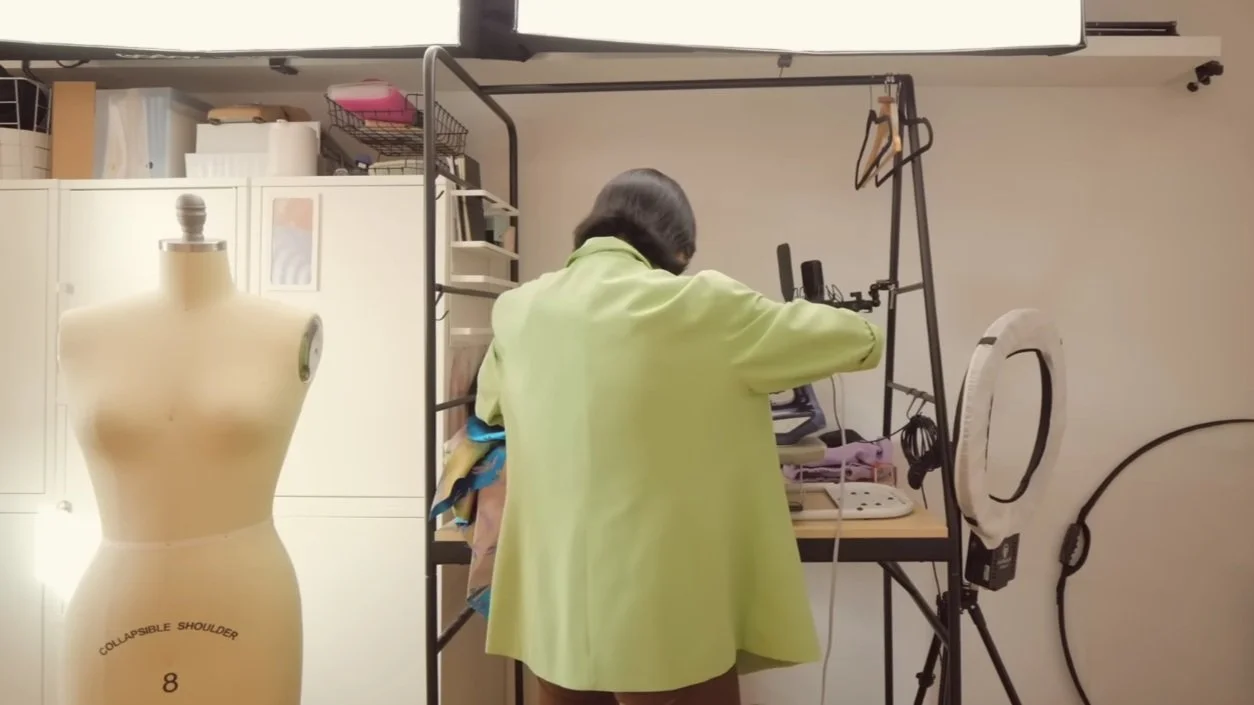
Only having 4 days compared to the 2 years it took to create Rihanna’s dress, I began the journey of working Chinese Brocade…
Here’s what you’ll need:
Chinese brocade
Satin
Bias tape
16” Invisible zipper
Wendy10 for 10% off Lutterloh
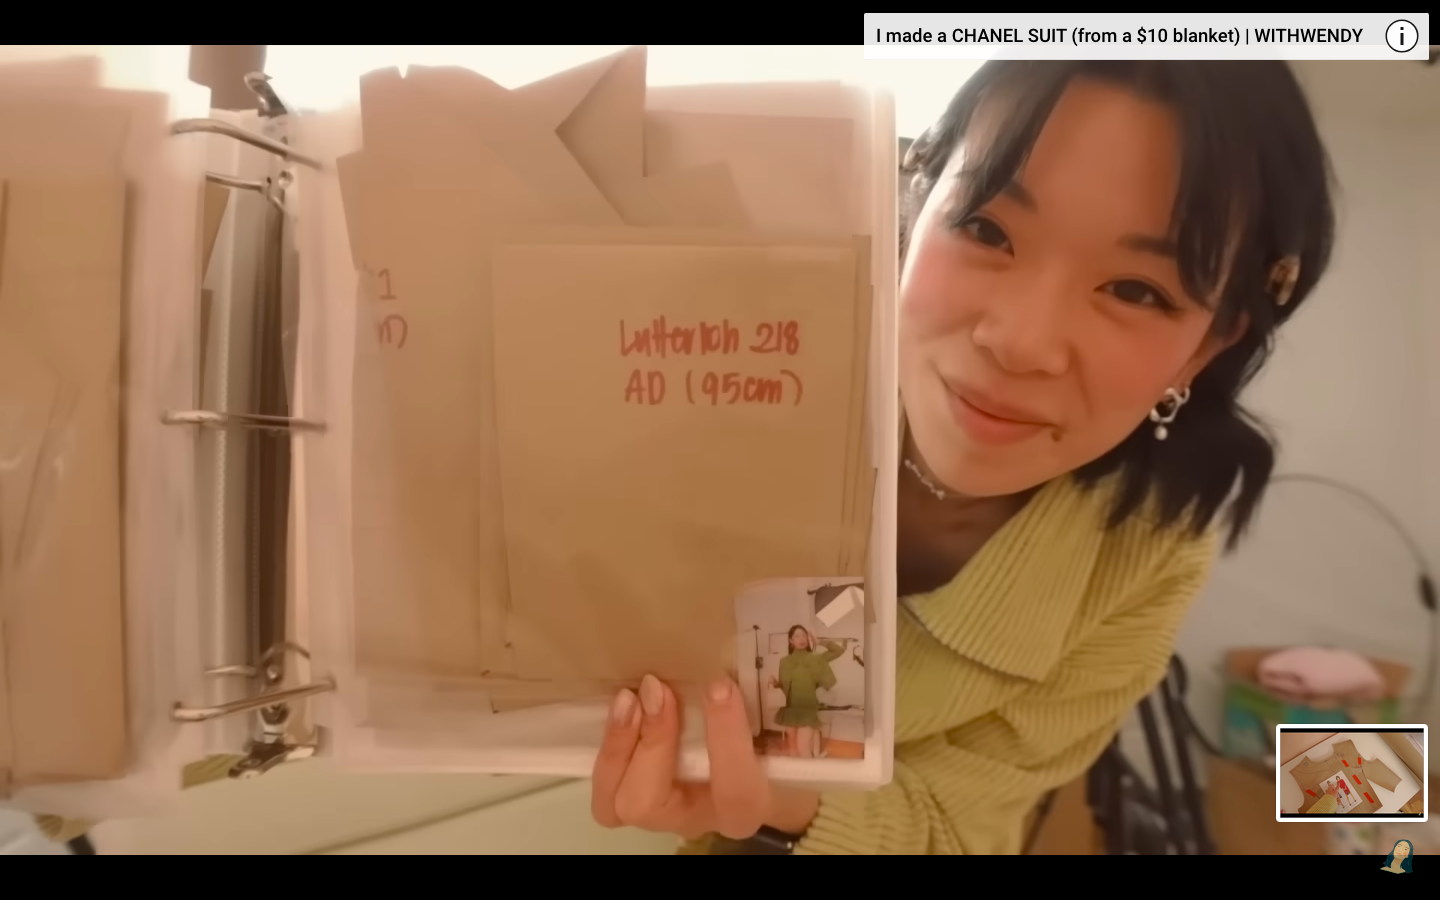
1. I began by drafting out a pattern using my Lutterloh kit. Using a design with a similar silhouette, a cross-over button closure in the front, and 3/4 length sleeves, it was a great base to start modifying the pattern.
First, I worked on some dart manipulation. In the original design, there was a smaller dart on the side and a tapered bottom. To fix this, I cut open the bottom dart on the front, and with the top half of the dart, I creased the edge of the lower curve. Taking that folded edge, I brought it over to touch the top curved edge and cut out the armhole as if there is no dart. This allows the bottom dart to open up, giving it a flared bottom, as well as closing the top dart, making it seamless. Using some tape to hold that dart together helps see the final outcome of the pattern.
2. To achieve a crossover in the front, I realized I needed to ensure the left and right are the same. Merging the two patterns, I lined up the center and side buttons, I used that as a guide to redraw the shape to the armpit, making it symmetrical.
Lastly, I redrew the neckline for a higher cut. (You can follow along in my video for a more detailed explanation)
3. I then redrew the back pattern to better reference traditional Chinese garment construction. I cut my back template with seam allowance and connected it to the front panel to get rid of the shoulder seam, creating a seam down the center of the back instead.
4. To keep things simple, I drafted a pattern for a dress as well, making no changes in the pattern for easier fabrication.


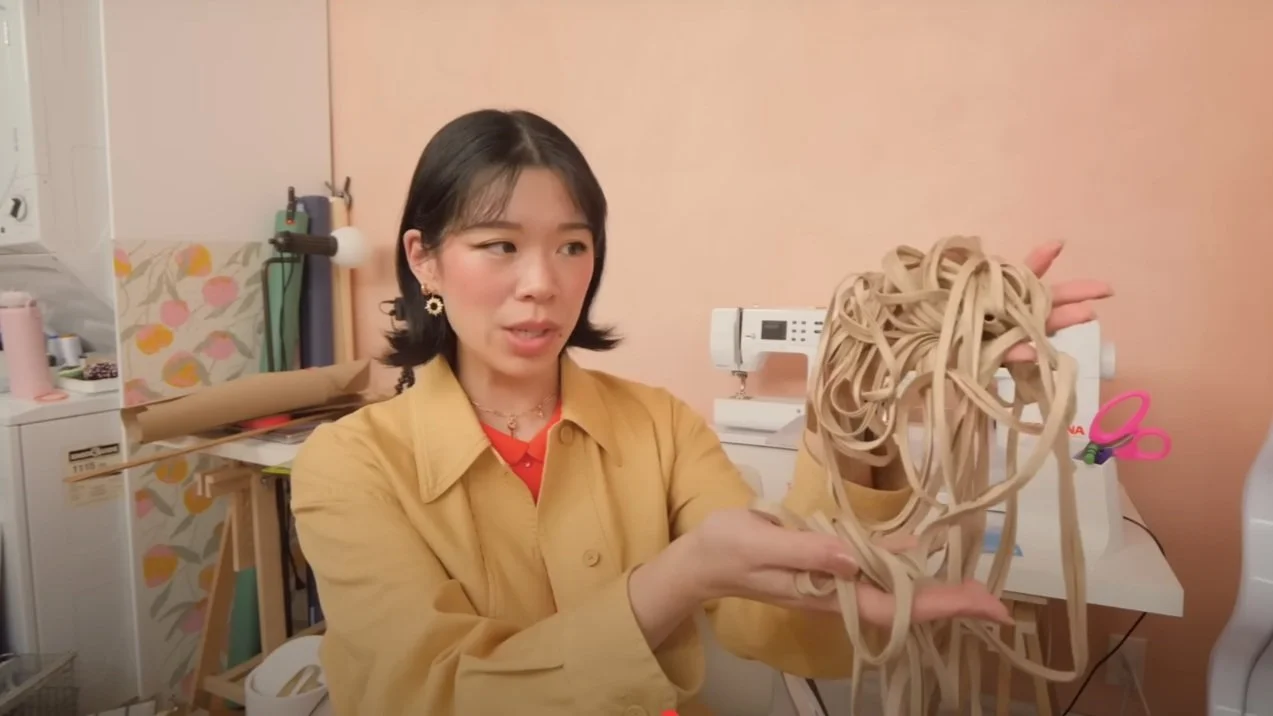
5. To create my own bias tape, I cut several strips on the bias, sewed them together, pressed the seams, and pressed them through the bias tape shaper. Here’s a more detailed video on how to make bias tape.
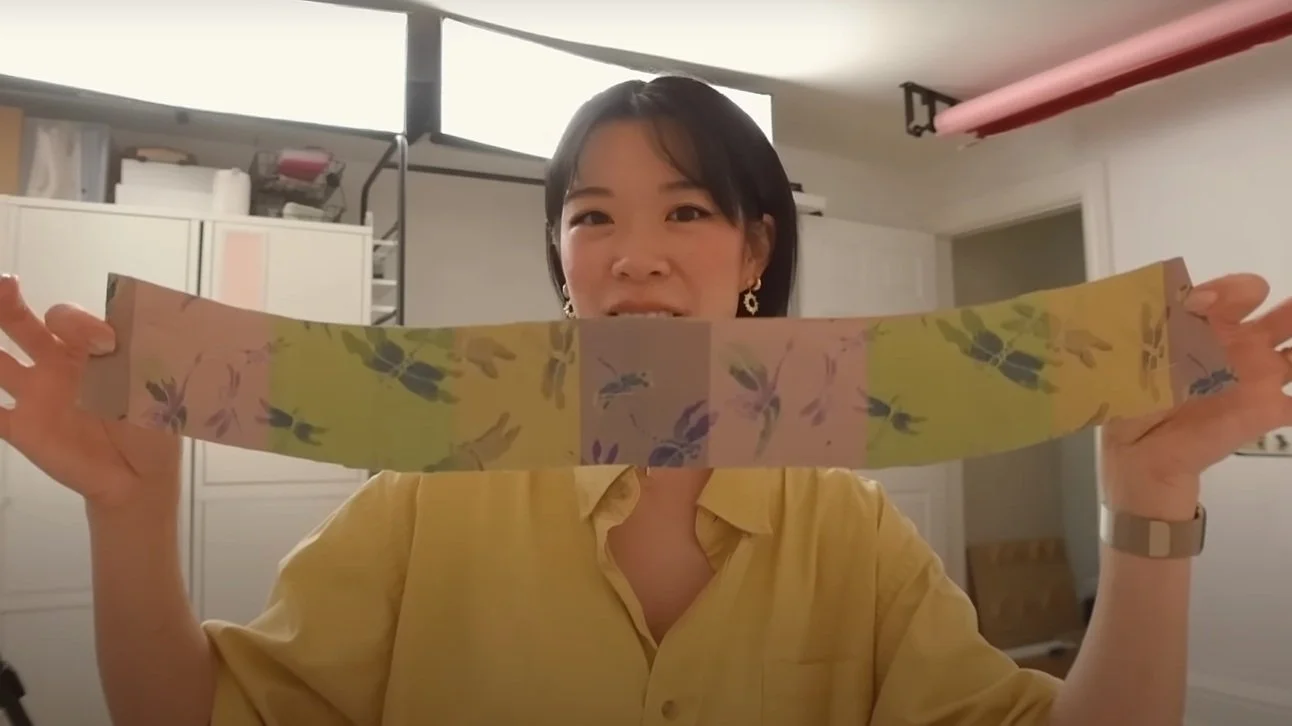
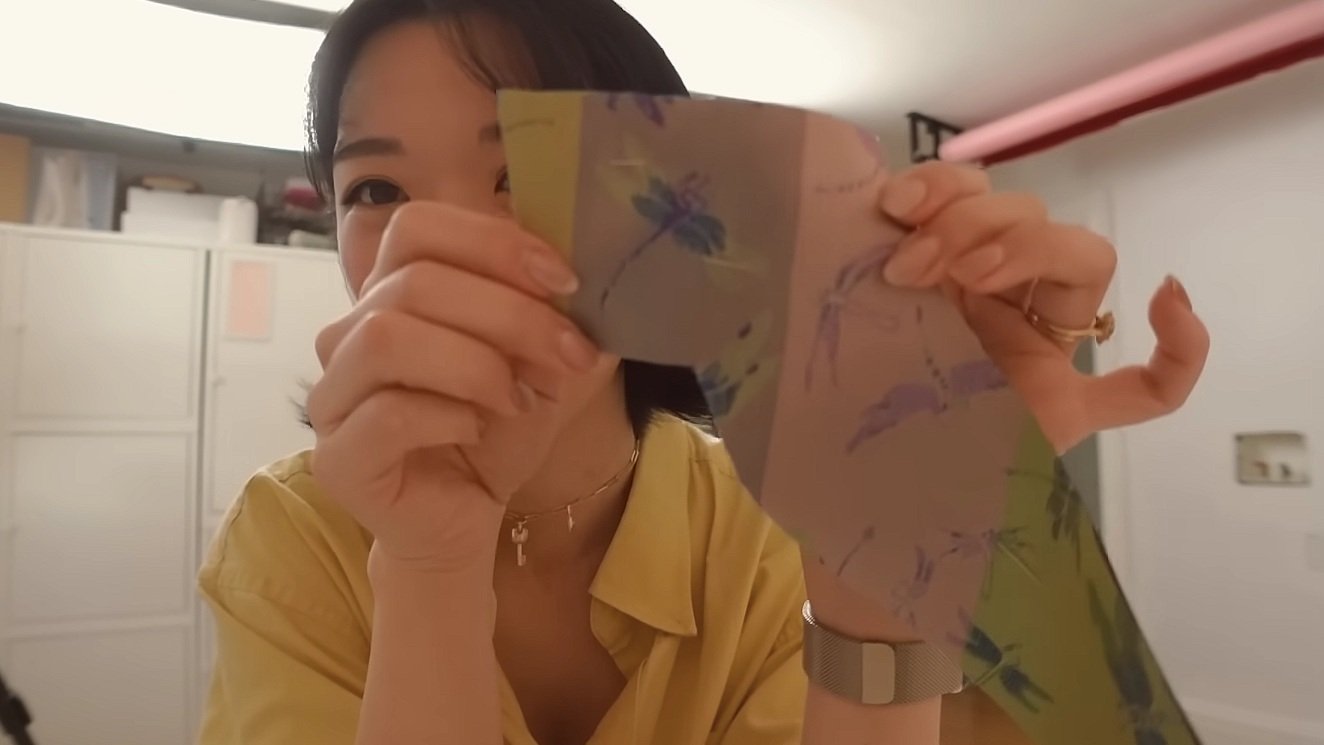
6. I then laid my pattern out on my material, taking into consideration the overall design and pattern of the fabric, and traced it out using a tracing wheel.
7. Cut out the pattern.


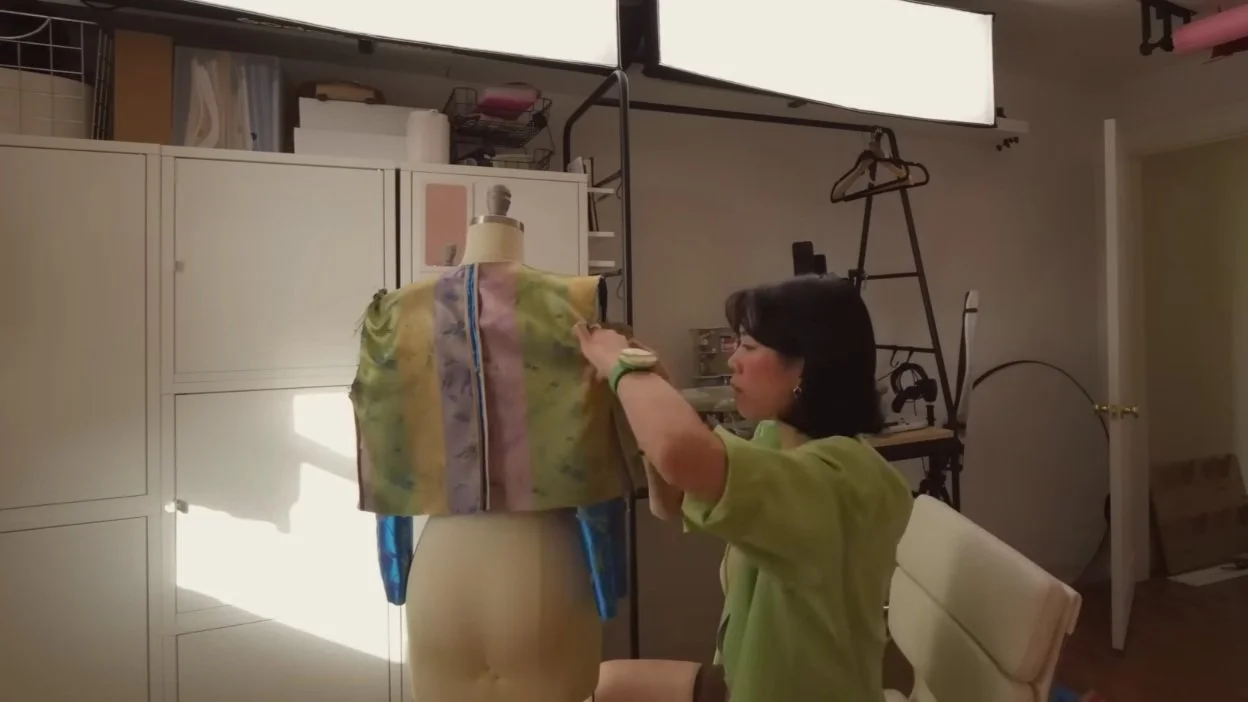
8. When in doubt, start by making a vest!
Taking the bias tape I created, I attached the bias trim to both the center back edges before sewing the two backs’ right sides together. This is to ensure no fraying occurs and that the inside of the jacket shows a clean seam.
To attach bias tape, I sew the tape to the wrong sides of the fabric and then flip the tape around, using a top stitch to fully encase all the edges and ensure the tape is secured.
9. Attach bias to the outer collar edge. Before sewing the top stitch of the bias to close it up, attach the collar to the jacket to save a step of sewing, and stitch it in place on the jacket.
10. Join the sides of the vest. Sew in the bias to enclose the raw edges.
11. Take the sleeve’s right sides together along the straight edge and sew it closed.
12. Press the seams.
13. Pin the sleeves inside the vest, with the right sides together.
14. Sew the arms. Seal the raw edges with bias. Press.
15. Sew the bias around the remainder raw edges of the jacket.


16. Try it on and check the fit!
17. Figure out where you would like the closures to sit.
18. Sew the closures onto the jacket.
19. Try it on and make any adjustments as needed.
20. Sew the dress. Keeping it simple, I chose a dress that had a simple pattern with only a front and a back.
21. I sewed the darts, and attached the front and back at the side seams, leaving an opening for an invisible zipper.
22. I sealed the bottom edge of the dress with bias as well as all of the seams.
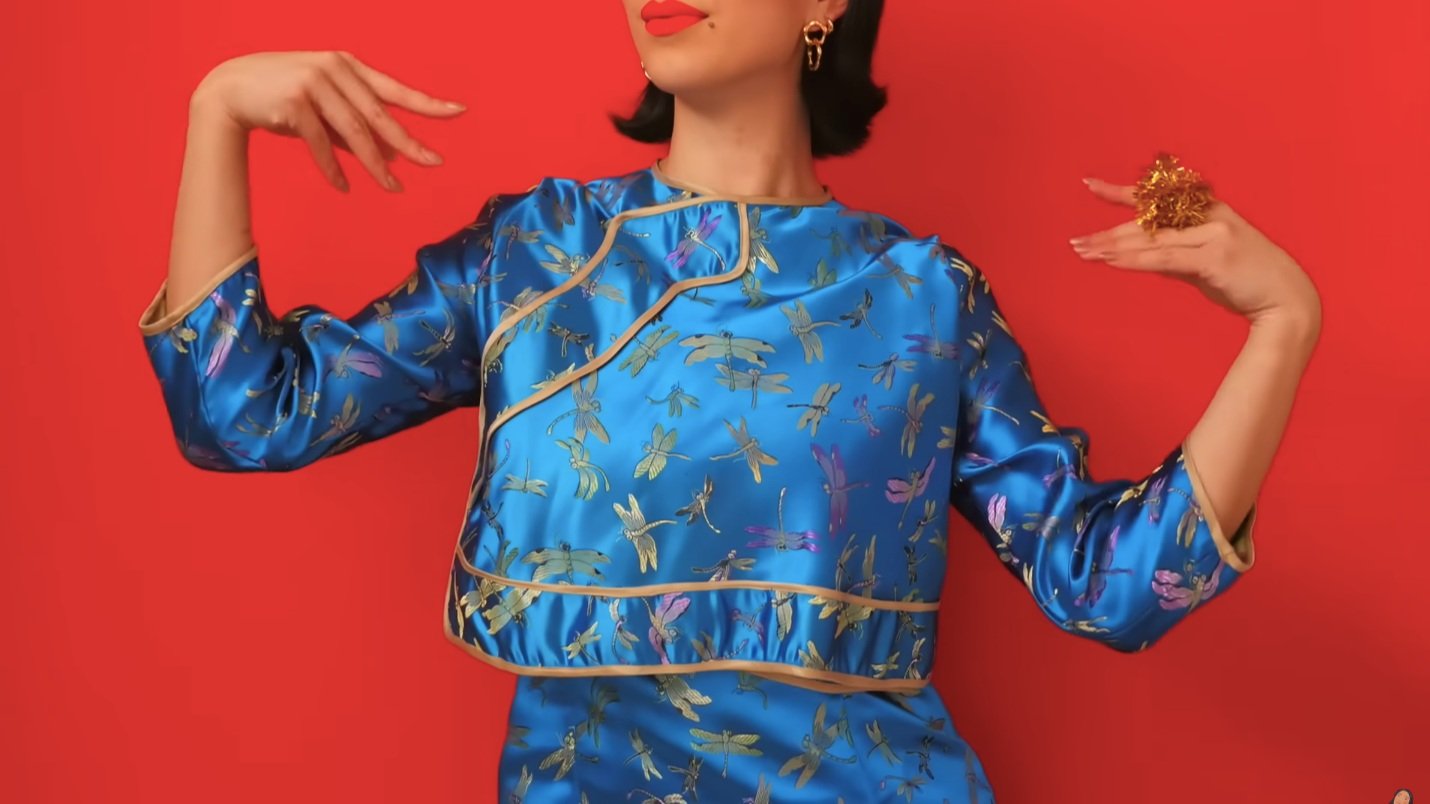
The finished Look


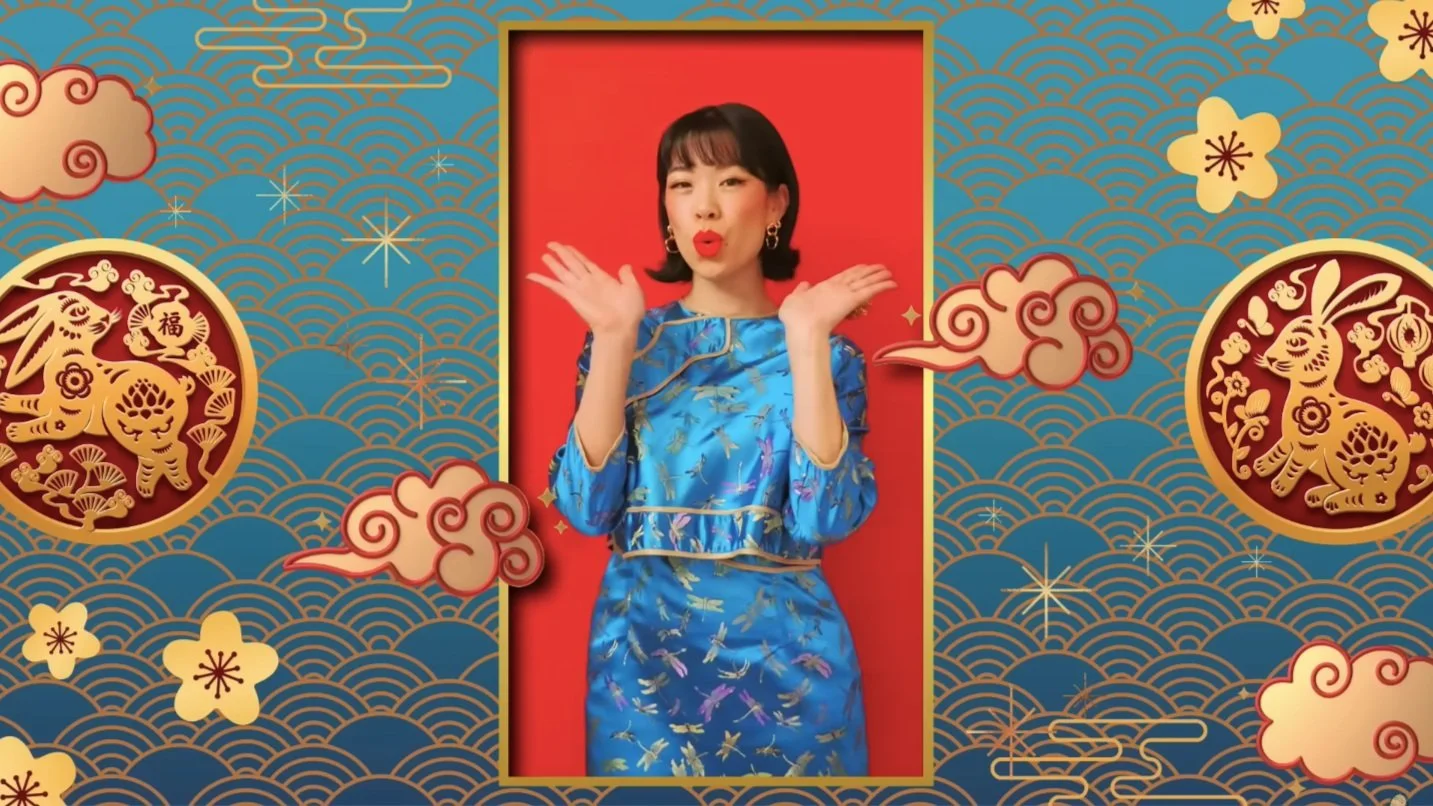
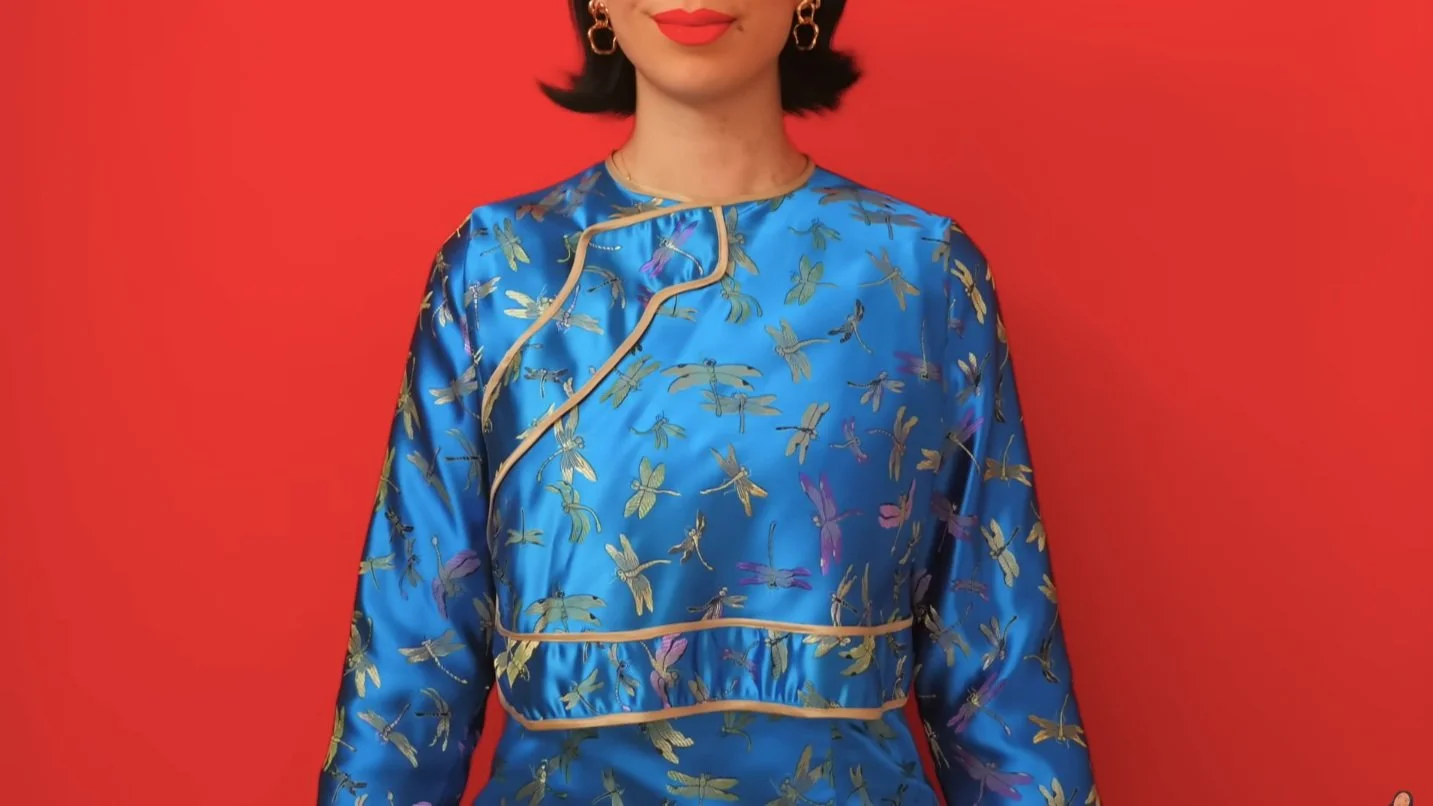
oops…
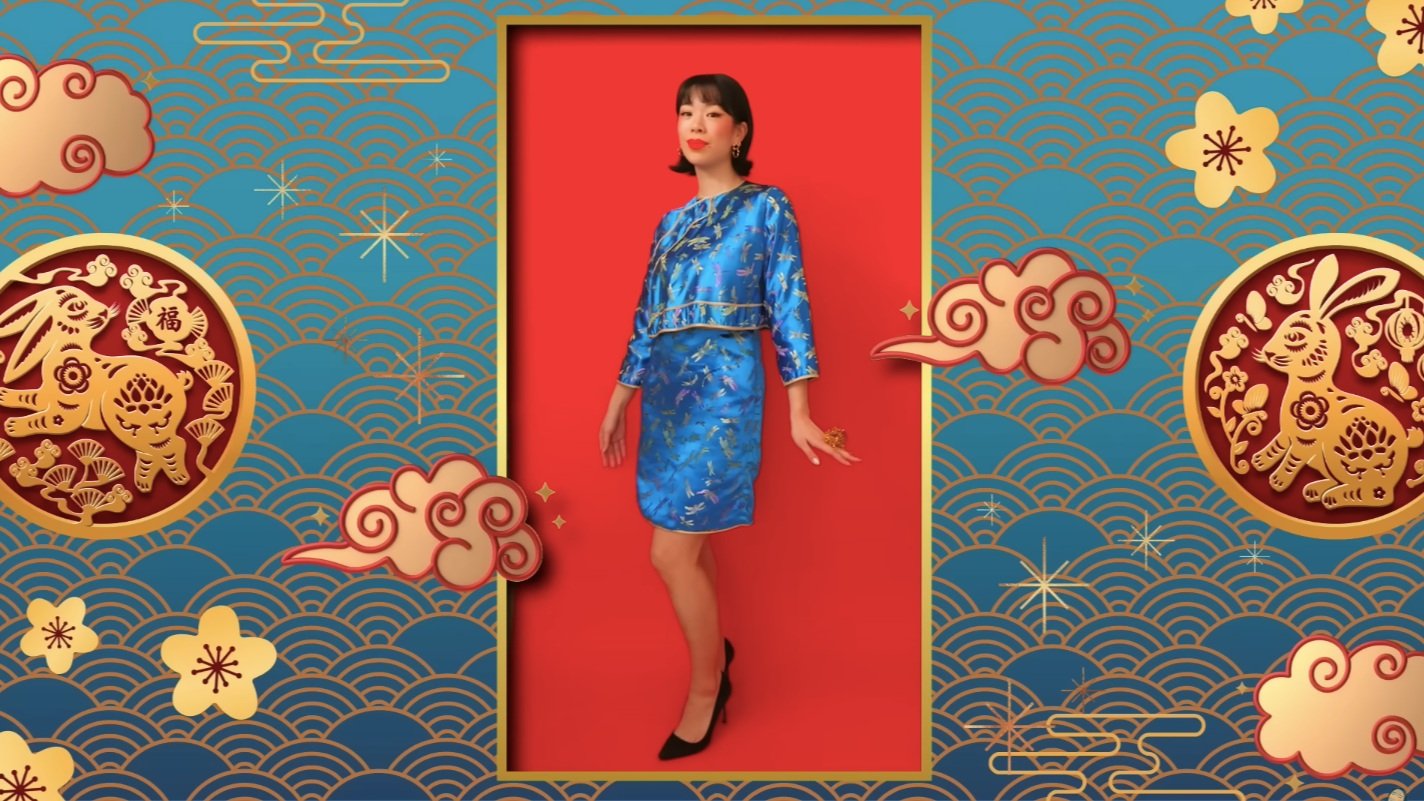
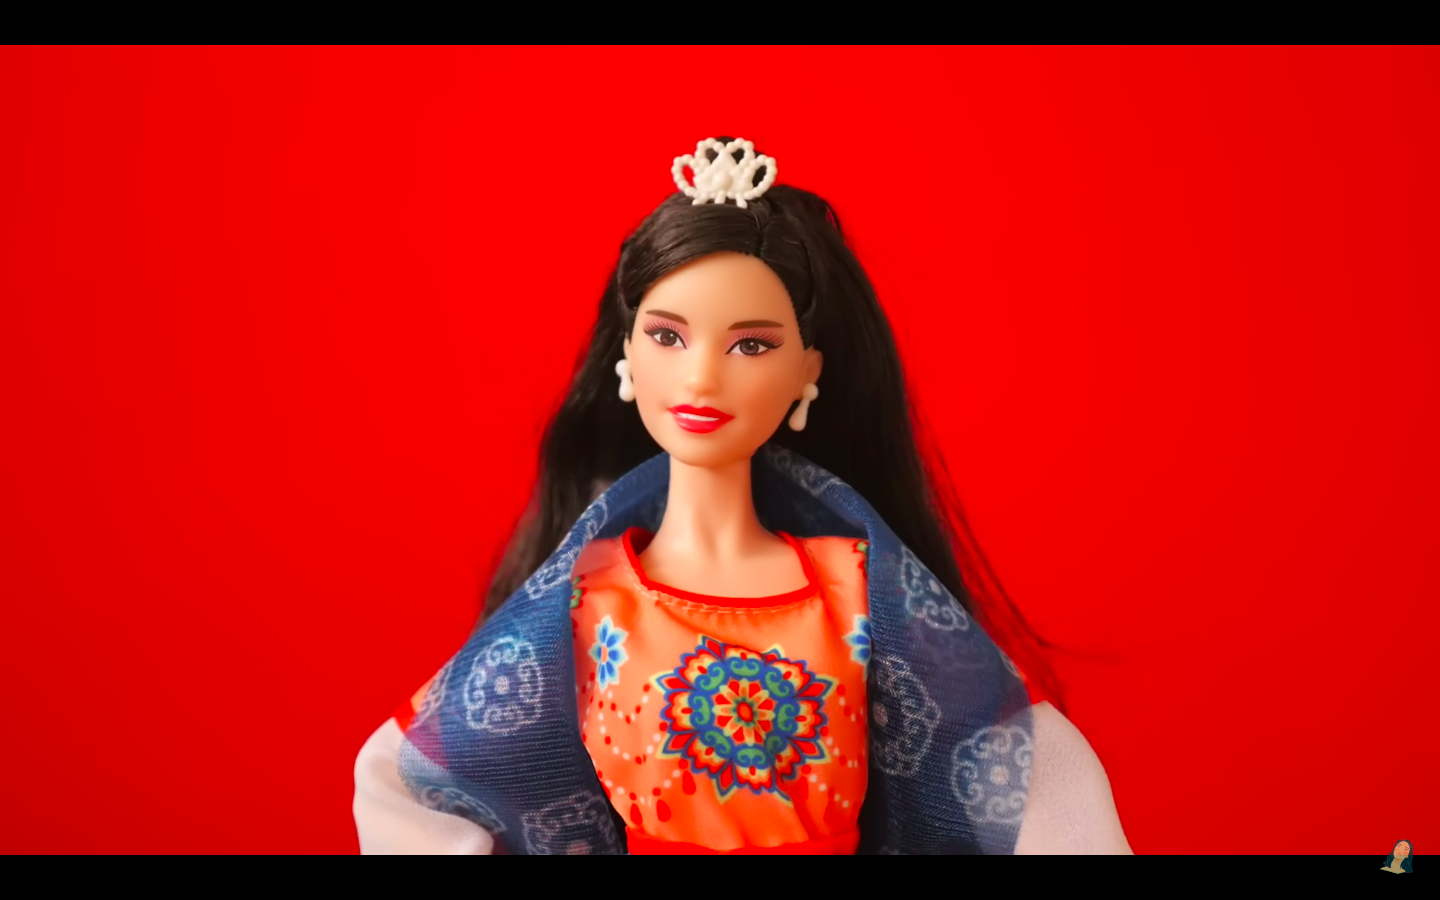
Not long after I finished making my outfit, my Lunar Barbie came in the mail!
Although it was not what I was expecting…
After failing to realize that there are multiple Lunar New Year Barbies, I ended up basing my outfit on a different Lunar Barbie than what I received in the mail, which was representing a Tung Dynasty with sweeping tones of orange-ish red and blue, so maybe I’ll have to try and recreate my Barbie’s outfit again next time. I thought this was quite a funny mix-up and non the less, was very happy with the outcome of my Guo Pei-inspired look.


Until next time, Barbie!