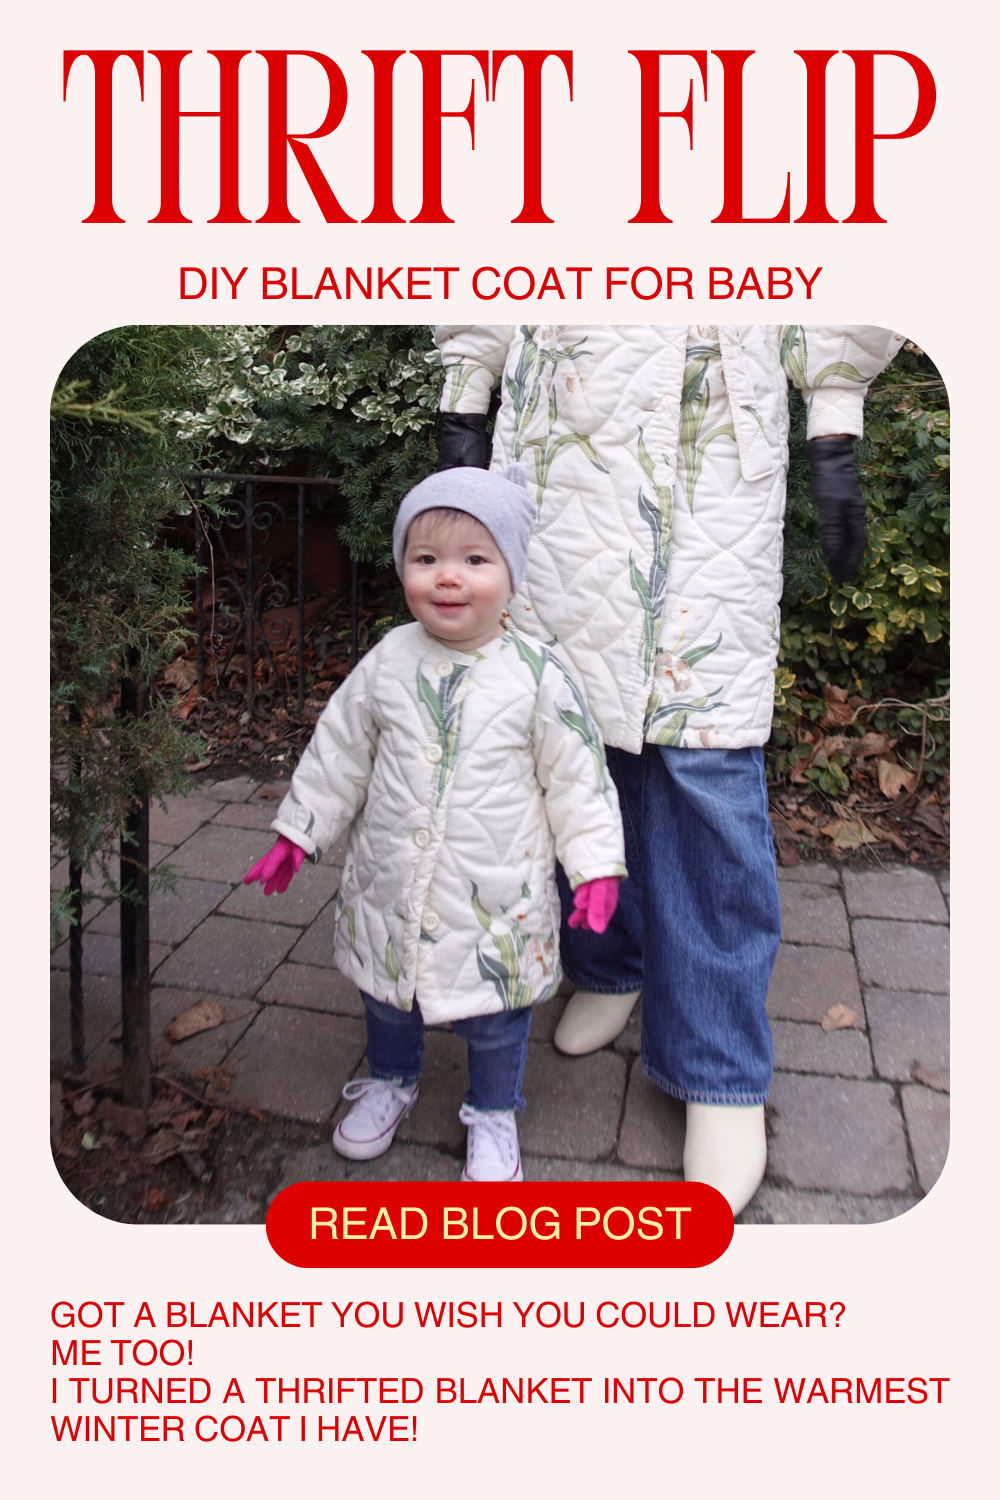
Mini blanket coat for marla
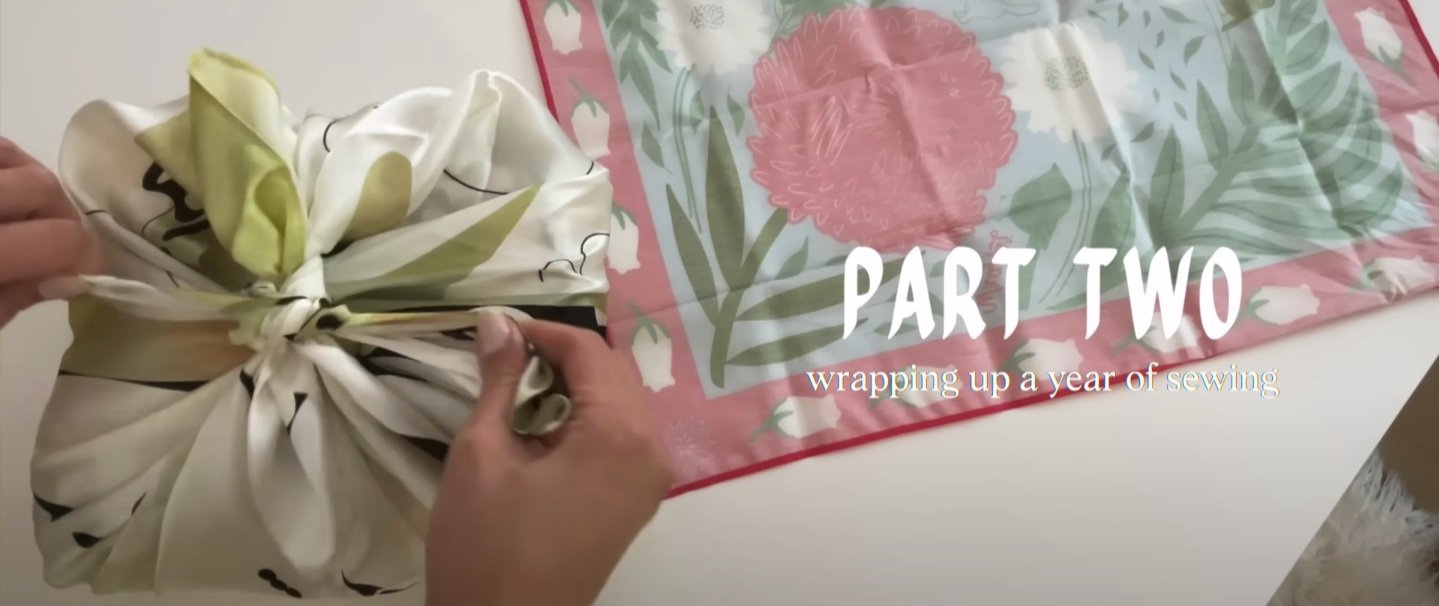
Wrapping up a year of sewing (and other loose ends).
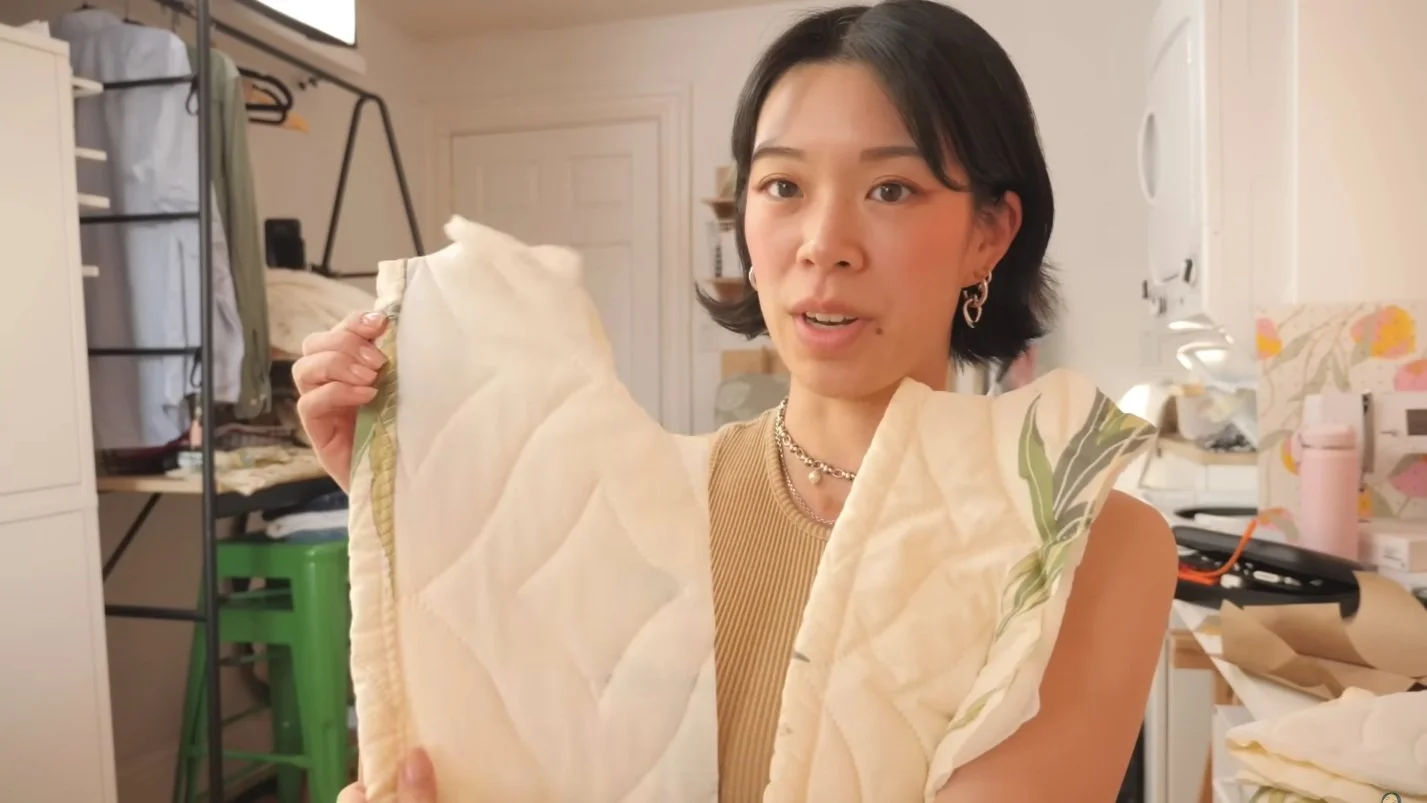
I had a goal of taking up the material left over from my blanket coat project and creating a tiny version for Marla.
I decided to tackle it head-on…
If you’d like to wrap your little one in a blanket of warmth,
Here’s what you will need…
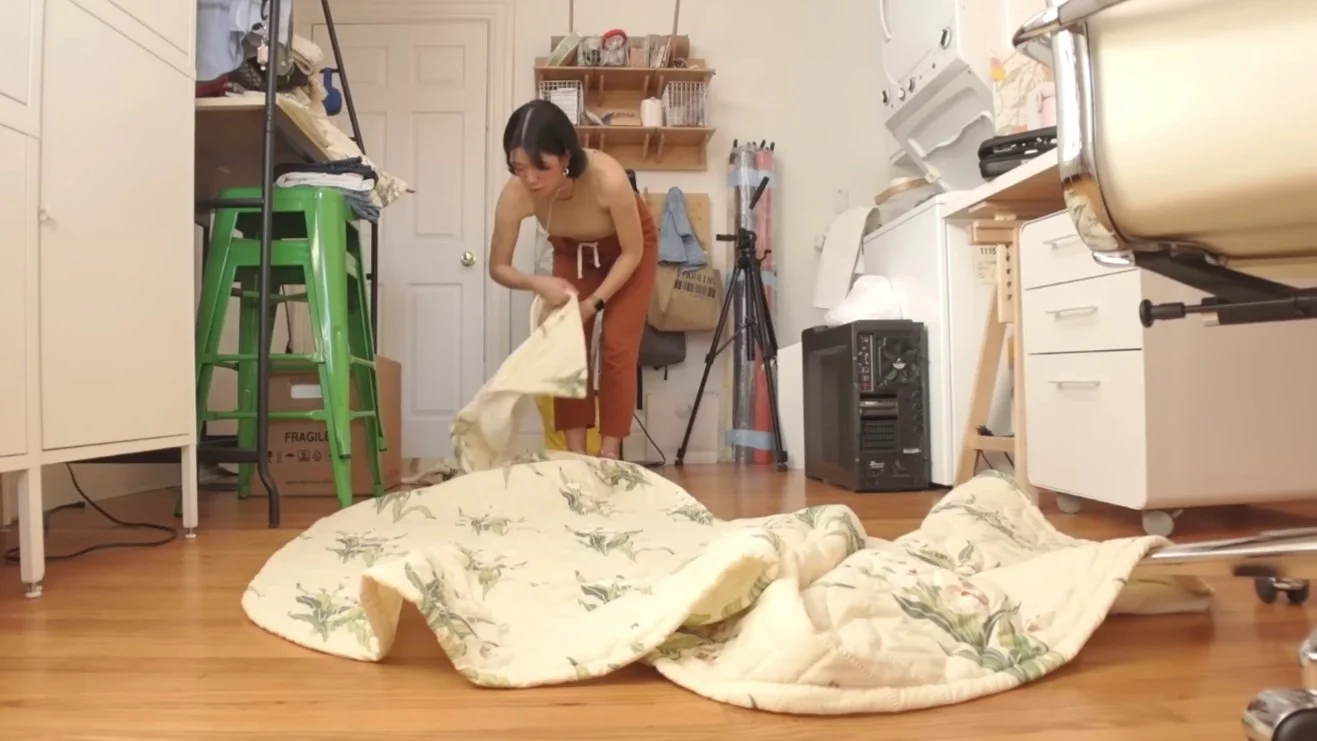
- Quilted blanket.
You can find quilted blankets at the thrift store in the bedding section or use any quilts you’re able to part with at home!
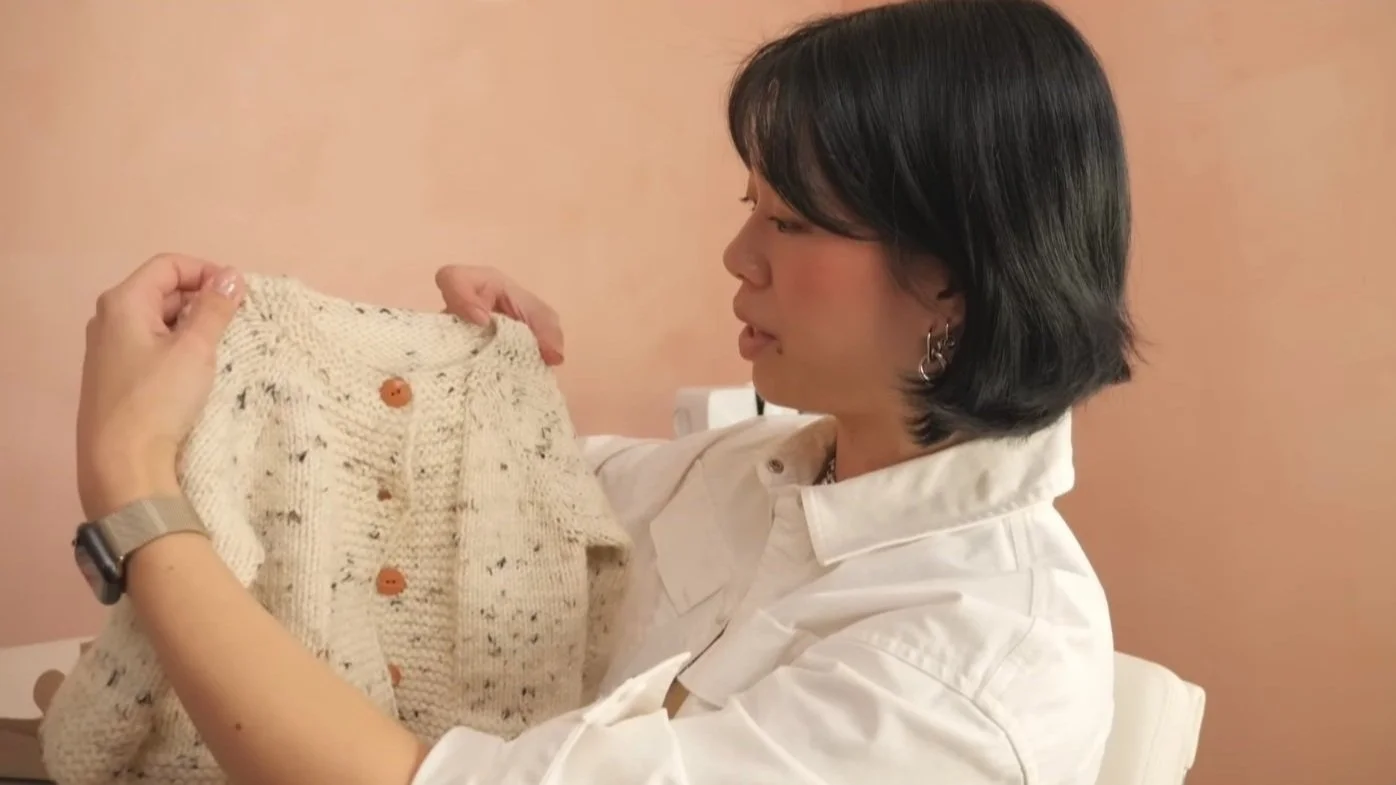
- Any coat or sweater with a similar fit that you like.
My main inspiration for the quilted coat was the Paloma Coat by Sea. I love the length, tie waist, and the fact that it has pockets!
For Marla’s coat, I’ll be simplifying the design and basing it on the matching one I made for myself, with some variations…
Using her current winter coat and a sweater with a higher neckline, I’ll be massaging the two patterns together to create a jacket that has minimal sewing around the neckline to reduce bulk from the thick quilt.
STEPS:
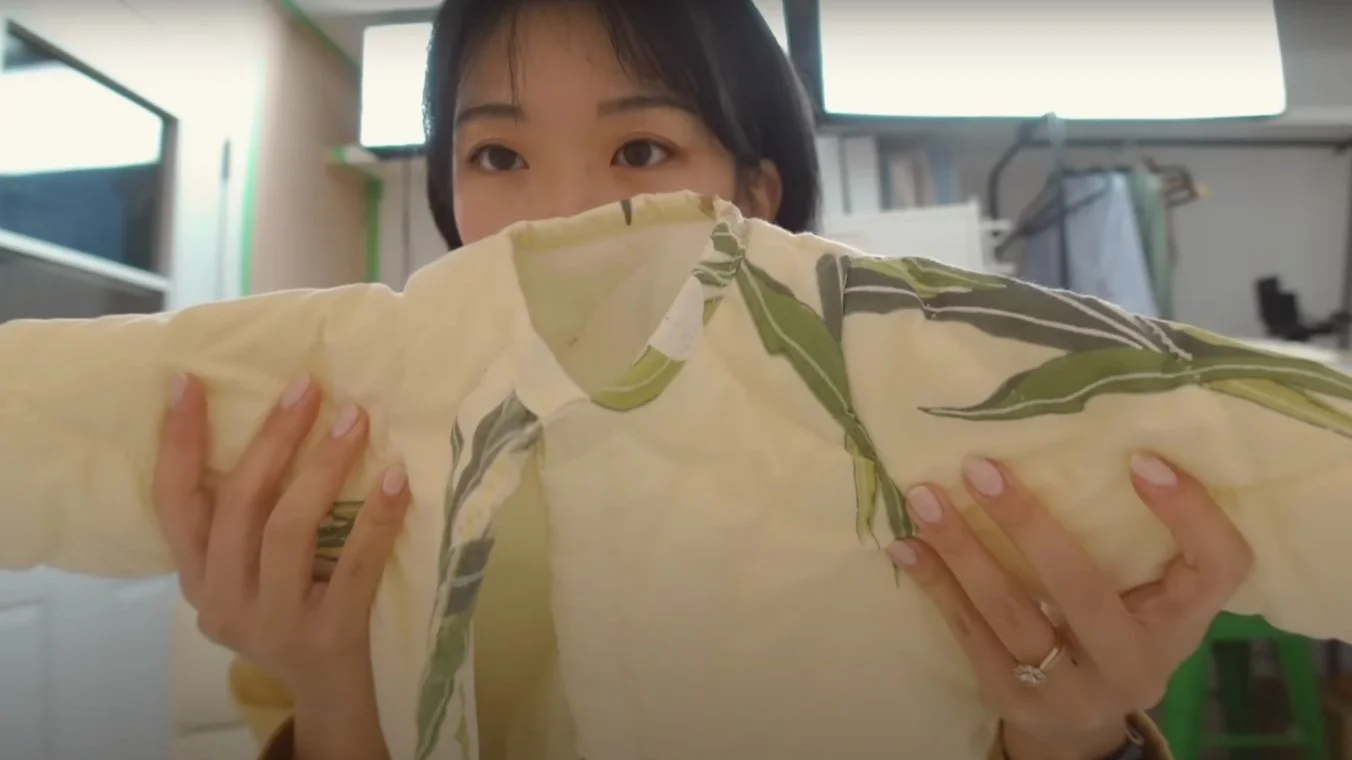
1. Using Marla's current winter coat and a cardigan, I drafted out a pattern, changing the neckline similar to the cardigan so that there was no hood.
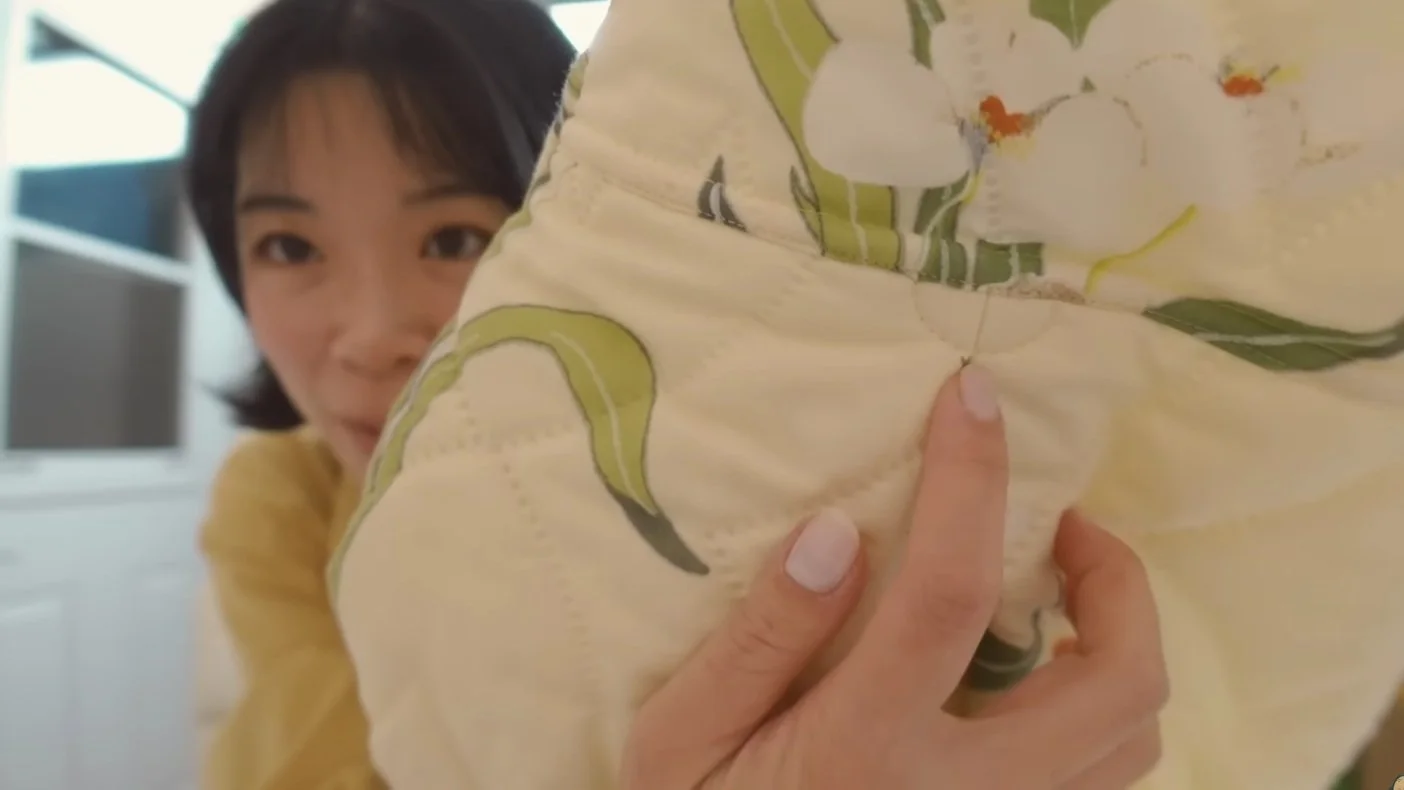
2. Taking the pattern, I laid out the blanket and began cutting out my pieces, laying them around to best utilize the finished edging and pattern of the quilt.

3. Taking the back panel, I created a dart in the center, top sewing it in place with a small semicircle.
4. Take the yoke and the back panel, flip the wrong sides together, and line them up.


5. Sew the two pieces together using a flat felled seam (steps 6 - 8)
6. Take the yoke and back, wrong sides together. Sew and trim one of the seam allowances.
7. Flip the untrimmed seam allowance over the whole seam.
8. Topstitch the seam allowance.
9. Sew front panels to the back, using the same method as the back/yoke attachment.
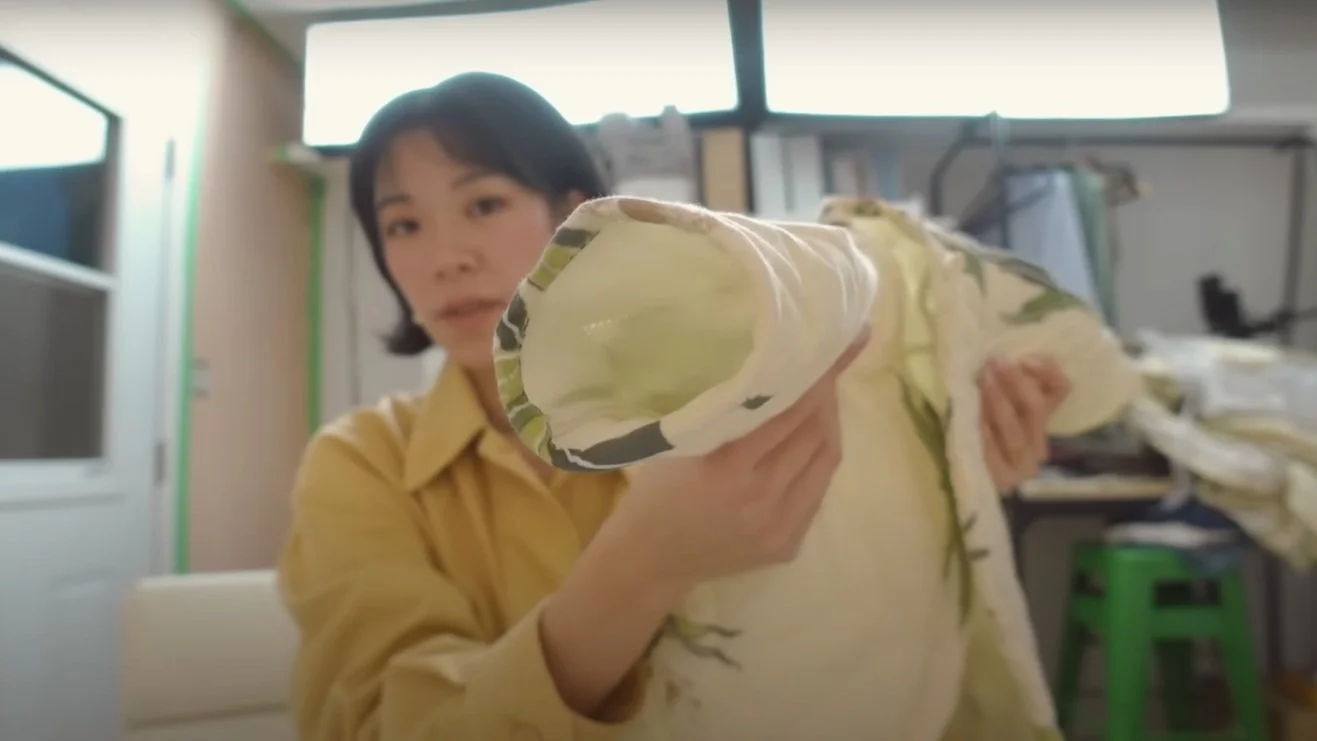
10. Sew sleeves to the arm holes, using the flat felled seam.
11. Cutting some ribbons on the bias, separate the batting from the fabric. Use this material to create bias tape for the edging!
12. Attach the bias tape around the cuffs of both sleeves and the neck hole.
13. If your jacket's side openings need to be finished, continue the bias tape around the edge of the opening as well.

14. Blanket stitch all the raw hems.
15. Mark out and sew the button holes.
Marla Tries it on…


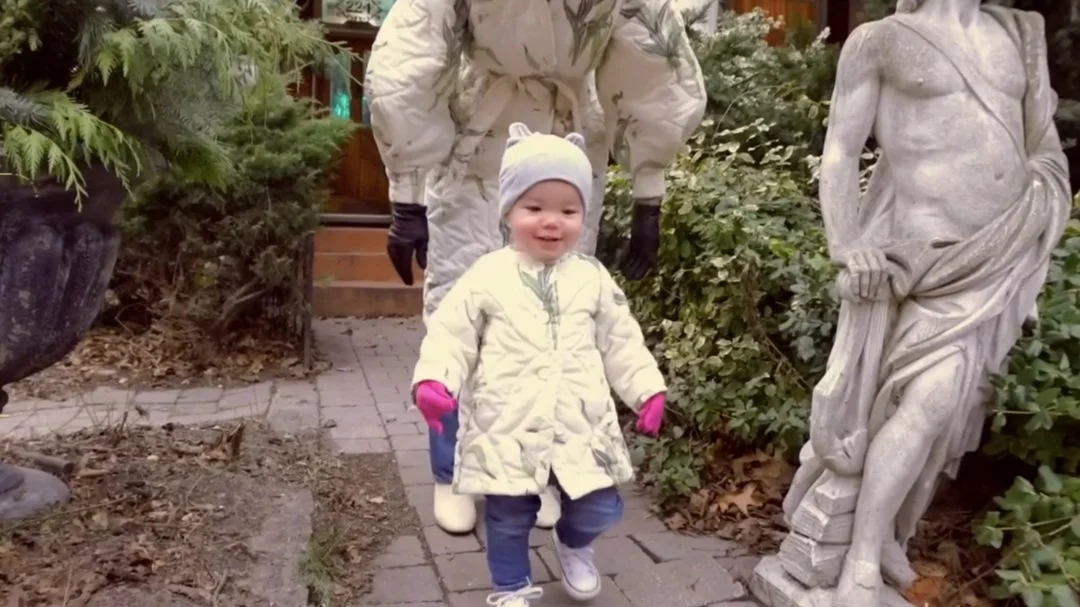
I think this mini blanket coat worked out perfectly! I made it a size bigger so that she can still wear it next year… This blanket coat kept the both of us warm and stylish all season long.